
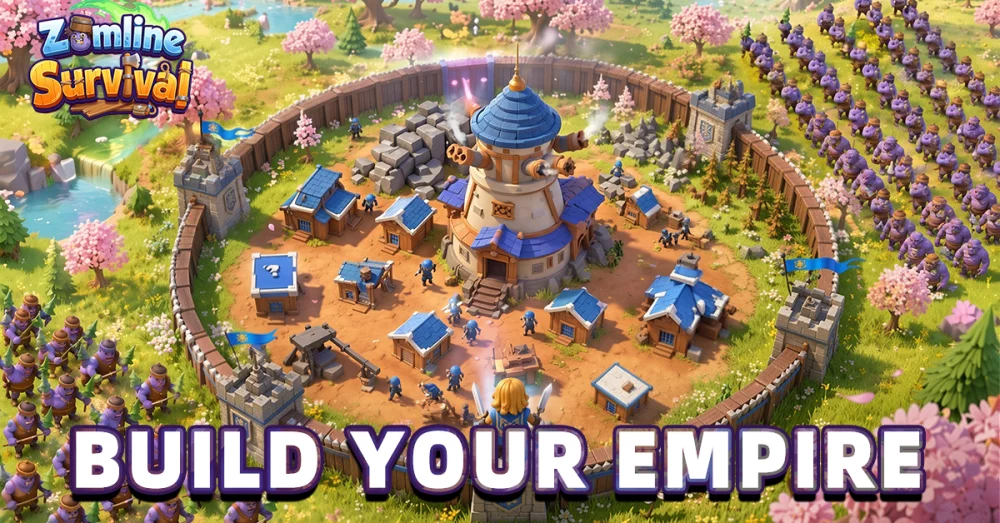
Progressing through the mid-game chapters of Zomline Survival requires a shift in how you handle waves and unit placement. As you move from Chapter 3 into Chapter 4, the density of zombie swarms increases, making static defenses less effective without proper unit micromanagement.
This guide focuses on the tactical adjustments needed to clear these chapters efficiently and survive the increasing pressure of mid-level enemy waves.
Tactical Shifts for Chapter 3 and 4
In these stages, you will notice that zombies move in tighter groups and possess higher health pools. Relying solely on your starting units will often lead to being overwhelmed. Use the following tactical adjustments:
- Prioritize Crowd Control: Early in Chapter 3, focus on units that offer slowing effects or area-of-effect (AoE) damage. Stopping a swarm in its tracks is more valuable than raw single-target damage during this phase.
- Staggered Deployment: Do not deploy all your units at once. Keep a reserve for when enemies break through your primary defensive line.
- Focus Fire on Specialists: Identify enemies that have ranged attacks or higher movement speeds. If these units reach your base, they deplete health rapidly. Use your hero abilities or targetable units to eliminate these threats first.
Managing Wave Intensity
As you transition through these chapters, the rhythm of the waves changes. Use this table to understand the core threats you will face:
| Wave Type | Primary Threat | Recommended Strategy |
|---|---|---|
| Swarm Waves | High volume, low health | Use AoE units and piercing attacks. |
| Elite Waves | High health, slow movement | Focus fire with high-damage units. |
| Rush Waves | High speed, low health | Utilize slowing towers or traps to create a buffer. |
Hero Ability Timing
In Chapter 4, your hero ability becomes the deciding factor between a successful defense and a base breach. Avoid using abilities as soon as they come off cooldown. Instead, follow these best practices:
- Wait for Clustering: Let the zombies gather into a dense group before activating your hero's AoE skill. This maximizes the value of your limited energy.
- Save for the Breaking Point: Keep your hero ability ready for when a large portion of your defensive line is engaged. If a specific lane is about to collapse, use the ability to clear the path and buy time for unit replenishment.
- Synergy: If your hero ability knocks back enemies, ensure you have towers or units positioned to capitalize on the displaced zombies immediately after the effect ends.
Improving Survivability in Later Waves
If you find yourself failing at the end of Chapter 4, review your current unit composition. Often, players hit a "difficulty wall" because they have neglected their secondary units.
- Upgrade Paths: If you have been focusing only on your primary tower, start splitting resources into utility units that provide debuffs.
- Lane Balancing: If enemies are consistently breaking through one side, check your tower coverage. Sometimes, moving a single defensive structure to cover the gap between two lanes is more effective than upgrading an existing tower.
- Adapt to Enemy Types: Pay attention to the notification icons before a wave starts. If the game highlights armored enemies, ensure you have units with armor-piercing capabilities deployed before the wave reaches your walls.

Free Zomline Survival Codes
Current active codes and how to redeem them.

Michael Smith
Michael covers live-service games, events, reward systems, and efficient daily routines, turning frequent updates into clear actions for players.
COMMUNITY
Player Comments
32 players commented on this guide.
I tried this today and it worked better than my old setup.
This saved me time in the early game.
Good guide for Zomline Survival players. The strategy part was useful.
This guide answered the exact question I had.