
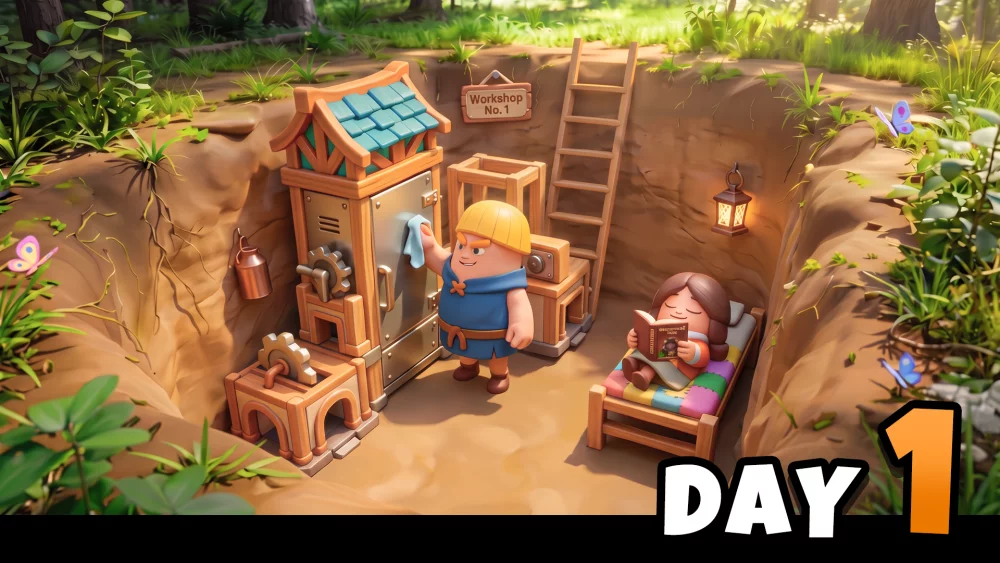
To excel in Zomline Survival, players must move beyond basic base building and master the manual control of their hero units during intense combat encounters. Because the game seamlessly blends tower defense, 4X survival mechanics, and real-time strategy, relying solely on static defenses will inevitably lead to your base being overrun. The key to surviving escalating zombie waves lies in actively managing your squad, utilizing fluid drag-and-drop movement mechanics, and executing precise skill timing.
By actively manipulating the battlefield, controlling enemy aggro, and locking down chokepoints, you can prevent the undead from breaking your defensive lines. This comprehensive guide breaks down the practical application of unit positioning, skill activation, and map navigation to ensure your squad operates at maximum combat efficiency.
The Core of Combat: Manual Hero Positioning
Effective combat in Zomline Survival relies heavily on your ability to reposition heroes dynamically. Unlike traditional, passive tower defense games where units remain anchored to one spot, Zomline Survival expects you to actively move your characters to intercept incoming threats or reinforce vulnerable areas of your base.
By tapping and dragging your hero units across the screen, you control the flow of the battle. This drag-and-drop mechanic is your primary tool for dictating engagements. You can pull weakened heroes back from the front line when their health drops into the danger zone, or push your heavily armored units forward to create a tight defensive wall that maximizes your ranged weapons’ firing arcs.
When positioning your squad, spacing is just as critical as location. Always prioritize moving your ranged DPS (Damage Per Second) heroes to the perimeter of the combat zone. Keeping your backline heroes spaced out ensures that you do not lose multiple fragile units to a single area-of-effect (AoE) attack from specialized zombie variants. If you notice a cluster of enemies breaking through your barricades, manually drag your strongest, highest-health hero directly into their path. This draws the enemy's "aggro" (targeting focus), buying your ranged units the critical seconds they need to thin out the horde while the tank absorbs the incoming damage.
Ideal Hero Combat Formations
| Unit Archetype | Ideal Positioning | Primary Combat Role | Tactical Movement Priority |
|---|---|---|---|
| Heavy/Tank | Directly in narrow passages or just in front of barricades. | Absorb aggro, block enemy pathing, and stall the horde. | Move forward to intercept wave leaders; step side-to-side to block leaking zombies. |
| Ranged DPS | Spaced out behind the frontline, near secondary defenses. | Provide sustained single-target and area damage. | Keep static unless threatened by AoE attacks or flanking enemies. |
| Support/CC | Centrally located just behind the tanks. | Apply slows, stuns, and buffs to maximize team efficiency. | Shift between lanes to apply crowd control where the zombie density is highest. |
Exploiting Terrain and Map Navigation
Understanding the layout of the tactical map is just as important as individual hero performance. Zomline Survival features dynamic, branching paths that enemies use to bypass your defenses and reach your core structures. To succeed, you must treat the terrain as an extension of your defensive arsenal.
Utilizing Chokepoints
The map geometry often includes narrow passages, ruined structures, or natural bottlenecks. Positioning your squad at these chokepoints forces approaching enemies into a single-file line or a dense cluster. This strategy limits the number of zombies that can physically reach and attack your frontline heroes simultaneously. Furthermore, clumping enemies together in a bottleneck drastically increases the efficiency of your area-of-effect skills and piercing attacks. Effectively, you are turning the map itself into a weapon.
Reading the Minimap and Pre-Rotating
You must monitor the minimap constantly to anticipate where the next wave will spawn. Early detection is the difference between a clean defense and a chaotic squad wipe. When you see ping indicators on the minimap signaling an incoming swarm, preemptively move your squad to the correct lane.
"Pre-rotating" prevents the need for frantic, last-minute adjustments that often lead to units getting surrounded or taking unnecessary damage while running through unsecured territory. As the waves progress and spawn rates increase, your ability to rapidly rotate your squad between multiple choke points will determine how long you can hold your position before structural failure occurs.
Strategic Hero Skill Activation and Cooldown Management
Each hero in Zomline Survival comes equipped with unique active skills that provide massive tactical advantages during intense horde waves. These skills are displayed at the bottom of the user interface and require a strict cooldown period after use. In the early game, it is tempting to spam these abilities as soon as they become available, but mastering skill timing is what separates average players from survival experts.
Timing Area-of-Effect (AoE) and Crowd Control (CC)
Wait until the zombie density is at its absolute highest before activating an AoE skill. Firing a massive explosive ability at two or three straggling zombies is a waste of resources that will leave you vulnerable when the true horde arrives ten seconds later. Allow the enemies to hit your frontline tank and bunch up, then unleash your AoE to clear the maximum number of targets in a single action.
If you are struggling to maintain a defensive perimeter, prioritize heroes with Crowd Control (CC) abilities. Skills that stun, freeze, or severely slow down approaching hordes are invaluable. Applying a slow effect to a massive group of zombies gives your ranged DPS units a much wider window to deal sustained damage before the enemies can even reach your barricades.
Skill Chaining vs. Skill Stacking
A common mistake is "stacking" skills—activating all your heroes' abilities at the exact same moment. This results in diminishing returns and leaves your squad completely defenseless during the long, synchronized cooldown period. Instead, practice "skill chaining."
- Initiate with Crowd Control: Use a slowing or stunning ability as the horde approaches the chokepoint.
- Follow with AoE Damage: While the enemies are grouped and immobilized, drop your high-damage area attacks.
- Save Single-Target Burst: Keep your highest single-target damage skills in reserve for large, mutated boss zombies that survive the initial AoE barrage.
By observing the skill icons and chaining them methodically, you maintain a steady rhythm of damage and control that can outlast even the longest waves.
Managing Unit Health: The "Tag-Team" Strategy
Survival in Zomline Survival is ultimately a game of attrition, and keeping your heroes alive is your primary hurdle. Because the game allows for fluid, real-time movement, you have the tools to actively manage your squad's health pool rather than just watching them take damage until they fall.
When a frontline hero takes significant damage and their health drops below 30%, the most effective strategy is the "Tag-Team" maneuver.
How to Execute the Aggro Juggle
- Identify the Danger: Observe the health bars floating above your heroes. If a bar turns red or depletes rapidly, you must intervene immediately.
- Retreat the Injured: Tap and drag the damaged unit backward, placing them safely behind your secondary line of defense or base structures.
- Advance the Reinforcement: Simultaneously, drag a full-health, off-tank hero forward into the exact spot the injured hero just vacated.
- Reset the Aggro: As the new hero steps up, the zombie horde will automatically retarget the closest unit (your fresh, full-health hero).
This approach keeps your overall DPS output consistent while allowing your injured units to stay on the battlefield, safely firing from a distance. Failing to manage these health thresholds early on will lead to a snowball effect. Losing even a single hero forces you to fight with diminished firepower, making the remaining waves exponentially more difficult to clear. Always keep your hero selection active so you can respond to sudden health drops without having to navigate through complex menus during the heat of a wave.
Common Combat Mistakes to Avoid
To optimize your base and combat efficiency in Zomline Survival, ensure you are not falling into these frequent tactical traps:
- Treating Heroes like Static Towers: Never place your heroes at the start of a wave and leave them there. Combat requires constant micro-adjustments. If a lane is clear, move those idle heroes to support a lane that is struggling.
- Ignoring Base Synergy: Remember that Zomline Survival features base building. Do not fight in the open if you don't have to. Pull enemies toward your constructed towers and barricades so your heroes and your base defenses are damaging the horde simultaneously.
- Tunnel Vision: Focusing entirely on the frontline brawl will cause you to miss flanking enemies. Keep one eye on the minimap to ensure a secondary wave isn't quietly destroying your resource generators while your main squad is distracted.
- Overlapping Ranged Units: Grouping all your ranged units in one tight circle makes them highly susceptible to enemy splash damage. Always fan them out in a semi-circle behind your frontline.
By mastering these manual controls, refining your map awareness, and treating your heroes as a dynamic, adaptable fighting force, you will be able to conquer the most challenging encounters Zomline Survival has to offer. Keep your squad moving, manage your cooldowns wisely, and never let the horde dictate the terms of the engagement.

Free Zomline Survival Codes
Current active codes and how to redeem them.

James Brown
James focuses on Android gaming on PC, emulator setup, controls, performance tuning, and practical troubleshooting for longer play sessions.
COMMUNITY
Player Comments
56 players commented on this guide.
The explanation is clear, especially for beginners.
This guide answered the exact question I had.
This saved me time in the early game.
I tried this today and it worked better than my old setup.