
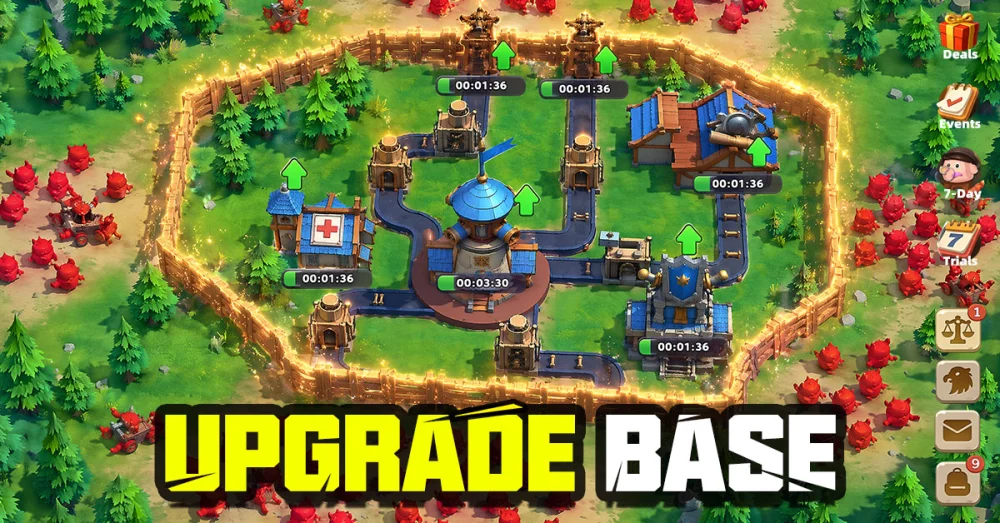
Success in the first Front Defense level of Zomline Survival requires more than just raw firepower; it demands a tactical approach to spatial control and resource management. As your introduction to the game’s core combat loop, this stage is designed to teach you how to manipulate zombie pathing, maximize the utility of your hero’s cooldowns, and protect your base from structural damage.
To clear this level with maximum efficiency, you must treat every tile of the battlefield as a strategic asset. By mastering the synergy between hero positioning and ability timing, you can hold the line against even the densest hordes.
Strategic Hero Placement for Maximum Coverage
In Zomline Survival, the difference between a clean victory and a base breach is often determined before the first zombie even spawns. Your goal is to establish a defensive posture that creates a "Kill Zone"—a specific area where your heroes' attack ranges overlap perfectly.
- Chokepoint Utilization: Always identify the narrowest entry point on the map. Positioning your units here forces zombies into a single file line, allowing your heroes to hit multiple targets with every shot.
- Frontline vs. Backline: Place your sturdiest heroes (usually those with higher health pools or armor) closest to the spawn point to act as a physical wall. Position glass-cannon or long-range heroes slightly behind them to provide uninterrupted suppression fire.
- The "L" Formation: When possible, arrange your heroes in an L-shape near a corner. This forces enemies to travel through your fire for a longer duration, maximizing the total damage dealt before they reach your defensive perimeter.
Managing Active Skill Cooldowns
One of the most common mistakes beginners make in Zomline Survival is "panic-firing" their ultimate abilities as soon as they become available. In Front Defense, your energy bar is your most precious resource.
The Rule of Density
Only trigger your high-damage AoE (Area of Effect) skills when the zombie density is at its peak. Wait for the zombies to clump together at a chokepoint or against a barricade. Using a massive skill on one or two stragglers is a fundamental waste of energy that will leave you defenseless during the actual wave peak.
Cooldown Cycling
If you have multiple heroes, stagger their active skills. If Hero A’s AoE skill is on cooldown, use Hero B’s crowd-control or utility skill to slow the horde, allowing your team’s basic attacks to chip away at the enemies until your primary damage dealer is ready to fire again.
Prioritizing Target Selection
Not all zombies are equal in Zomline Survival. The game’s AI utilizes different enemy types to test your prioritization skills. You must learn to ignore the "cannon fodder" in favor of high-threat targets.
- Speedsters: Always prioritize the fastest zombies first. These units are designed to bypass your frontline and deal direct damage to your base. If you let them slip past, your defensive line becomes irrelevant.
- Tank/Shield Zombies: While they seem intimidating, they are often slow. Handle them only after the fast-moving threats have been neutralized.
- Horde Clusters: If the lane is becoming dangerously packed, shift your target focus to the group to prevent "leaking," where enemies push past your heroes simply due to collision physics.
Understanding Wave Progression and Timing
The structure of Level 1 is predictable, which is your greatest advantage. The waves arrive in specific pulses with clear gaps in between.
- The "Lull" Phase: Use the brief silence between waves to verify your team’s health. If a hero is taking heavy fire, you can sometimes move them a few tiles back to allow a healthier unit to take the lead, effectively rotating your frontline to conserve health.
- Predicting the Final Push: Watch the wave counter. The final wave usually features a significantly larger volume of enemies. Save your most powerful tactical assets—especially long-cooldown ultimates—specifically for this moment. If you head into the final wave with empty energy bars, you will likely lose the base.
Advanced Strategies: Avoiding Common Mistakes
To truly master Zomline Survival, you must avoid the pitfalls that lead to failed defenses.
- Over-Commitment: Don't spread your heroes too thin. It is better to have one perfectly placed, high-damage squad at the main gate than to try and cover every lane with spread-out, weak units.
- Ignoring Base Health: Every point of structural damage you take is a failure in long-term efficiency. While some players treat base health as a resource, in the early levels, you should aim for a "Perfect Clear" to maximize your end-of-stage rewards and experience points.
- Static Mindset: Zomline Survival rewards agility. If your current formation is failing to stop a specific lane, do not be afraid to pull a unit back or shift your defensive line mid-wave.
Conclusion: Preparing for Higher Difficulties
The strategies learned in Front Defense Level 1 are the building blocks for the rest of Zomline Survival. By mastering the art of the chokepoint, learning to hold your ultimate abilities for high-density crowds, and prioritizing high-speed threats, you build the muscle memory required for the tougher challenges ahead.
Remember: Zomline Survival is a game of optimization. Every time you clear this stage, analyze which hero contributed the most damage and which positioning choices saved you the most health. Adjust your squad composition based on these observations, and you will find that even the most difficult levels become manageable with the right tactical mindset. Stick to these core principles, keep your cooldowns in check, and your base will remain impenetrable.

Free Zomline Survival Codes
Current active codes and how to redeem them.

Emily Johnson
Emily writes practical mobile strategy guides with a focus on resource planning, base progression, and the early decisions that shape a long-term account.
COMMUNITY
Player Comments
49 players commented on this guide.
I wish I had read this before upgrading the wrong thing.
Good guide for Zomline Survival players. The early game part was useful.
The tips are practical and easy to follow.
This saved me time in the early game.