
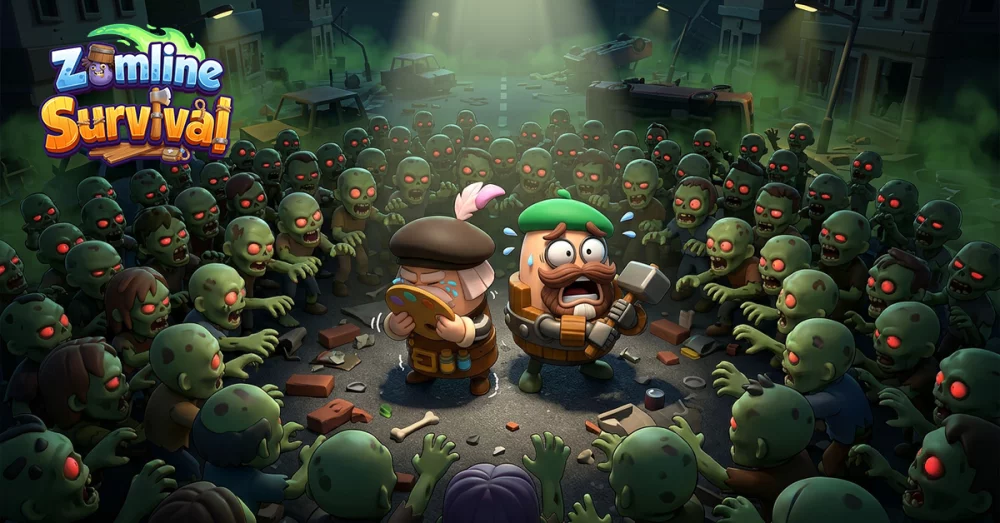
To achieve victory in Zomline Survival, you must move beyond the limitations of auto-combat and take full manual control of your squad’s movement and ability usage. While the game’s AI handles basic interactions, it often fails to account for wave density, elite enemy threats, and environmental bottlenecks. By mastering manual hero deployment, you can manipulate enemy pathing, protect your vulnerable damage dealers, and ensure that your most powerful abilities are unleashed at the precise moment they will have the greatest impact on the field.
Strategic Hero Positioning and Enemy Funneling
Success in Zomline Survival is dictated by your ability to control the battlefield geometry. If you allow your heroes to clump together, you leave your squad vulnerable to being surrounded, which leads to rapid HP loss. Instead, you must treat the map as a dynamic space.
- The "V" Formation: Position your tank units at the front in a staggered line, while placing your ranged heroes slightly behind and to the sides. This creates a "V" shape that naturally funnels zombies toward your tanks, keeping them away from your squishier damage dealers.
- Kiting and Repositioning: If a horde threatens to overwhelm your frontline, don’t stand your ground. Drag your units backward while maintaining the formation. This "kiting" strategy forces the zombies to travel further, effectively spreading them out and giving your ranged heroes more time to output damage.
- Cornering Tactics: When fighting in corners or near walls, push your tanks into the angle first. This prevents enemies from flanking your rear and ensures that your support or ranged heroes have a clear line of fire without being caught in the melee.
Optimizing Manual Ability Activation
The most common mistake for players in Zomline Survival is letting the game’s AI trigger hero skills. The AI typically prioritizes whichever enemy is closest, regardless of whether that target is a single weak zombie or a massive elite threat.
To maximize your DPS, you must switch to manual casting. Wait for the "clumping" threshold—this is the moment when a large group of zombies occupies a tight cluster. Triggering an area-of-effect (AoE) skill at this exact second can clear in one move what would have taken your squad ten seconds of basic attacking.
Furthermore, you must reserve high-impact burst skills for elite zombies. These armored threats possess significantly higher health pools and often carry status effects that can disable your heroes. By holding your crowd-control or heavy-damage skills specifically for these units, you neutralize the greatest threats to your squad’s survival before they can break your defensive line.
Managing Combat Energy and Skill Cycles
Every hero in Zomline Survival functions on a specific energy cycle. If you trigger every available skill simultaneously, you enter a "cooldown drought" where your squad is left with only basic attacks. This is the period when your team is most vulnerable to a surge of zombies.
Adopt a staggered rotation strategy to ensure continuous control:
- Staggered Activation: Use one hero's crowd-control skill (like a stun or knockback) to buy time.
- DPS Window: Once the zombies are bunched or stunned, activate your high-damage AoE skills.
- Recovery Buffer: Always keep at least one utility skill off-cooldown to handle unexpected flanks or emergency situations.
By rotating your cooldowns, you ensure a rhythmic flow of combat. Never push into an unexplored area of a map if your primary skills are on cooldown; the risk of encountering an elite wave without your full toolkit is rarely worth the time saved.
Adapting to Map Hazards and Elite Threats
As you progress through the higher levels of Zomline Survival, the environment becomes as deadly as the undead. Narrow corridors, explosive barrels, and terrain blockages require constant vigilance.
- Bottlenecking: Use narrow chokepoints to your advantage. By placing a high-defense hero at the mouth of a corridor, you can force the entire enemy wave to hit only one unit at a time, while your ranged heroes fire safely from behind.
- Hazard Awareness: Watch for environmental hazards that can be triggered by your skills. If a map has explosive canisters, bait the zombies toward them, then use a knockback skill to push the zombies into the explosive radius.
- The "Yellow Health" Retreat: If a hero’s health bar turns yellow, they are effectively compromised. Do not wait for them to die; manually drag them behind your other heroes. This allows them to benefit from passive regen or support healing while your healthier units cycle into the frontline.
Advanced Decision Making
The key to mastering Zomline Survival is realizing that combat is not just about stats; it is about resource management under pressure. When choosing your squad composition, always pair a high-mobility tank with at least one crowd-control specialist. This allows you to "reset" the fight whenever you feel the pressure becoming too great.
If you find yourself failing a mission, analyze the cause:
- Died to Elite Units? You need more single-target focus or better crowd-control timing.
- Died to Swarms? You need more AoE damage or better funneling tactics.
- Died to Chip Damage? You are failing to rotate your heroes and are taking unnecessary hits on your damage dealers.
By consistently applying these tactical adjustments, you will find that your squad survives longer, clears waves faster, and consistently overcomes the most difficult encounters in Zomline Survival. Remember: the AI is a tool, but your manual input is the deciding factor in every successful mission.

Free Zomline Survival Codes
Current active codes and how to redeem them.

James Brown
James focuses on Android gaming on PC, emulator setup, controls, performance tuning, and practical troubleshooting for longer play sessions.
COMMUNITY
Player Comments
148 players commented on this guide.
This saved me time in the early game.
This helped me understand heroes much better.
Can you add more details about heroes in a future update?
The explanation is clear, especially for beginners.