
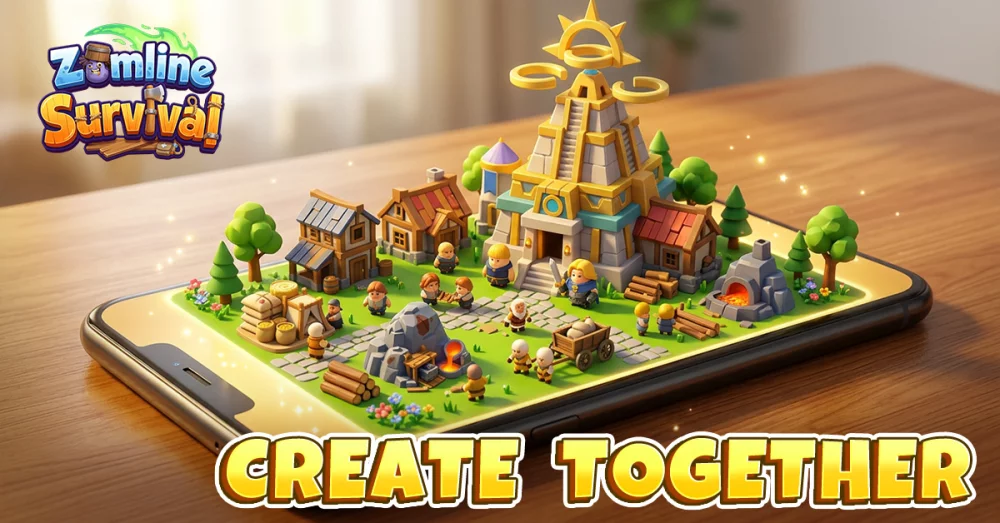
To dominate in Zomline Survival, players must look beyond standard base-building tactics and account for the game’s unique environmental engine behaviors. While the game provides robust 4X and tower defense mechanics, the high-density nature of enemy waves can occasionally lead to "wall-breaker" pathing anomalies. Understanding how to identify these glitches, mitigate their impact on your defensive perimeter, and optimize your unit management is essential for surviving the late-game stages. This guide provides the expert knowledge required to stabilize your defenses even when the game engine encounters collision errors.
Identifying and Countering Wall-Breaker Mechanics
In Zomline Survival, "wall-breaker" mechanics refer to instances where enemy units or survivors bypass intended collision zones, clipping through walls that should be impassable. This typically occurs during high-intensity waves when the game engine struggles to calculate pathing for hundreds of entities simultaneously.
When you identify units moving through static terrain, do not panic. Instead, treat the compromised section as a "soft wall" rather than a hard barrier.
- The Kill Zone Shift: If you notice units clipping through a specific segment of your wall, immediately pull your primary combat heroes back 2–3 tiles from the perimeter.
- Layered Defense: By creating a buffer zone, you force clipped units into a concentrated kill zone where your ranged heroes and automated turrets can focus fire.
- Avoid Over-Reliance: Never rely on a single, thin wall segment to hold a choke point. Always maintain a secondary line of defense—preferably a mix of crowd-control heroes and traps—behind your primary walls to catch any enemies that phase through the initial barricade.
Navigating Visual Glitches vs. Pathing Failures
Distinguishing between a graphical glitch and a genuine logic failure is a hallmark of an expert Zomline Survival player. Visual anomalies—such as flickering textures or static assets appearing to shift—are often client-side display errors that do not affect the game's underlying math.
However, "rubber-banding" or erratic unit pop-in indicates a synchronization issue between your client and the server. When you detect these synchronization errors:
- Cease Complex Commands: Avoid issuing mass movement orders or ability chains during a lag spike. The server may interpret these inputs incorrectly, leading to units pathing into danger.
- Wait for Stabilization: Allow the game state to sync for a few seconds. If the enemy's pathing logic is truly broken, they will generally continue moving in a straight line toward your base core.
- Observation: If the model flickers but the health bars decrease as expected during combat, ignore the visual error and focus on your active ability cooldowns.
Optimizing Survivor Sorting and Unit Pathing
Efficient survivor management is the backbone of your settlement's long-term health. The "Sort Survivors" function is not just a quality-of-life tool; it is a critical strategy to prevent pathing bottlenecks. When your population density becomes too high, survivors can inadvertently block your heroes, leading to collision glitches where heroes get "stuck" behind a wall of NPCs.
Best Practices for Survivor Management:
- Task-Based Categorization: Always categorize survivors by utility (e.g., gathering, base repair, or combat support). This ensures they are not idling in high-traffic zones during a wave.
- Post-Wave Routine: Establish a habit of sorting your survivors immediately after every major combat wave. This clears the "clutter" that often leads to pathing failures, where too many units occupying the same space trigger collision errors.
- Safety Zones: Ensure your non-combatant residential zones are physically distanced from your primary defensive perimeter to prevent civilians from being caught in the crossfire or interfering with your defensive AI.
Strategic Terrain and Map Boundary Usage
Even in the face of engine inconsistencies, you can turn map geometry to your advantage. Map boundaries in Zomline Survival often act as natural funnels that the AI pathing logic prefers.
Pro-Tips for Boundary Defense:
- Avoid Flush Placement: Do not place vital infrastructure directly against map edges. Collision glitches are statistically more frequent where map textures meet the boundary.
- Human Shields: Use your most durable tank heroes to "anchor" the areas where wall-breaking is most common. By placing them at the bottleneck, you force the AI to re-calculate its path, often steering them away from the glitch-prone segments of your wall.
- Preemptive Pattern Recognition: During the first 30 seconds of a wave, observe the enemy pathing. If the horde consistently drifts toward a specific corner, that section is a likely candidate for a pathing exploit. Reinforce that area with high-damage AOE heroes immediately.
Strategic Decisions When Defenses Fail
Not every defensive setup is destined to hold, especially when high-density waves overwhelm the collision engine. If a specific map section in Zomline Survival is consistently failing due to wall-breaking, stop trying to repair the wall. The game engine may have flagged that specific coordinate as unstable for the duration of the current session.
The "Fluid Defense" Strategy:
- Shift Focus to Crowd Control: If your walls are failing, invest your resources into hero-based CC (Area of Effect slows, stuns, or knockbacks) rather than structural upgrades. CC abilities work independently of the terrain, allowing you to displace enemies even when they have clipped through your barriers.
- Abandon and Adapt: There is no shame in abandoning a compromised sector. Rotate your heroes to a fallback position deeper in your base. This maintains your damage output while keeping your heroes safe from being swarmed by units that have bypassed your perimeter.
Summary Checklist for Combat Readiness
To maintain consistent progression in Zomline Survival, keep these core principles in mind:
- Monitor the Seams: Watch where textures meet; these are the primary points of failure for wall-breakers.
- Buffer Your Walls: Always leave a 2-tile gap between your defensive walls and your primary hero line.
- Sort Often: Use the sorting tool to prevent NPC pathing interference during combat.
- Prioritize AOE: When the engine struggles, AOE damage and CC are your most reliable tools for mitigating unpredictability.
By applying these strategies, you move beyond the limitations of the game engine, transforming potential technical frustration into a controlled, highly efficient survival operation. Master the terrain, manage your resources, and your base will remain the last bastion of hope in the world of Zomline Survival.

Free Zomline Survival Codes
Current active codes and how to redeem them.

Sarah Williams
Sarah specializes in RPG and collection games, explaining team building, character growth, and beginner-friendly ways to avoid expensive early mistakes.
COMMUNITY
Player Comments
74 players commented on this guide.
The tips are practical and easy to follow.
Can you add more details about base building in a future update?
I wish I had read this before upgrading the wrong thing.
Good guide for Zomline Survival players. The base building part was useful.