
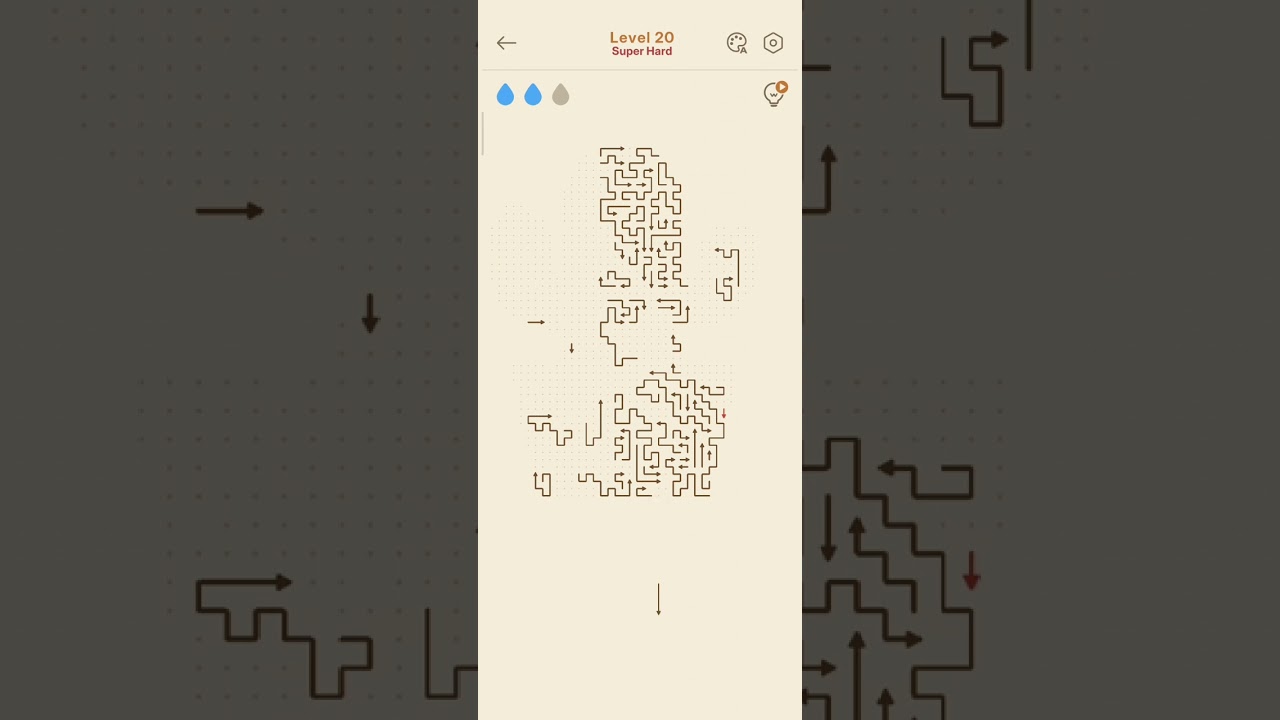
To clear Level 20 Super Hard in Amaze GO!, peel unobstructed outer-edge arrows before interacting with any tiles in the interior core. Tapping a trapped arrow triggers a collision error that stalls your progress. Clearing tiles facing directly off the perimeter creates open escape corridors, which systematically unlocks the interlocking directional dependencies holding the inner grid together.
Trajectory Rules and Collision Checks
Every arrow in Amaze GO! requires an entirely clear straight-line vector off the board to exit successfully. Level 20 packs arrows into tight clusters where almost every tile points directly into the side or rear of another block.
Before tapping any tile, check for two common trajectory obstacles:
- Long-range blockers: An arrow might have an empty adjacent square, but another block several spaces ahead in the same row or column will still block its exit.
- Offset lane clipping: Parallel rows can place an adjacent tile partially across an arrow's flight path. If an exit path clips even a fraction of an obstacle, the launch fails and the tile shakes in place.
Four-Phase Sequence to Solve Level 20
Clearing this level requires an outside-in strategy. Launching interior tiles early is impossible because outer layers act as barriers.
| Phase | Target Tiles | Exit Direction | Strategic Role |
|---|---|---|---|
| 1. Perimeter Peeling | Outward-facing edge and corner arrows | Straight out off the board edge | Creates initial empty border lanes |
| 2. Border Widening | Perpendicular tiles behind Phase 1 | Into newly emptied perimeter slots | Exposes secondary layers and corners |
| 3. Core Depletion | Mid-tier intersecting pairs | Outward through cleared border corridors | Breaks interlocking cross-grid locks |
| 4. Final Clear | Remaining central cluster tiles | Straight out through open lanes | Finishes the puzzle without collision risk |
1. Peel the Outer Perimeter
Scan the perimeter for arrows pointing straight off the board without any tiles in their direct line of fire. In Level 20, these are rare and typically sit at the corners or edges. Launch these zero-obstruction tiles first to open your initial lanes.
2. Clear Perpendicular Border Tiles
Examine the tiles sitting directly behind the cleared perimeter slots. Many of these arrows face sideways, pointing directly into the empty spaces created during Phase 1. Tapping these expands the open border area and removes secondary physical barricades.
3. Untangle Mid-Grid Dependencies
With border lanes open, look for cross-lane feeder tiles holding back multiple intersecting blocks. Trace the exit line of stuck interior arrows backward to locate the specific tile blocking their path. Removing that blocker often triggers a cascade of sequential launches.
4. Clear the Core
Once the mid-tier blockers leave the grid, the central arrows lose their surrounding barriers. Launch the remaining interior tiles through the open exit lanes to finish the stage.
Prioritizing Simultaneous Moves
When multiple arrows become available at the same time, choose your next tap using these criteria:
- Target enabling tiles first: An arrow that unblocks adjacent tiles upon leaving has higher strategic value than an isolated tile that frees nothing.
- Balance opposing sides: Avoid clearing only one flank of the board if central arrows depend on exits on both sides. Open balanced escape routes across opposite borders to prevent late-stage bottlenecks.

Free Amaze GO! Codes
Current active codes and how to redeem them.

Michael Smith
Michael covers live-service games, events, reward systems, and efficient daily routines, turning frequent updates into clear actions for players.
COMMUNITY
Player Comments
118 players commented on this guide.
This saved me time in the early game.
This helped me understand strategy much better.
Good guide for Amaze GO! players. The strategy part was useful.
This guide answered the exact question I had.