
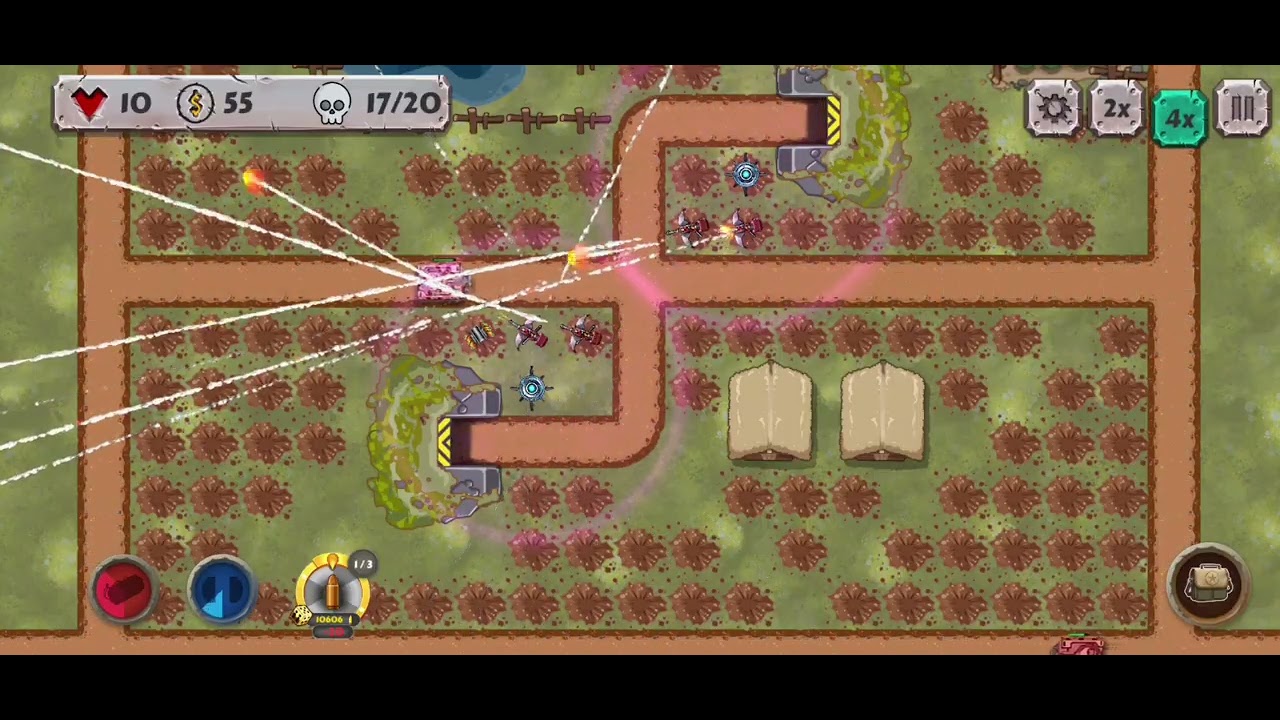
To earn three stars on the hardest Train Mode map in Battle Strategy: Tower Defense, you must escort the locomotive to the exit terminal without allowing enemy units to damage the train or its cargo cars. Unlike standard stages with fixed bases, Train Mode ties your star rating directly to convoy health. A single bypassing tank shell or light runner degrades your score to two stars or fewer. Achieving a perfect run requires building concentrated kill zones around rail bends, timing tactical strikes against armored columns, and liquidating obsolete defenses as the train moves forward.
Recommended Turret Roles and Placements
The map features high-speed scout buggies and swarms mixed into heavy armored columns. Placing the correct turret type at specific track features prevents your heavy weapons from wasting attacks on low-priority targets.
| Turret Type | Ideal Location | Primary Targets | Upgrade Milestone |
|---|---|---|---|
| Gatling / MG | Initial curves and choke points | Infantry swarms and light buggies | Build two early at entry points |
| Heavy Cannon | Rail straightaways and switch junctions | Battle tanks and elite armor | Upgrade to Tier 2 by Wave 3 |
| Missile Battery | Central elevated terrain | Clustered vehicle groups and aircraft | Deploy mid-game before air waves |
| Slow / Support | Approach bottlenecks | Fast flankers and column leaders | Add late to condense elite packs |
Early Defense and Chokepoint Setup
Begin by defending the first major rail bend where enemy paths intersect the track.
- Place one Gatling turret overlooking the main spawn approach to eliminate introductory infantry squads.
- Build a Heavy Cannon adjacent to the straight rail segment to destroy oncoming light vehicles before they enter firing range of the train.
- Focus early upgrade funds entirely on your primary Cannon rather than placing additional level-one turrets. A Tier 2 Cannon provides the burst damage required to crack armored vehicles before the locomotive completes its opening transit.
Concentrate your defenses where the track loops or passes switches. Because the train moves slowly through these sections, towers placed nearby maintain active firing uptime across multiple segments of the transit route.
Managing Mid-Wave Armor and Scout Splits
During middle waves, enemy spawns combine rapid scout buggies with heavily armored battle tanks. Fast scouts path ahead of the main column to draw fire away from the heavier units following them.
Do not allow Heavy Cannons to split their targeting onto individual scouts. When an armored column approaches a rail crossing:
- Call down a tactical air strike directly onto the center of the clustered convoy.
- The blast wipes out the screening infantry and scouts instantly while stripping base armor from the tanks.
- This leaves surviving elite hulls exposed to your dedicated Heavy Cannons, preventing heavy shells from striking the passing cargo cars.
Late-Wave Reinvestment and Final Exit Defense
Static defenses built along the opening sector lose line-of-sight once the locomotive advances into the terminal half of the map. Leaving scrap invested in idle rear defenses leaves your exit corridor vulnerable to the final assault wave.
- Sell rearward turrets: As soon as the train completely clears the early curves, sell the initial Gatling and Cannon placements to recover building scrap.
- Fortify the exit corridor: Reinvest those recovered resources immediately around the final rail straightaway. Construct a central Missile Battery and upgrade exit-path Heavy Cannons to max tier.
- Focus elite targets: Reserve your final tactical abilities for command vehicles entering the exit corridor to ensure the train crosses the finish threshold undamaged.
Free Battle Strategy: Tower Defense Codes
Current active codes and how to redeem them.

Michael Smith
Michael covers live-service games, events, reward systems, and efficient daily routines, turning frequent updates into clear actions for players.
COMMUNITY
Player Comments
89 players commented on this guide.
This saved me time in the early game.
This helped me understand strategy much better.
The explanation is clear, especially for beginners.
Good guide for Battle Strategy: Tower Defense players. The strategy part was useful.