
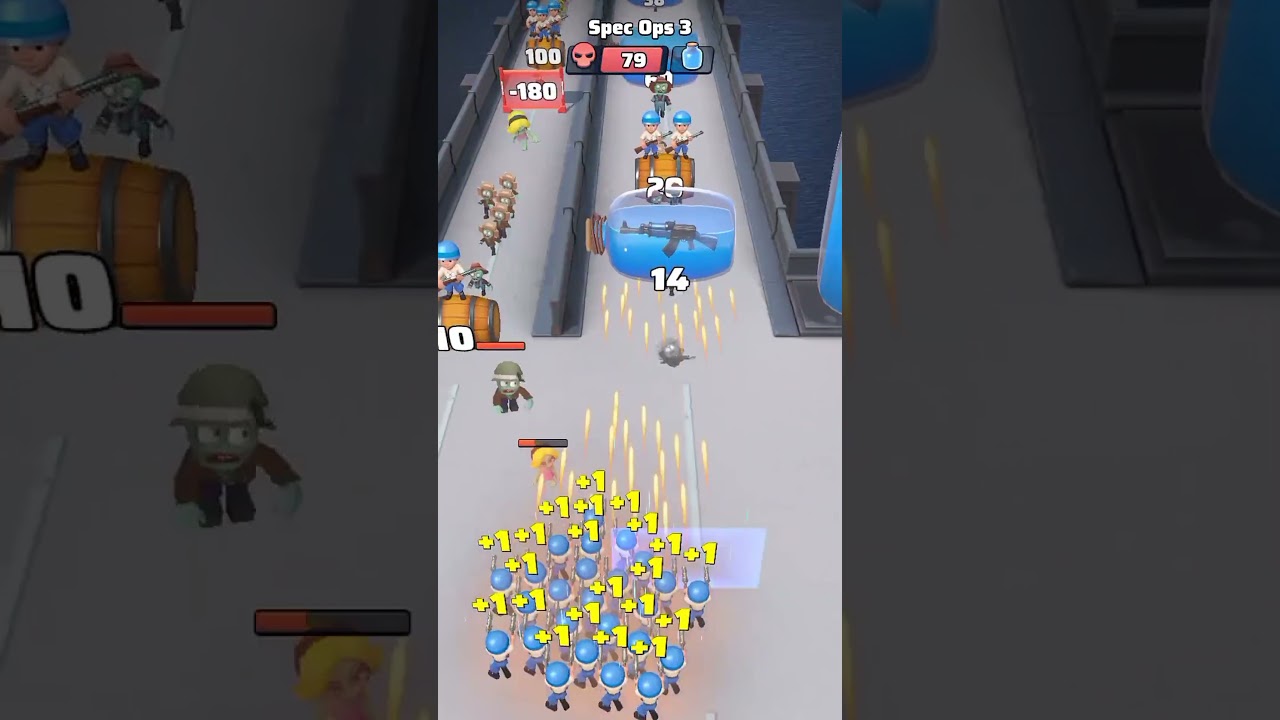
To beat Level 6 in Battle Strategy: Tower Defense, anchor your opening defenses at the primary road bend where incoming lanes converge, rather than placing units near your base entrance. Deploy low-cost frontline blockers to halt fast scouts, place rapid-fire ranged support immediately behind them, and invest mid-stage cash into upgrading your central bottleneck towers before armored waves arrive.
Road Junction Setup and Deployment Order
Level 6 features converging approach paths that funnel into a single central choke point before reaching your base. Placing units near the base perimeter gives turrets only a few seconds to fire before an enemy breaches your defenses. Anchoring your units forward at the main road bend keeps hostile units inside weapon range for their entire transit.
Follow this sequence to establish control:
| Deployment Phase | Defensive Asset | Strategic Role and Placement Focus |
|---|---|---|
| 1. Opening | Frontline Blockers | Position at the main lane bend to halt fast runners. |
| 2. Follow-up | Rapid-Fire Ranged | Place directly behind blockers to maintain steady firing uptime. |
| 3. Mid Phase | Area Splash Artillery | Position overlooking the intersection to soften dense infantry packs. |
| 4. Late Phase | Focused Single-Target | Flank the junction to burn through high-health armored targets. |
During the first two waves, incoming squads consist mostly of fast, unarmored scouts and light infantry. A cheap frontline roadblock halts their momentum, allowing a rapid-fire turret directly behind it to clear targets without taking return fire.
Mid-Wave Upgrade Priorities
Starting in waves three and four, enemy waves shift to armored squads with higher health pools that unupgraded turrets cannot burst down quickly. Upgrading existing bottleneck units provides better damage scaling than buying new, scattered base-tier turrets along the map edge.
Spend your mid-wave earnings in this order:
- Upgrade the primary corner turret: Raising your central ranged station to tier two increases its rate of fire and base damage across both incoming paths.
- Reinforce frontline durability: Once the primary ranged damage is upgraded, improve your frontline holding squad so they can survive longer against heavier troops.
- Add splash-damage artillery: Place an area-of-effect artillery unit overlooking the intersection to thin marching clusters before they hit your blockers.
- Hold an emergency cash buffer: Keep a small reserve balance rather than spending to zero so you can instantly redeploy replacement blockers if heavy enemies break through.
Countering Late Armored Waves
The final waves deploy reinforced columns accompanied by fast skirmishers intended to slip past while your turrets target heavy units. Use splash artillery to soften the entire pack simultaneously. If the interface supports target priority settings, configure secondary single-target towers to attack the fastest or closest enemies. This cleans up wounded light units quickly, allowing your primary damage dealers to focus entirely on armored commanders before they reach the exit.
Avoid building panic turrets near the rear exit if an armored unit leaks past the midpoint. Base-tier rear towers lack the damage to bring down high-health units alone. Instead, keep your defensive investments concentrated at the central choke point, balancing road-stalls, rapid cleanup fire, and area suppression.
Free Battle Strategy: Tower Defense Codes
Current active codes and how to redeem them.

Michael Smith
Michael covers live-service games, events, reward systems, and efficient daily routines, turning frequent updates into clear actions for players.
COMMUNITY
Player Comments
83 players commented on this guide.
I tried this today and it worked better than my old setup.
Good guide for Battle Strategy: Tower Defense players. The strategy part was useful.
The tips are practical and easy to follow.
This helped me understand strategy much better.