
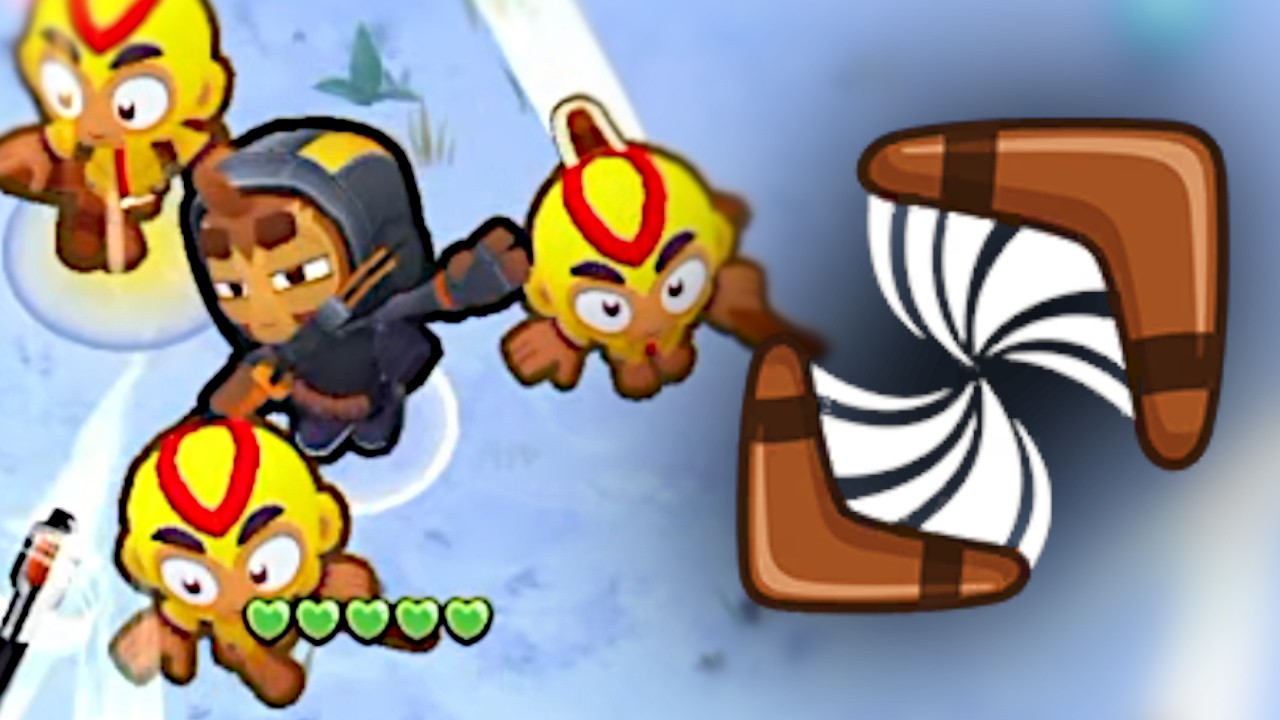
To run an effective Turbo Boomerang Monkey build in Bloons Blitz, upgrade your Boomerang Monkey along the middle path to Tier 4 Turbo Charge, position it inside a curved track bend, and pair it with external Camo detection. This setup provides rapid wave clear against dense ceramic rushes and mid-tier blimps by multiplying attack speed and projectile re-entry hits.
Choosing the Right Cross-Path
Reaching Tier 4 Turbo Charge is the primary milestone of this build. Your secondary path choice determines how well the tower performs when the Turbo Charge active ability is on cooldown.
| Cross-Path | Core Benefit | Main Weakness | Recommended Use |
|---|---|---|---|
| 0-4-2 | Red-Hot 'Rangs grant innate Lead popping and faster baseline attack speed. | Lower projectile pierce against dense clusters. | Standalone defense on tracks with frequent Lead bloons and limited support. |
| 2-4-0 | Substantially higher pierce per throw to hit more bloons per projectile. | Cannot pop Lead bloons outside of ability or external buffs. | Tight choke loops where team members provide dedicated Lead and Camo stripping. |
Select 0-4-2 if your squad lacks early Lead-popping coverage, as it provides a stable power curve without requiring immediate support investments. Choose 2-4-0 if your defense already handles Leads, allowing the increased pierce to clear tightly packed rushes during high-density waves.
Optimal Placement and Targeting
A Boomerang Monkey's output relies on projectile re-entry, where thrown boomerangs sweep along a curve and hit targets a second time on their return path. Straight track segments waste this return arc.
- Anchor inside track loops: Place the monkey inside a horseshoe bend, U-turn, or circular loop so that both the initial throw and the return flight cross the track lane.
- Offset from the apex: Avoid centering the monkey directly at the peak of a corner. Offsetting it slightly allows the returning projectile to fly parallel along the path, extending contact time against oncoming waves.
- Set up in the mid-track: Do not position the tower right at the entrance. Place it where bloons bunch together after frontline towers strip outer layers.
- Adjust targeting priorities: Switch between First and Close (or Last) based on track curvature to force the projectile launch angle down the longest stretch of track.
Managing Turbo Charge Cooldowns
Because the tower's peak damage relies on its active ability, activating Turbo Charge at the wrong time leaves your defense vulnerable to leaks during cooldown periods.
- Hold the ability for threat spikes: Save Turbo Charge for the moment a MOAB or BFB shell cracks open. The burst of speed shreds the resulting ceramic cluster before it escapes the loop.
- Respond to fortified rushes: Trigger the ability as soon as dense, fortified ceramics enter the boomerang arc.
- Stagger multiple activations: If fielding more than one middle-path Boomerang Monkey, activate their abilities in sequence rather than simultaneously to maintain continuous high-speed damage coverage.
Required Support Pairings
The Boomerang Monkey has two critical vulnerabilities: it cannot detect Camo bloons naturally, and its projectiles can leak bloons if targets move out of the flight arc too quickly.
- Camouflage removal: Place a Radar Scanner Monkey Village or a Signal Flare Mortar Monkey near the track entrance to strip Camo properties before bloons reach your boomerang zone.
- Slowing and stalling: Add a top-path Glue Gunner or an Ice Monkey near the boomerang loop. Slowing bloons inside the flight path allows returning projectiles to strike each target multiple times, maximizing total pierce while Turbo Charge recharges.

Free Bloons Blitz Codes
Current active codes and how to redeem them.

Emily Johnson
Emily writes practical mobile strategy guides with a focus on resource planning, base progression, and the early decisions that shape a long-term account.
COMMUNITY
Player Comments
85 players commented on this guide.
This guide answered the exact question I had.
I wish I had read this before upgrading the wrong thing.
Good guide for Bloons Blitz players. The strategy part was useful.
Can you add more details about strategy in a future update?