
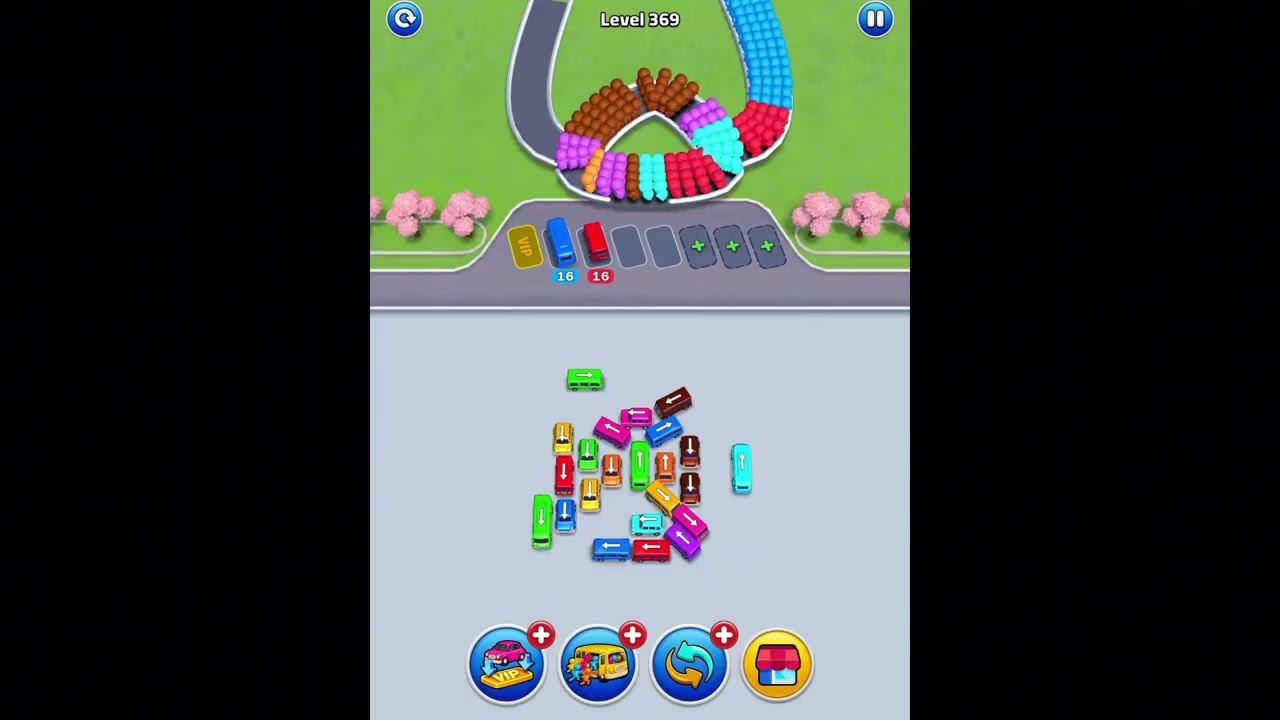
Successfully navigating the late-stage puzzles in Bus Traffic Fever! requires more than just reactive tapping; it demands a disciplined approach to grid management and color-coded vehicle prioritization. Levels 366 through 370 represent a significant spike in difficulty, introducing high-density layouts and restrictive geometries that can easily lead to gridlock if you aren't careful.
To clear these levels, you must move away from clearing "easy" colors and start thinking about board structure. By focusing on exit path clearance and maintaining open lanes as safety nets, you can systematically dismantle even the most intimidating traffic jams without the need for excessive restarts.
The Mechanics of High-Density Grid Management
In the late-game stages of Bus Traffic Fever!, the primary challenge is the volume of buses relative to the available parking slots. Unlike early levels where you have plenty of room to maneuver, these levels force you to clear colors in a strict, almost mathematical sequence. If you move a bus into a lane that does not match its primary color group, you effectively "block" that lane, preventing future progress and creating an unwinnable state.
To succeed here, you must constantly assess which buses are physically blocking the exit points. Your goal is to create "flow." If your grid is full, every move must contribute to opening a slot or clearing a set. The golden rule for these levels is to maintain at least one empty lane at all times. This acts as your "buffer zone," allowing you to shuffle buses around to reach colors buried deep in the back of the lanes.
Cracking the "Impossible" Code of Level 367
Level 367 is widely considered the most difficult in this sequence due to its restrictive lane geometry and the deceptive placement of key vehicles. Many players label it "impossible" because they fall into the trap of clearing the most accessible colors first, which inadvertently locks the rest of the board.
The solution to Level 367 lies in identifying the "keystone" bus. This is the specific vehicle that, when moved, unlocks a chain reaction of color matches.
- Analyze the Depth: Look for colors that are buried deep but are preventing the movement of multiple other buses.
- Resist the Obvious: Do not clear the front-most color if doing so fills a lane that you need to keep open for a future maneuver.
- Chain Reactions: Focus your moves on triggering multiple color removals in quick succession. Once you clear the keystone color, the density of the board collapses, making the remaining vehicles much easier to manage.
Advanced Bottleneck Clearance Strategies
Bottlenecks occur when you run out of available spaces to move buses that don't match your current target color. To prevent this, you must categorize your buses into two distinct groups: Active and Passive.
- Active Buses: These are part of a group that can be cleared immediately. Prioritize these to create space.
- Passive Buses: These are currently blocking your path or sitting in the wrong lane. They are only moved to facilitate the clearing of Active buses.
Pro-Tip for Clearing: Always identify the target color that has the highest density on the board. If you have five buses of one color and three of another, clearing the five-bus set first is almost always the correct move. It maximizes the number of slots returned to your pool of available moves.
Maximizing Lane Capacity and Move Efficiency
Efficient play in Bus Traffic Fever! is measured by your ability to maximize the utility of every parking slot. As you progress through Level 370, the number of available slots decreases relative to the number of buses, meaning every single move carries a high risk.
Avoid filling up multiple lanes with partial color sets. This is the most common mistake in these levels. If you have a red bus in Lane 1, a blue bus in Lane 2, and a green bus in Lane 3, you have zero flexibility. Instead, aim to consolidate:
- Consolidation Strategy: Move buses of the same color into a single lane as soon as possible.
- The "Holding Zone" Method: Reserve one lane specifically for shuffling. Never put a bus in this lane unless it is a temporary stop on its way to a matching set.
- Move Efficiency: Before you tap, simulate the next three moves in your head. If a move results in no clear and fills an empty lane, it is likely a bad move.
When to Reset and How to Spot a Dead-End
Even the best players encounter board states that become unwinnable due to the initial random distribution of vehicles. If you have moved buses into all available lanes and cannot complete a match, the level is "dead."
Recognizing this early is a vital skill. Don't waste time trying to force a solution on a board where the high-value colors are effectively trapped behind a wall of mismatched vehicles.
- The Five-Move Rule: If you have moved five times and have three or more different colors scattered across all available lanes, you have likely over-extended.
- Restarting: Restarting is not a failure; it is a tactical reset. By resetting, you can often get a slightly different arrangement of buses that favors your preferred clearing strategy, making the puzzle significantly more manageable.
Summary of Best Practices
- Prioritize Exit Lanes: Clear the front-most buses, even if they aren't your primary target, to open up the board.
- Avoid "Clutter" Moves: Never move a bus into an empty lane unless it is part of a sequence that results in a color clear.
- Keep the Buffer: Always try to keep at least one lane completely empty to serve as a workspace for shuffling.
- Analyze the Start: Use your first few moves to observe how the colors are grouped. If the initial layout puts essential colors at the very back of the most crowded lanes, perform a quick restart to get a better starting configuration.
By applying these strategies to levels 366–370, you shift the game from a test of luck to a test of logic. Focus on the structure of your parking lanes, respect the importance of the buffer zone, and you will find that these "impossible" levels become a rewarding mental exercise.

Free Bus Traffic Fever! Codes
Current active codes and how to redeem them.

James Brown
James focuses on Android gaming on PC, emulator setup, controls, performance tuning, and practical troubleshooting for longer play sessions.
COMMUNITY
Player Comments
41 players commented on this guide.
The tips are practical and easy to follow.
This helped me understand strategy much better.
I wish I had read this before upgrading the wrong thing.
This saved me time in the early game.