
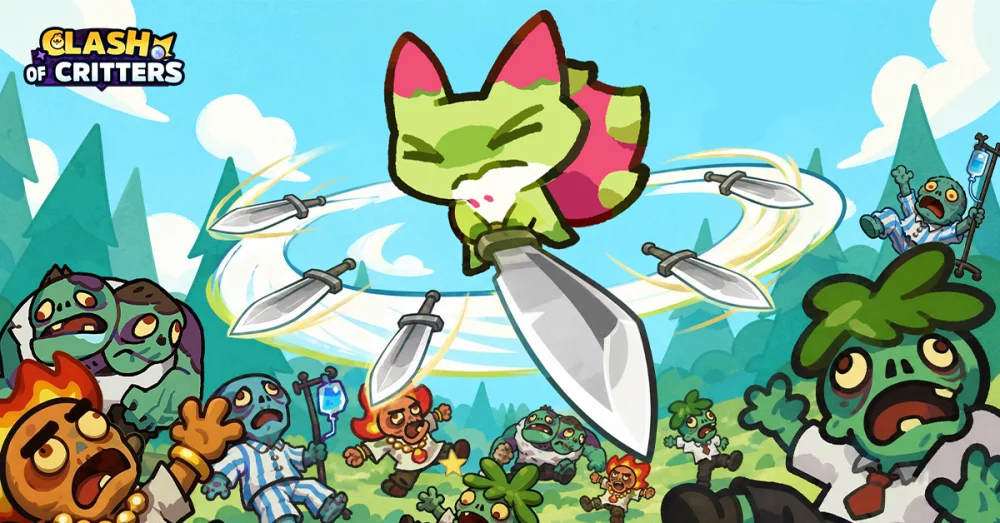
Successfully clearing the Water Dojo in Clash of Critters requires more than just raw power; it demands an understanding of how your units interact with the specific terrain and enemy density of each stage. Stage 1-7 is a common hurdle for players looking to progress through the Water Dojo, as it introduces a moderate spike in difficulty that punishes disorganized team compositions.
Core Strategy for Water Dojo 1-7
The primary goal in this stage is to manage the incoming wave of enemies before they overwhelm your front line. Unlike earlier stages, the enemies here have a slightly higher health pool, meaning your team needs to focus fire rather than spreading damage too thin across the battlefield.
- Frontline Anchoring: Place your tankiest units in the direct path of the oncoming mobs. This forces the enemy AI to focus on your high-defense units while your backline attackers deal consistent damage.
- Backline Support: Position your glass-cannon or long-range units behind the main tank line. If you place them too close to the front, they will likely be targeted by area-of-effect attacks or direct charges, leading to an early defeat.
- Spacing: Avoid clustering all your critters in a single spot. Keeping them slightly spread out minimizes the impact of enemy abilities that hit in a radius.
Recommended Formation Tips
To consistently clear Stage 1-7, consider the following tactical adjustments:
| Formation Factor | Strategic Benefit |
|---|---|
| Aggro Management | Use a sacrificial or high-defense unit to draw aggro early. |
| Damage Focus | Prioritize units with high single-target damage to eliminate threats one by one. |
| Energy Timing | Save your ultimate abilities for when the screen is most crowded with enemy units. |
Common Pitfalls to Avoid
Many players struggle with this stage because they ignore the positioning of their weakest units. If your support or ranged units are dying before the boss wave even begins, you need to adjust their starting coordinates.
- Don't Over-invest in one Lane: Ensure your damage output is balanced across the lanes where enemies spawn.
- Monitor Cooldowns: Do not waste your primary abilities on low-health minions. Save those cooldowns for the tougher enemies that appear toward the end of the stage.
- Check Unit Synergies: Even at lower levels, having units that provide buffs or debuffs can make the difference between a narrow victory and a failed attempt.
By refining your placement and holding your major abilities for the correct moments, you will find that Stage 1-7 becomes much more manageable. Focus on keeping your primary attackers alive until the final wave, and use your tanks to dictate the pace of the combat.

Free Clash of Critters Codes
Current active codes and how to redeem them.

Michael Smith
Michael covers live-service games, events, reward systems, and efficient daily routines, turning frequent updates into clear actions for players.
COMMUNITY
Player Comments
93 players commented on this guide.
This guide answered the exact question I had.
Nice guide. I am checking the other Clash of Critters articles next.
This helped me understand strategy much better.
The tips are practical and easy to follow.