
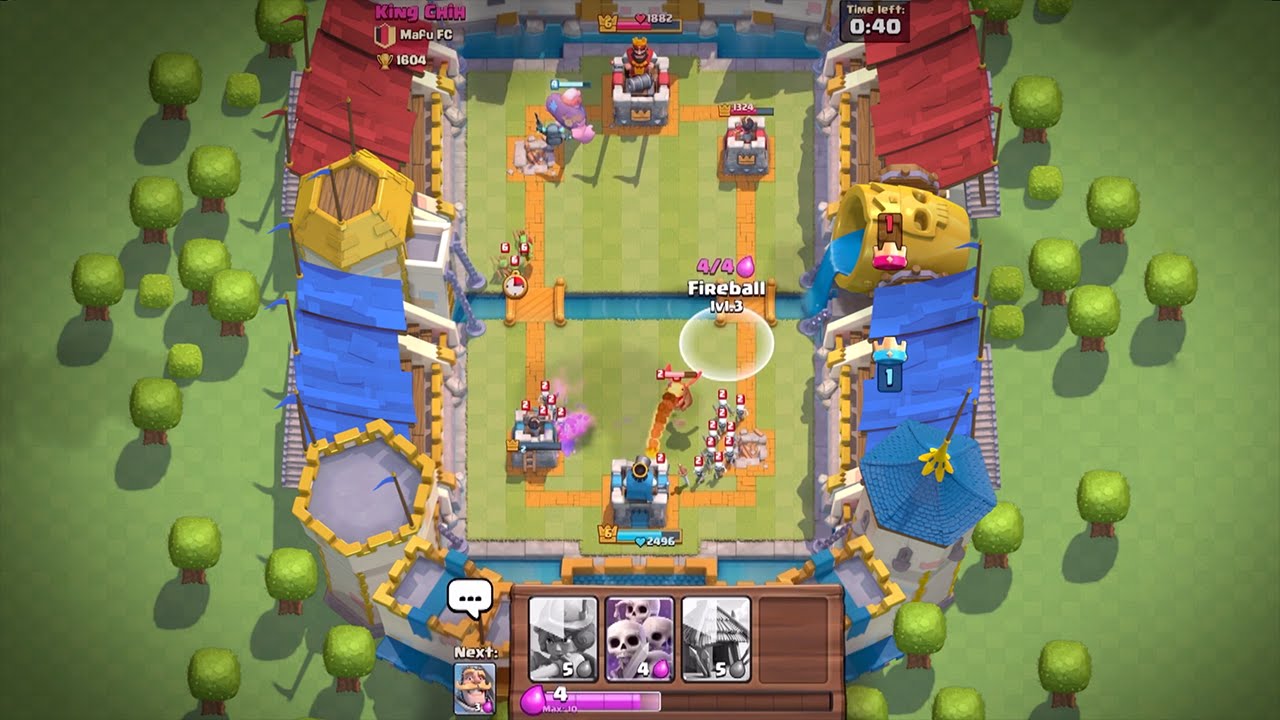
To win early matches in Clash Royale, let your opponent commit their Elixir first, defend using lower-cost counters to build an Elixir advantage, and immediately transition surviving defenders into an offensive counter-push.
Strategic Defense and Elixir Trades
Elixir management forms the foundation of every match. Initiating an aggressive attack immediately often leaves you short on resources, giving your opponent the defender's advantage. By allowing the opponent to place troops first, you can position counters on your side of the arena where your Princess Towers assist in dealing damage.
When defending, aim for positive Elixir trades by spending fewer resources to stop an incoming push than your opponent spent creating it.
- Maintain a safety reserve: Keep at least 2 to 3 Elixir available during attacks so you can respond quickly if the opponent launches a push in the opposite lane.
- Preserve defensive units: Position defensive troops so they survive the engagement with remaining health, allowing them to turn into an immediate counter-attack.
- Avoid over-committing: Spending all 10 Elixir on a single push leaves your arena vulnerable to punishment plays if the opponent neutralizes your attack cheaply.
Early Card Roles and Counters
Understanding card roles helps prevent placement mistakes and enables efficient counter-play.
| Card | Primary Role | Function | Key Counters / Positioning |
|---|---|---|---|
| Giant | Tank | High health; targets buildings exclusively | Place at the back of the arena to build Elixir behind it |
| Minions | Glass Cannon | Flying unit; high single-target or swarm damage | Fragile; countered by ranged single-target units like Archers or Musketeers |
| Ice Wizard | Utility / Support | Slows enemy movement and attack speeds | Position behind defensive units or tanks to stall enemy pushes |
| Skeleton Army | Swarm Defense | Distracts and destroys high-damage ground units | Neutralizes single-target tanks quickly for a low Elixir cost |
Step-by-Step Counter-Pushing Sequence
Counter-pushing recycles defensive investments into offensive pressure, forcing the opponent to defend while low on resources. Execute a counter-push using the following sequence:
- Wait for the opponent's push: Allow enemy units to cross the river onto your side of the board.
- Deploy low-cost counters: Use cheap units or defensive cards to neutralize the enemy attack while maintaining an Elixir lead.
- Assess surviving troops: Identify which of your defensive units remain active with usable health.
- Add offensive support: Drop a tank unit like the Giant in front of surviving ranged units, or add support troops behind a surviving tank as it approaches the bridge.
- Monitor opponent responses: Watch the opponent's card rotation to anticipate their defensive options while keeping a minor Elixir reserve.
Tank Placement and Synergy Rules
When building an attack around a tank like the Giant, unit placement timing dictates your success.
- Front-Loading: Place the Giant at the very back of your side of the arena. Because it moves slowly, your Elixir bar will refill by the time the Giant reaches the bridge, allowing you to deploy support troops behind it.
- Back-Supporting: Place fragile ranged or air troops (such as Minions or the Ice Wizard) behind the Giant only after it reaches the bridge to ensure enemy towers lock onto the tank first.
- Lane Switching: If an opponent spends heavy Elixir defending one lane, place low-cost units in the opposite lane to divide their attention and split their defensive resources.

Free Clash Royale Codes
Current active codes and how to redeem them.

Michael Smith
Michael covers live-service games, events, reward systems, and efficient daily routines, turning frequent updates into clear actions for players.
COMMUNITY
Player Comments
88 players commented on this guide.
The explanation is clear, especially for beginners.
This helped me understand early game much better.
The tips are practical and easy to follow.
This saved me time in the early game.