
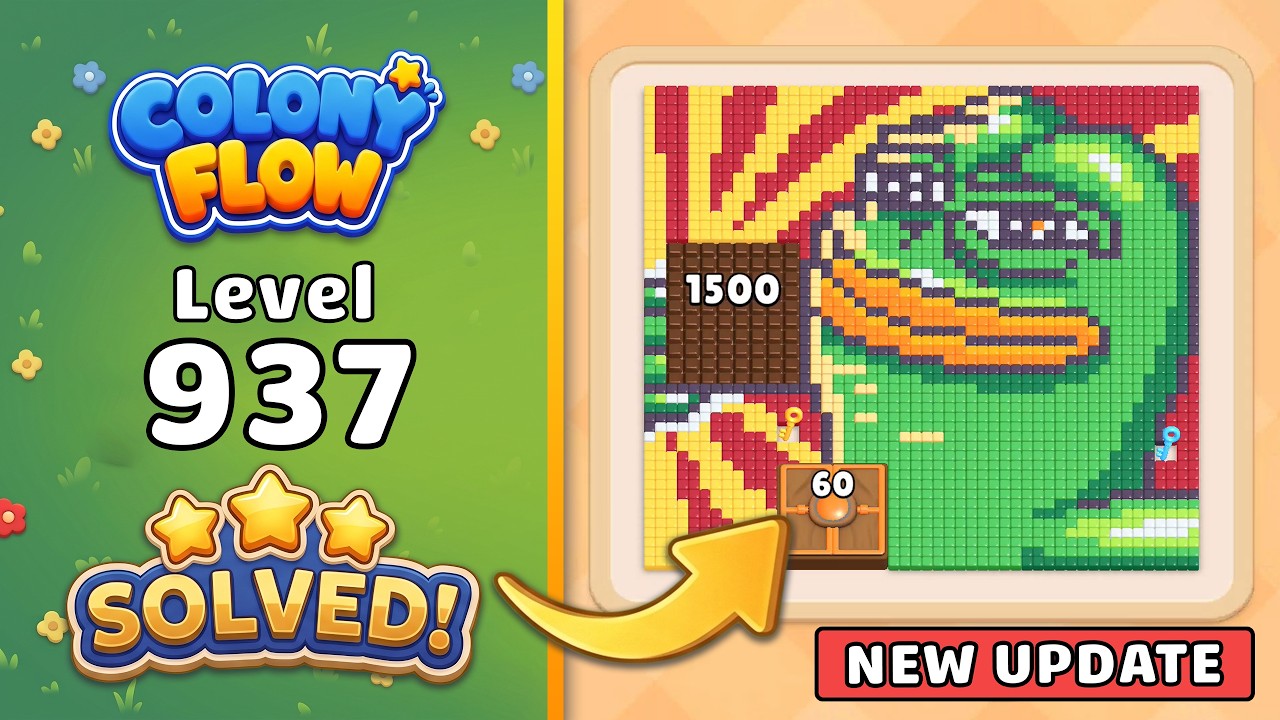
To beat Level 937 in Colony Flow!, clear the outer perimeter units before tapping into the congested central cluster. Tapping blocked units routes non-clearing ants directly into your limited holding dock slots, creating a quick fail state. Success requires peeling back the outer layer to expose corner turns, tracing blocked paths back to free terminal units, and maintaining empty queue space.
Step 1: Clear the Unobstructed Perimeter
The opening board presents intersecting columns where central units are trapped behind directional arrows. Your initial moves must focus exclusively on perimeter units that have direct, open exits.
- Scan the outer borders: Find ants facing outward with no other unit or barrier in their immediate trajectory.
- Release open single units: Tap these perimeter ants first so they flow out immediately without resting in your holding dock.
- Open corner nodes: Clearing outer rows frees corner turnaround points, allowing border ants facing right or downward to escape next.
- Ignore center matches: Leave internal color matches alone if their forward path collides with an outer unit.
Level 937 Phase Breakdown
Managing the board by section ensures your holding slots remain open for required color clears.
| Stage | Priority Target | Main Hazard | Objective |
|---|---|---|---|
| Opening | Outer borders and corners | Filling dock slots with dead-end pieces | Create clear perimeter runways |
| Mid-Game | Secondary intersecting rings | Cutting off cross-lane junctions | Unravel dependencies back to terminal ants |
| End-Game | Remaining core cluster | Careless taps overflowing the queue | Match remaining colored batches sequentially |
Step 2: Unravel the Central Intersections
After stripping the perimeter, the remaining board consists of crossing horizontal and vertical lanes. Moving an ant across an active intersection prematurely can block escape routes for adjacent colors.
Before tapping any ant in the center, trace its route two spaces forward:
- If Ant A's path is blocked by Ant B, check whether Ant B can move immediately.
- If Ant B is also blocked by Ant C, do not tap either unit.
- Follow the line backward until you find the terminal ant—the unit at the head of the chain with an open forward tile—and release that piece first.
Step 3: Manage Holding Dock Capacity
The primary fail condition on Level 937 is queue exhaustion. When an ant moves without an immediate exit or three-unit match, it occupies a holding slot at the bottom of the screen.
Apply these rules to keep the holding dock functional:
- Keep two slots open: Do not let the dock fill past half capacity unless your next input triggers an immediate three-unit removal.
- Prioritize active pairs: If the dock already holds two units of a specific color, only tap matching ants on the board to clear those spaces.
- Eliminate speculative taps: Never tap a blocking ant simply to see what sits behind it unless you know the move instantly resolves a match.
- Count required moves: Calculate how many moves are needed to clear an ant before sending it to the holding dock. If clearing it requires more moves than your remaining slot count, leave it in place.
Step 4: Finish the Core Cleanup
Once fewer than ten units remain on the board, spatial collisions become rare, but rushed inputs can still cause an accidental overflow. Compare the colors in the remaining core directly against the pieces sitting in your dock. Tap only the ants that complete full sets to empty the dock, then route the final isolated ants into their collection points one by one.

Free Colony Flow! Codes
Current active codes and how to redeem them.

Michael Smith
Michael covers live-service games, events, reward systems, and efficient daily routines, turning frequent updates into clear actions for players.
COMMUNITY
Player Comments
114 players commented on this guide.
This helped me understand strategy much better.
The explanation is clear, especially for beginners.
This saved me time in the early game.
Good guide for Colony Flow! players. The strategy part was useful.