
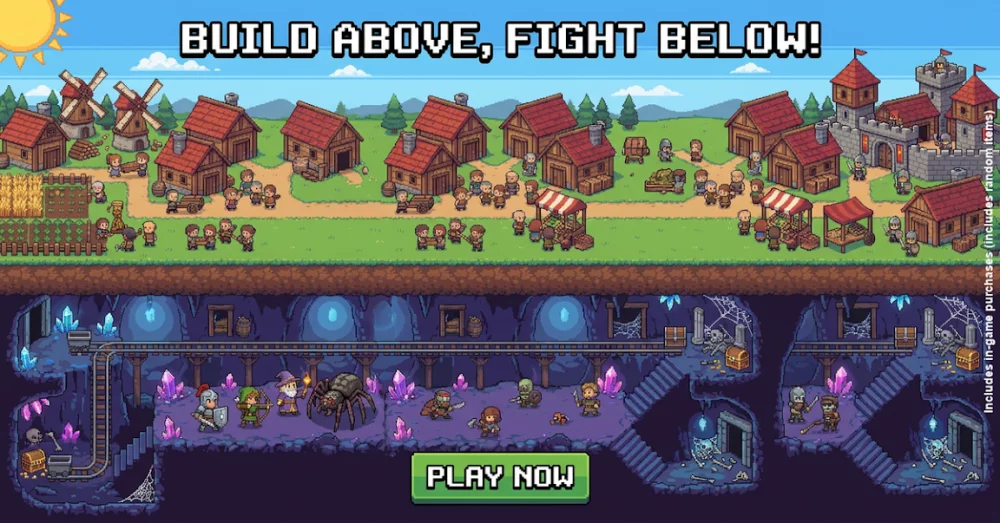
Success in Crownstone Survival relies heavily on your ability to manage unit positioning and timing during active combat encounters. By understanding how to deploy your forces relative to enemy wave patterns, you can mitigate incoming damage and maximize your squad's offensive output. This guide focuses on tactical positioning, formation adjustments, and utilizing unit abilities effectively to overcome defensive bottlenecks and improve your survival rate during intense skirmishes against encroaching hostile forces.
Tactical Unit Placement Strategies
Effective combat outcomes begin with proactive unit placement before the heat of battle intensifies. Always prioritize placing high-damage units behind sturdy front-line defenders to ensure consistent damage output while protecting your more vulnerable squad members.
- Front-line Anchors: Position units with higher health and armor stats in the path of incoming enemy waves to absorb initial aggression.
- Back-line Support: Place ranged attackers and support units in the rear to maintain a safe distance while providing sustained fire or utility.
- Flanking Maneuvers: Use mobile units to intercept enemies attempting to bypass your main defensive line, preventing them from reaching your critical support heroes.
Optimizing Ability Timing and Execution
Timing is the most critical factor when deploying special abilities during a fight. Activating your hero's unique skills at the exact moment an enemy cluster enters your range can turn the tide of a losing battle, whereas wasting them on isolated targets often leads to resource depletion.
Ability Usage Rules
| Situation | Recommended Strategy |
|---|---|
| High Density Waves | Save area-of-effect abilities for clusters to maximize damage efficiency. |
| Boss Encounters | Hold high-damage cooldowns until the boss reaches vulnerable phases. |
| Emergency Defense | Utilize knock-back or crowd-control abilities when enemies breach your front line. |
Managing Battle Formations
Maintaining a cohesive formation prevents your units from becoming isolated and picked off by enemy swarms. As the battle progresses and the terrain shifts, you must be prepared to adjust your formation to keep your defensive integrity intact.
- Avoid Overextending: Keep your squad clustered enough that support abilities can affect multiple units simultaneously.
- Adapt to Map Geometry: Use narrow corridors to funnel enemies into your defensive formation, effectively neutralizing their numerical advantage.
- Prioritize Target Focus: Ensure your units are focused on the most immediate threat rather than splitting fire across multiple low-priority targets, which reduces overall efficiency.
Combat Recovery and Post-Wave Preparation
Between enemy waves, take a moment to assess the health status of your units and reposition them if necessary. If a specific unit has taken excessive damage, rotate them to the back of the formation to allow for natural recovery or to prevent them from being eliminated during the next incoming wave. Constant assessment of your squad's health pool is essential for surviving longer stages.

Free Crownstone Survival Codes
Current active codes and how to redeem them.

Emily Johnson
Emily writes practical mobile strategy guides with a focus on resource planning, base progression, and the early decisions that shape a long-term account.
COMMUNITY
Player Comments
87 players commented on this guide.
I wish I had read this before upgrading the wrong thing.
Nice guide. I am checking the other Crownstone Survival articles next.
The tips are practical and easy to follow.
This guide answered the exact question I had.