
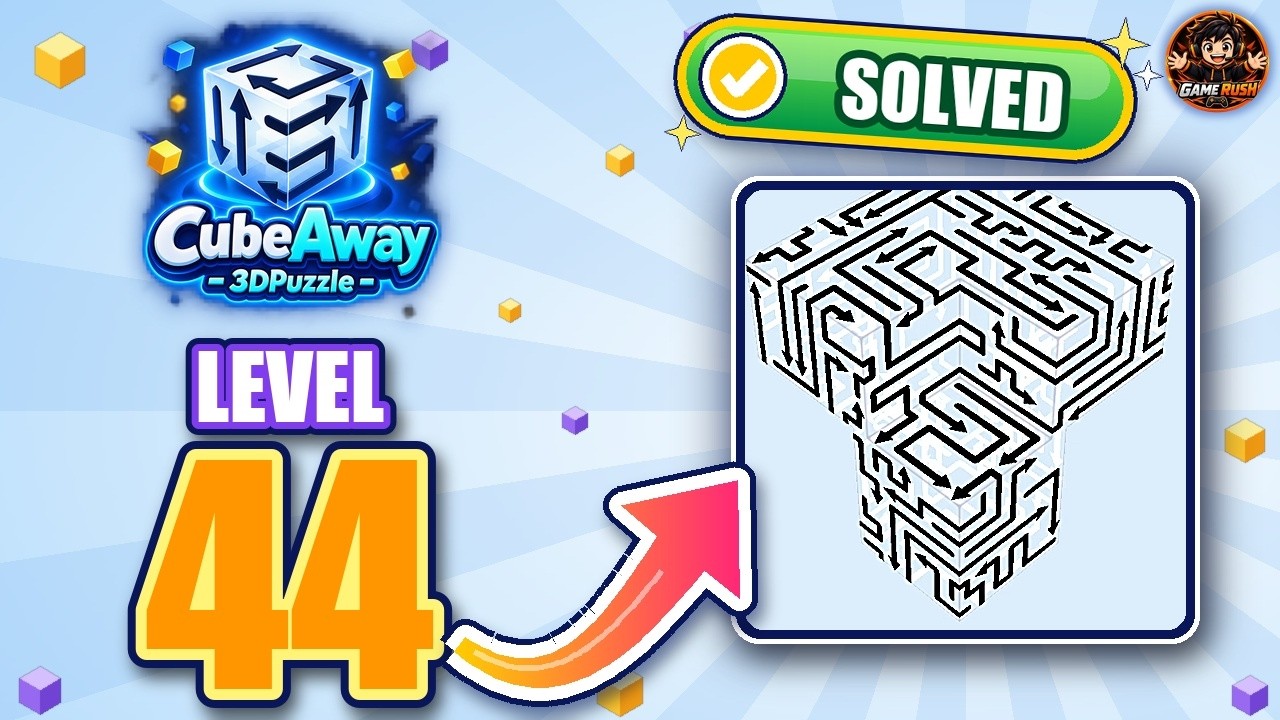
To clear Level 44 in CubeAway, rotate the 3D model immediately to locate and tap outward-facing corner cubes with clear flight paths. Removing these free perimeter blocks opens exit corridors for the middle layer. Once the perimeter and intermediate layers are stripped away, align your camera with the central core to eliminate opposing block pairs one by one.
---
1. Clear the Outer Perimeter Cubes
Level 44 starts as a dense, interlocking 3D block formation where interior cubes cannot escape. Before tapping, rotate the puzzle along its horizontal and vertical axes to find three to four edge cubes pointing directly into open space.
Remove the outer shell in this order:
- Topmost cube: Rotate the model until the highest outward-facing block is centered, then tap it to launch it upward.
- Top perimeter neighbors: Tap adjacent cubes that point into the space the top cube just vacated.
- Lateral flanks: Rotate the puzzle 90 degrees horizontally to target outer side blocks pointing left and right into empty space.
- Bottom corners: Tilt the puzzle upward to view the underside, then clear the downward-pointing corner blocks.
Tapping broad face cubes prematurely will cause collisions with adjacent blocks. Stick strictly to corner and edge blocks until external gaps appear.
---
2. Deconstruct the Mid-Layer Blocks
With the outer shell removed, mid-layer blocks can exit through the newly opened perimeter channels. These blocks depend on strict sequencing: an interior block cannot move until the block in front of its arrow trajectory has cleared.
| Block Layer | Arrow Trajectory | Clearing Prerequisite | Primary Hazard |
|---|---|---|---|
| Outer Perimeter | Points away from grid | None (path is open) | Tapping inward-facing arrows |
| Mid-Layer Flanks | Parallel to puzzle faces | Perimeter blocks cleared | Hitting uncleared outer edges |
| Core Connectors | Points through open channels | Mid-layer flanks removed | Colliding with adjacent core cubes |
| Central Anchor | Shared axis / opposing exit | Connector paths opened | Deadlocking the remaining pair |
Rotate the formation continuously to trace each mid-layer arrow's line of sight. If an arrow points toward an occupied spot, locate the blocking cube and verify whether its own exit path is clear before tapping. Work backward from the open perimeter toward the center.
---
3. Disassemble the Central Core
The core of Level 44 contains a small cluster of tightly packed cubes arranged along shared axes. These blocks frequently point back-to-back or in opposite directions along the same line.
- Align the camera directly down the axis: Isometric angles can create the illusion of an open path. Turn the camera until you look straight down the line of the remaining blocks.
- Tap the wider opening first: Identify which core block faces an entirely open exit corridor and tap it.
- Clear the opposing block: Once the first block departs, tap the opposing cube, which now has an unobstructed path through the newly cleared corridor.
- Repeat for remaining pairs: Continue alternating between opposing pairs until the final core cubes fly off the board.
---
Avoiding Collisions on Level 44
Failed attempts on this level usually result from tapping blocks without confirming their full exit trajectory:
- Rotate 45 and 90 degrees frequently: An arrow that looks free from a front angle may clip an overlapping cube visible only from the side.
- Re-evaluate after every two to three taps: Each successful removal creates new exit paths on the opposite side of the structure.
- Never guess blocked paths: If a block does not have a clearly visible exit corridor extending off-screen, leave it until surrounding obstacles are cleared.

Free CubeAway Codes
Current active codes and how to redeem them.

Sarah Williams
Sarah specializes in RPG and collection games, explaining team building, character growth, and beginner-friendly ways to avoid expensive early mistakes.
COMMUNITY
Player Comments
113 players commented on this guide.
The explanation is clear, especially for beginners.
I tried this today and it worked better than my old setup.
The tips are practical and easy to follow.
Can you add more details about strategy in a future update?