
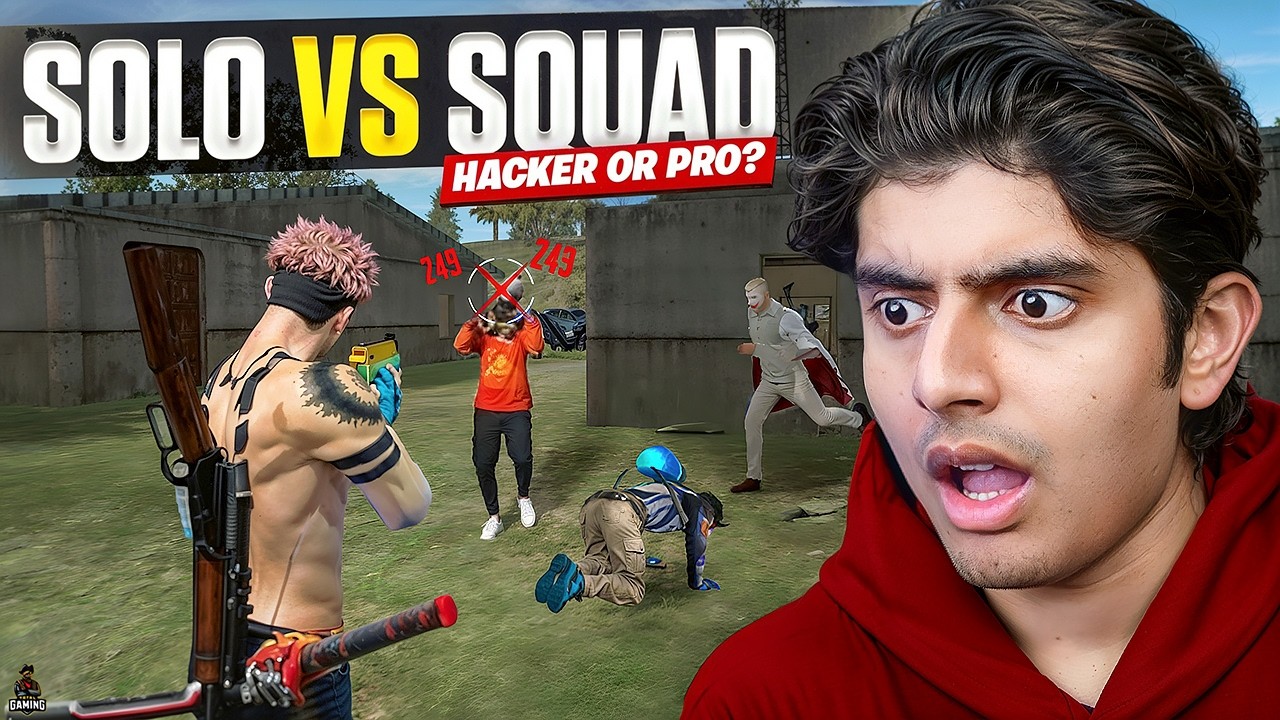
Winning in Free Fire as a solo player against full squads is the ultimate test of mechanical skill and tactical awareness. While many players view a 1v4 scenario as a death sentence, elite players treat it as a series of sequential 1v1 engagements. Success in Free Fire solo vs. squad mode requires a fundamental shift in mindset: you are no longer playing to survive; you are playing to control the pace of every encounter.
The Principle of Isolation: Dividing the Opposition
The most common mistake in Free Fire is attempting to fight four players simultaneously. If you find yourself in the crosshairs of a full squad, you have already failed the positioning phase. Your goal is to break the squad’s cohesion.
- Forcing 1v1 Duels: Use natural terrain or buildings to block line-of-sight from three members of the squad while focusing your fire on the one player who has pushed too far forward.
- The Baiting Technique: If you knock one enemy, do not rush for the finish immediately. Leave them downed. Their teammates will often panic or prioritize a revive, which forces them into predictable movement patterns. Use the downed player as a lure to draw their teammates into your line of fire one by one.
- The Kill Feed Advantage: Pay close attention to the kill feed. If you see the squad has already lost a member to another team, that is your window to engage. A 1v3 is significantly more manageable than a 1v4.
Mastering Verticality and High-Ground Advantage
In Free Fire, high ground is more than just a vantage point; it is a tactical necessity. When you are on elevated ground, you force enemies to look up, which limits their movement and makes them easier targets for headshots.
- Constant Rotation: If you hold a high-ground position for too long, squads will eventually use utility items like grenades or coordinated flanking maneuvers to displace you. Once you take a shot, reposition. Never fight from the same window or rooftop twice in a row.
- Artificial High Ground: If you are stuck in open terrain, use your Gloo Walls to create your own cover or staircases. Experienced players use Gloo Walls to "step up" onto containers or low roofs, allowing them to gain a surprise angle that the enemy team isn't monitoring.
Efficient Resource Management for Solo Survival
When you are playing solo, you have no teammates to provide suppressing fire or revive you. Your inventory management must be flawless to ensure you can survive the attrition of a 1v4.
- Gloo Wall Economy: You should never have fewer than five Gloo Walls in your inventory. They are your only "extra life" against a squad spraying you with ARs. If you are low, make looting Vending Machines your absolute priority.
- Inhalers vs. Medkits: Always carry a mix. Use Inhalers during active combat because they allow you to heal while moving. Save Medkits for when you have successfully broken line-of-sight and can fully reset your health bar.
- Weapon Loadout: In solo vs. squad, versatility is key. Pair a high-damage mid-range weapon (like the M1887 or MP40 for close-quarters) with a reliable long-range rifle. You need the ability to pick off enemies from a distance before closing the gap to finish the squad.
Calculated Aggression: When to Push and When to Reset
In Free Fire, passive play often results in being cornered. If you sit still, a squad will eventually surround you. You must be the aggressor, but your aggression must be calculated.
- The Opening Burst: Initiate combat only when you have a clear advantage, such as a flank or an enemy out of position.
- The Disengage: If you take significant damage or the enemy team begins to coordinate their push, do not stay to fight. Use a Gloo Wall, drop a smoke grenade, and rotate 90 degrees away from your previous position.
- Resetting the Fight: Once you have rotated, wait for the enemies to push your "ghost" location. While they are clearing the area you just vacated, you can strike them from the flank. This reset is the secret to winning against better-coordinated teams.
Map Awareness and Decision Making
High-level Free Fire gameplay is 80% map awareness. You need to constantly track where gunfire is coming from.
- Third-Partying: If you see two squads engaging each other, do not rush in blindly. Wait for one squad to eliminate the other. The survivors will likely be low on health, have depleted their utility items, and be focused on looting. This is the perfect moment for a solo player to wipe the weakened squad.
- Zone Intelligence: Always be aware of the "Zone" path. If you are playing solo, you can often predict where a squad will be forced to move. Position yourself at the edge of the zone to intercept them as they rotate, forcing them to fight you while they are also struggling to outrun the blue zone damage.
Common Mistakes to Avoid
- Over-committing to a Knock: Do not die trying to confirm a kill. If a player is downed behind heavy cover, leave them. The pressure of them being "revivable" is often more valuable than the kill itself, as it keeps the other three players distracted.
- Ignoring Sound Cues: Use high-quality headphones. You can hear footsteps, reloads, and even the "thump" of a grenade being pulled. If you hear a squad rotating toward your building, know their numbers before they even enter your vision.
- Static Healing: Never heal in the middle of a room. Always move to a corner or behind a Gloo Wall before applying health items.
By prioritizing movement, isolating targets, and maintaining a strict inventory of utility items, you can survive the most intense solo vs. squad encounters in Free Fire. Remember: the goal is to make the enemy team feel like they are fighting four different people, not just one. Keep them guessing, stay mobile, and never let them pin you down.
Free Free Fire Codes
Current active codes and how to redeem them.

Emily Johnson
Emily writes practical mobile strategy guides with a focus on resource planning, base progression, and the early decisions that shape a long-term account.
COMMUNITY
Player Comments
122 players commented on this guide.
This saved me time in the early game.
The tips are practical and easy to follow.
Good guide for Free Fire players. The strategy part was useful.
Can you add more details about strategy in a future update?