
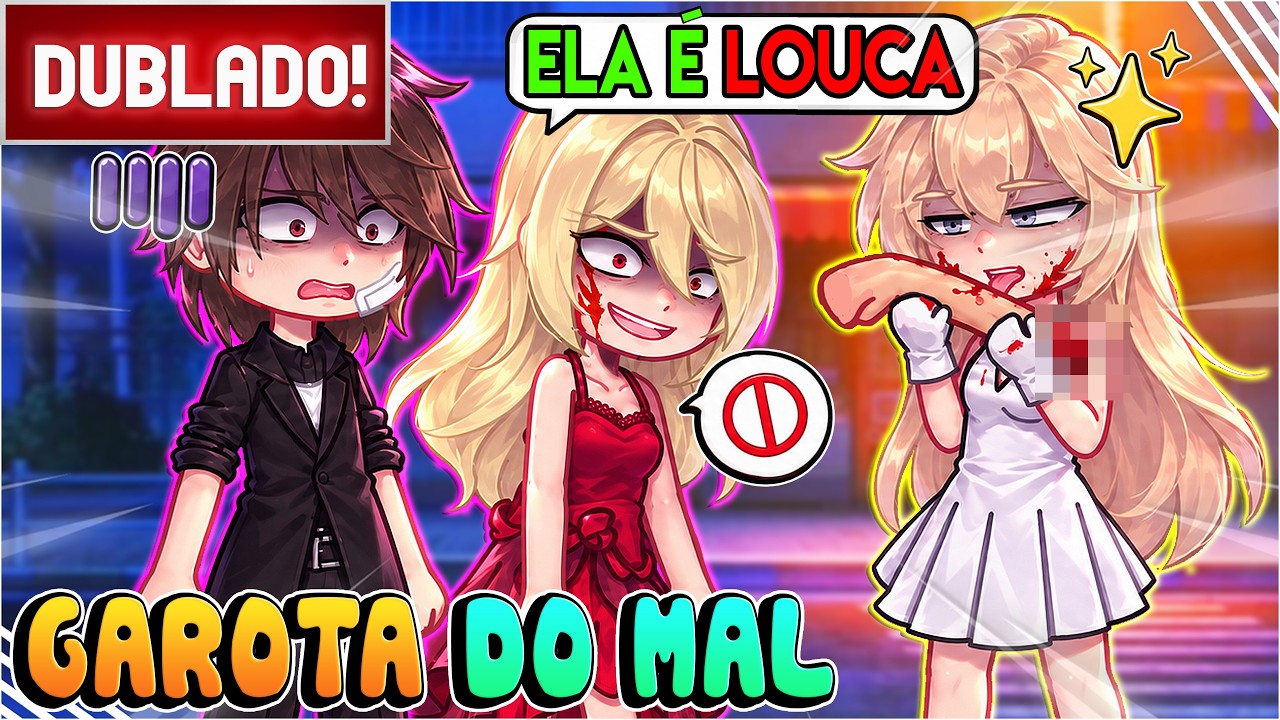
To design a effective antagonist for a Gacha Club mini-movie, pair sharp visual contrast and restricted item slots with saved expression presets in the Face menu. Once your character preset is built, place them in Studio mode using layered dark backgrounds and off-center framing to establish immediate narrative tension.
Visual Customization for Antagonist Presets
Creating an intimidating character requires clear visual markers that remain readable on small screens. Avoid cluttering the avatar with excessive accessories; overload reduces readability in wide studio shots. Focus on three core signature items—such as a specific weapon, headpiece, or aura—to keep the character distinct.
| Customization Area | Recommended Design Choice | Functional Purpose |
|---|---|---|
| Color Palette | Deep purples, dark reds, and stark blacks | Creates direct contrast against lighter protagonist tones. |
| Eye Shape | Narrowed or slanted eye assets | Signals suspicion, intensity, or hidden hostility. |
| Hair Style | Jagged or asymmetrical cut ends | Implies an unpredictable or menacing presence. |
| Accessory Limit | Maximum of 3 primary accent items | Maintains visual clarity across mobile screens. |
Managing Expression Presets in the Face Menu
Dramatic storylines require antagonists to transition between deceptively calm fronts and open hostility. Use the Face menu to configure distinct facial presets for your character so you can switch expressions quickly while recording scenes.
- Lock baseline assets: Keep eye color, hair style, and head accessories identical across all presets to prevent visual inconsistency between scenes.
- Build a neutral or false preset: Set subtle eyebrow angles and a standard mouth shape for dialogue where the character hides their intent.
- Build a hostile preset: Adjust eyebrow angles downward and select sharp or wide mouth options to signal outright confrontation.
- Test transitions: Toggle between the presets in the menu to ensure the facial movement shifts naturally without misaligning fixed accessories.
Framing Antagonist Scenes in Studio Mode
Once character customization is complete, open Studio mode to set up your story scenes. Environment lighting and prop depth dictate how dangerous an antagonist appears before dialogue begins.
- Lower Background Brightness: Select dark or storm-themed backgrounds, such as castle interiors or nighttime exteriors. Reduce background brightness so bright hair or eye details on your character stand out.
- Layer Props for Depth: Use Studio layering tools to position foreground objects (such as furniture or magic artifacts) in front of the character. Placing weapons or dark items near the character's spawn point immediately clarifies their threat level.
- Use Off-Center Placement: Position your antagonist slightly to the left or right grid line instead of dead center. Off-center framing creates dynamic composition, leaving open space for protagonists or dramatic visual balance.
Free Gacha Club Codes
Current active codes and how to redeem them.

Sarah Williams
Sarah specializes in RPG and collection games, explaining team building, character growth, and beginner-friendly ways to avoid expensive early mistakes.
COMMUNITY
Player Comments
134 players commented on this guide.
The explanation is clear, especially for beginners.
Nice guide. I am checking the other Gacha Club articles next.
The tips are practical and easy to follow.
Good guide for Gacha Club players. The strategy part was useful.