
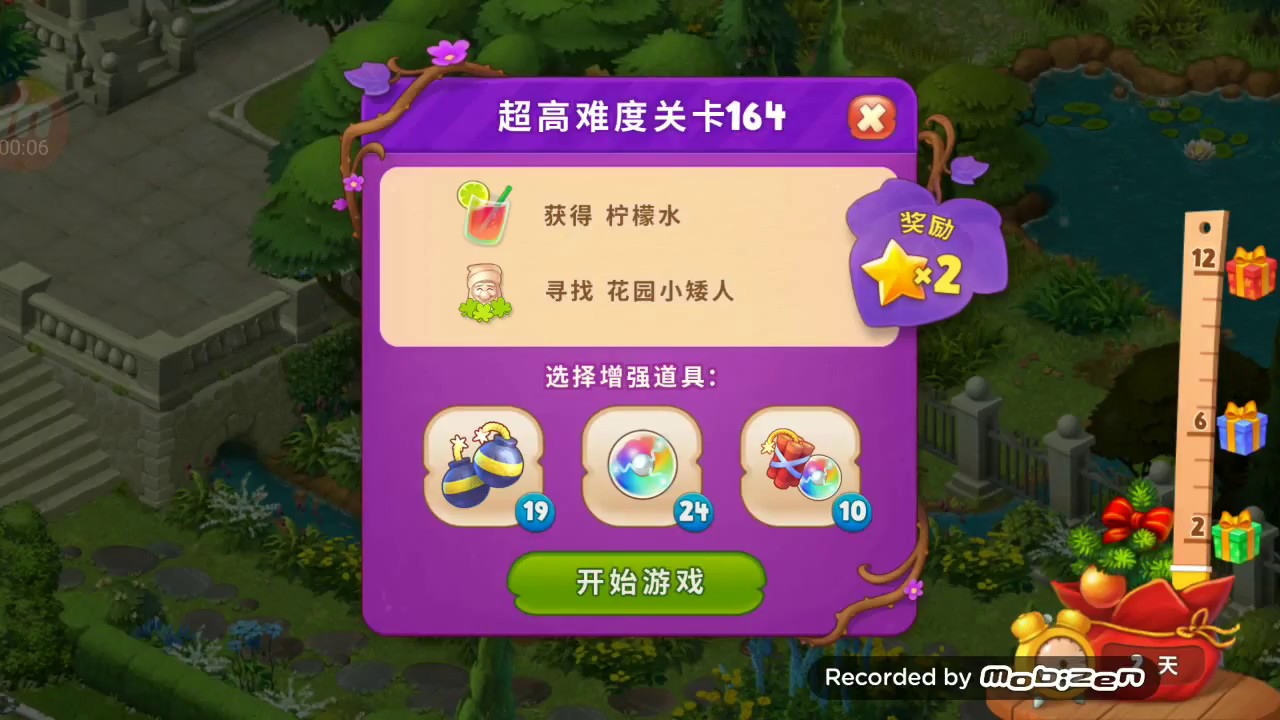
To beat Level 164 in Gardenscapes, prioritize clearing the lowest wooden crates to establish open drop lanes, trigger natural tile cascades, and bring your target items (such as lemonade glasses) down to the bottom exit pads. Avoid spending early moves on isolated matches near the top of the board, and focus on combining explosives with Rainbow Blasts to clear durable multi-layer crates within your move limit.
Board Priorities and Win Conditions
Level 164 requires you to guide collectible items down the board until they touch the bottom exit trays. Because target collectibles cannot be matched with standard pieces, you must remove whatever obstacles sit beneath them.
Multi-layered wooden crates choke the columns, creating bottlenecks that stop both new tiles and target items from falling. To clear the board efficiently, follow this priority order:
| Target Area | Primary Action | Strategic Value |
|---|---|---|
| Bottom Crates | Direct matches and vertical Rockets | Creates room at the base, triggering cascades and opening exit pads |
| Mid-Board Crates | Bombs and Dynamite detonations | Breaks multi-layer blockers and widens the active playing area |
| Collectible Columns | Matches directly below drop items | Steps target items downward toward the exit tray |
| Top Rows | Single, cosmetic tile swaps | Lowest value; use only when no lower moves or power-up setups exist |
Early Moves: Clear Bottom Crates First
Spend your opening moves targeting the lowest accessible crates. Clearing blockers at the bottom row causes gravity to pull columns of new tiles through the grid. These automatic drops frequently form passive three-of-a-kind matches, granting free board progress without consuming extra turns.
Matches made near the top of the board shuffle only a few tiles above them and rarely influence the bottlenecks below. Unless an upper move directly creates a four-piece power-up or immediately clears a blocked drop item, always take the lower match.
Power-Up Creation and Combinations
Basic three-tile matches are too slow to break multi-layered crates before your move counter runs out. Form matches of four or more tiles to generate explosives, which clear blockers and charge your Rainbow Blast meter:
- Firecrackers (4-tile match): Useful for damaging isolated crates or chipping off outer layers when direct matches are unavailable.
- Bombs (T- or L-shaped match): Clears a 3x3 radius, removing adjacent crates and dropping collectibles multiple rows in a single turn.
- Dynamite and TNT (5+ tile match): Delivers wide-area blasts that break multi-hit crates across several columns at once.
Detonating power-ups charges the Rainbow Blast meter. Once charged, a Rainbow Blast can clear a specific high-frequency tile color to trigger chain reactions or clear pieces blocking an exit pad.
Combining Adjacent Power-Ups
Combining two adjacent power-ups produces far greater clearing power than detonating them individually:
- Bomb + Bomb: Doubles the blast radius, stripping away obstacle clusters across several columns.
- Rainbow Blast + Explosive (Bomb or Firecracker): Duplicates that explosive across every tile matching a randomly selected color on the board and detonates them simultaneously. This combination clears large numbers of wooden crates and instantly pulls suspended collectibles downward.
If a Rainbow Blast lands directly next to an explosive, hold off on detonating either until you can slide them together.
Endgame: Vertical Alignment
Once the majority of the wooden crates are removed and your drop targets are descending, switch from wide clearing to vertical column tracking:
- Look directly underneath each remaining collectible and count the tiles separating it from the exit pad.
- Make matches exclusively within that column to drop the item straight down.
- Avoid making lateral matches near offset walls or diagonal drop zones, which can accidentally shift a collectible out of an open chute into a restricted corridor.
Free Gardenscapes Codes
Current active codes and how to redeem them.

Sarah Williams
Sarah specializes in RPG and collection games, explaining team building, character growth, and beginner-friendly ways to avoid expensive early mistakes.
COMMUNITY
Player Comments
125 players commented on this guide.
The tips are practical and easy to follow.
This saved me time in the early game.
I wish I had read this before upgrading the wrong thing.
This guide answered the exact question I had.