
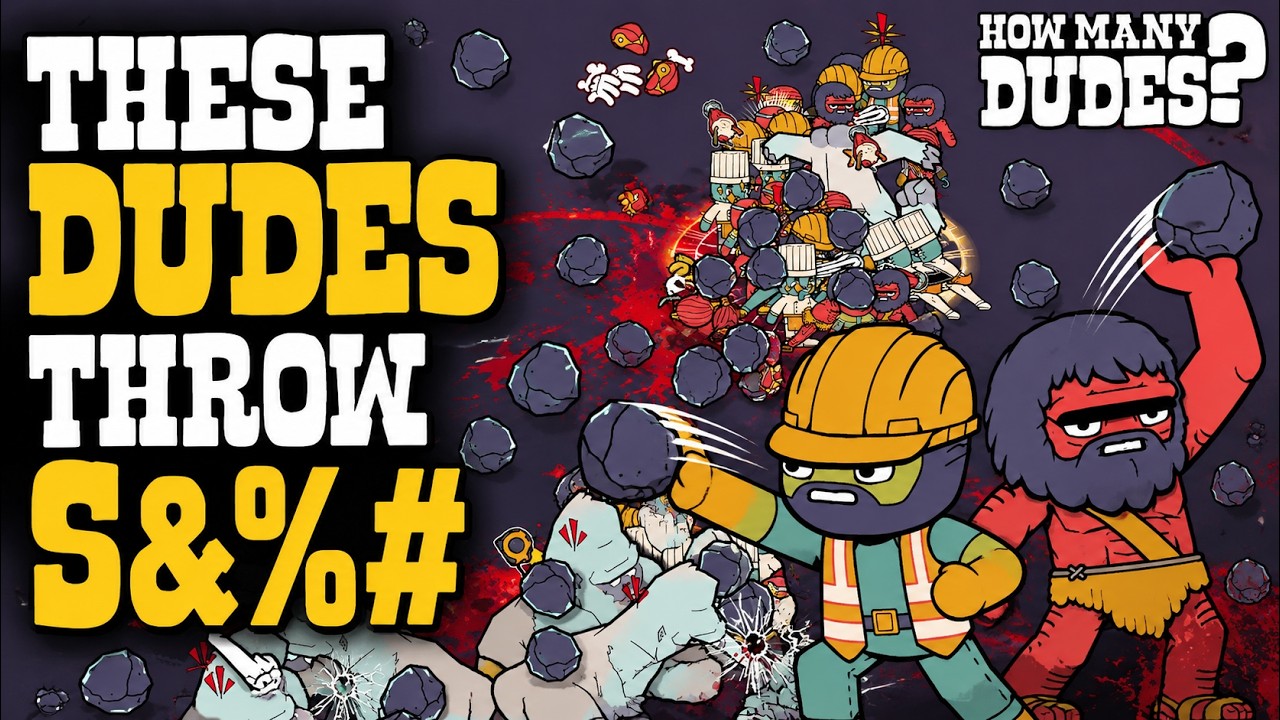
In How Many Dudes?, the Throwing Dude build is the gold standard for players looking to transition from basic survival to screen-clearing dominance. Unlike melee-focused strategies that require constant micro-management of unit health, the Throwing build relies on "projectile saturation"—the act of filling the screen with so many projectiles that enemies are shredded before they can even enter your defensive zone. To succeed, you must move beyond simply recruiting units and start treating your board as a high-frequency artillery platform.
The Core Mechanic: Projectile Density vs. Base Damage
Many new players fall into the trap of prioritizing "Damage" or "Strength" stats on their Throwing Dudes. In How Many Dudes?, base damage is secondary to Projectile Density.
The game’s engine calculates impact damage cumulatively; therefore, firing five projectiles for 10 damage each is mathematically superior to firing one projectile for 30 damage because it provides higher area coverage and multiple chances to proc secondary item effects (like "On Hit" debuffs). When selecting upgrades in the shop, always favor:
- Multi-Shot Modifiers: These are your bread and butter. If an item offers a "Double Throw" or "Triple Throw" effect, grab it immediately, even if it carries a movement speed penalty.
- Pierce Potential: A projectile that stops at the first enemy is wasted potential. Pierce allows your damage to scale exponentially as enemy density increases, turning a group of 20 enemies into a single, massive damage target for your units.
Optimizing Attack Speed for DPS Scaling
Damage output in How Many Dudes? is a product of your units' Attack Speed. If your Throwing Dudes have the highest damage in the game but a slow wind-up animation, they will be overwhelmed by fast-moving swarms.
To reach the "stunlock" threshold—where enemies are physically pushed back or destroyed so quickly they cannot move forward—you need to prioritize Cooldown Reduction (CDR) and Attack Speed buffs.
- Animation Canceling: By stacking enough speed, the throwing animation becomes nearly instant. This allows your units to stutter-step or reposition while maintaining a constant stream of projectiles.
- The Threshold: Once you hit an attack speed cap where the firing interval is shorter than the enemy's travel time between tiles, you have officially created a "Kill Zone." At this point, your Throwing Dudes are no longer just units; they are a wall of static defense.
Tactical Positioning: The "V-Shape" Formation
Positioning is where most Throwing builds succeed or fail. Because Throwing Dudes are inherently squishy, they must be protected by a "Meat Shield" layer.
- The Frontline: Place high-health Tank or Shield Dudes in a horizontal line at the very front.
- The V-Formation: Position your Throwing Dudes in a wide "V" or staggered arc behind your tanks. This maximizes the horizontal reach of their projectiles. By spreading them out, you ensure that no matter which lane the enemy chooses, they are walking into a crossfire of projectiles.
- The Avoidance: Never stack all your Throwing Dudes on a single tile. Not only does this leave you vulnerable to area-of-effect (AoE) enemy attacks, but it also creates "dead zones" on the board where no projectiles are firing, allowing enemies to slip through the gaps.
Managing the Build’s Vulnerabilities
The greatest risk to a Throwing build is the "Scaling Plateau." If you rely exclusively on throwing damage, you may find yourself struggling against high-armor elite enemies that shrug off small-damage projectiles.
When to pivot your strategy:
- Armor Shred: If you notice your projectiles are hitting but not killing, prioritize items that add "Armor Shred" or "True Damage" to your projectiles.
- The Utility Splash: Don't be afraid to sacrifice one or two slots for "Support Dudes" that apply "Slow" or "Freeze" effects. These units don't need to do damage; they just need to keep enemies within the firing range of your Throwing Dudes for an extra second, which is often all you need to clear a wave.
Decision Making: Shop Rerolls and Resource Management
Gold management is the final component of a successful run. Players often waste gold on mediocre units early on. Instead:
- Save for Scaling: In the early stages, recruit just enough to survive. Save your gold for the mid-game shop refreshes where high-tier projectile-count items appear.
- Reroll Strategy: If your board is already stable, use your rerolls to fish for "Legendary" projectile items. A single item that doubles your projectiles is worth more than five additional units at a low level.
- Knowing When to Stop: If you have hit the maximum projectile density allowed by your current unit count, stop investing in throwing-specific items and start investing in survivability items for your frontline. A dead Throwing Dude does zero damage, so keeping your tanks alive is effectively a damage-per-second (DPS) boost for your entire backline.
By balancing your projectile count, maintaining a robust front-line, and prioritizing speed over raw strength, you can turn the Throwing Dude build into the most consistent engine for late-game success in How Many Dudes?. Watch your spacing, manage your shop refreshes, and let the chaos of your projectile rain do the work for you.

Free How Many Dudes? Codes
Current active codes and how to redeem them.

James Brown
James focuses on Android gaming on PC, emulator setup, controls, performance tuning, and practical troubleshooting for longer play sessions.
COMMUNITY
Player Comments
61 players commented on this guide.
I wish I had read this before upgrading the wrong thing.
This guide answered the exact question I had.
Good guide for How Many Dudes? players. The strategy part was useful.
The explanation is clear, especially for beginners.