
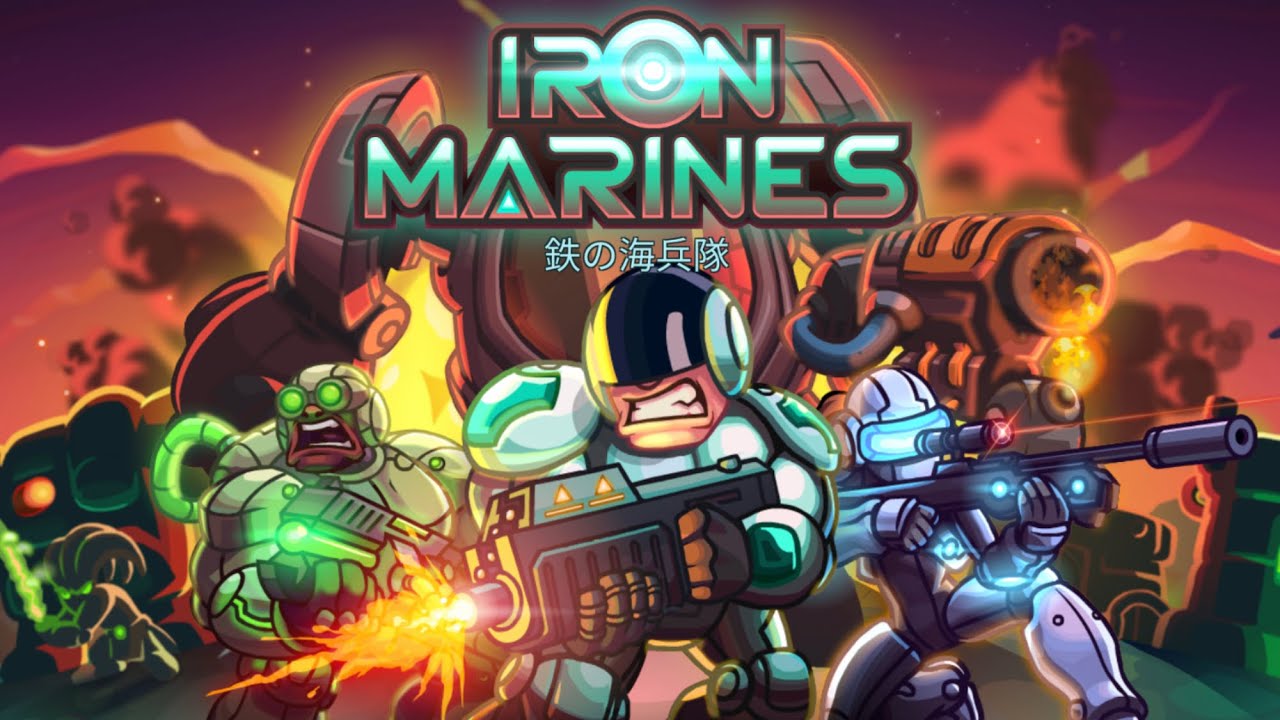
To beat Mission 1: First Contact in Iron Marines+, lead every engagement with Hero Taggins to absorb enemy aggro, build an Etherium refinery immediately upon unlocking the central base platform, and divide your forces between the northern ravine and eastern slope to stop incoming Fell swarms.
1. Clear the Path to the Derelict Outpost
Begin by moving your forces east along the canyon floor toward the deactivated command structure. Fell burrowers will emerge from the terrain along this route.
- Lead with Taggins: Keep Taggins roughly two paces ahead of your standard Marines. His heavy armor and regenerating health absorb initial damage, allowing your fragile rifle squads to fire from maximum range.
- Target isolated burrowers: Let Taggins trigger emerging bugs, then eliminate them before moving forward. Avoid dragging your units in a tight clump to reduce splash damage from ranged acid spitters.
- Clear the platform: Destroy the remaining alien nests surrounding the outpost foundation to unlock base construction.
2. Establish Base Economy and Defenses
Once the outpost platform activates, you gain access to Etherium extraction, squad recruitment, and defensive turret sockets. Construct your economic foundation before reinforcing your combat line.
| Structure / Squad | Deployment Point | Strategic Role | Build Priority |
|---|---|---|---|
| Etherium Refinery | Main Outpost Pad | Generates steady Etherium to recruit and replace units | Immediate (First action) |
| Gatling Turret | Northern Turret Socket | Automatically eliminates swarms in the narrow bottleneck | High (Before wave starts) |
| Rifle Marines | Squad Deployment | Provides ranged DPS behind Taggins and turrets | High (Fill squad capacity) |
| Sniper Squad | Unit Role Swap | Picks off backline acid spitters at long range | Situational (If spitters pressure hero) |
Construct the Etherium refinery the moment the base unlocks. An active refinery funds your turret placements and squad replacements. Once it begins generating resources, build a Gatling Turret on the socket facing the northern canyon opening to lock down that approach route.
3. Split Defenses Across Both Choke Points
Fell attack waves approach the outpost from two distinct directions: a tight ravine to the north and a wider slope to the east. Splitting your defensive layout prevents the base from taking direct structural damage.
Northern Ravine
Station the Gatling Turret and one Marine rifle squad at the northern choke point. The narrow canyon forces Fell swarms into a tight line, allowing the automated turret and rifle fire to wipe out standard melee grubs before they reach the outpost perimeter.
Eastern Slope
Station Hero Taggins and a second Marine squad on the eastern approach. This path is wider and includes ranged acid spitters behind melee frontliners.
- Position Taggins directly in the bottleneck to physically block melee bugs.
- Manually target the backline acid spitters with your Marines to eliminate ranged threats quickly.
- Trigger Taggins' personal shield ability when acid volleys or heavier melee bugs focus him down. If his health drops below 30%, retreat him behind your Marines until his shields regenerate.
4. Defend Against the Final Assault
A dual horn signals the final multi-lane assault. Brood units push simultaneously from both the north and east.
- Hold designated positions: Do not order squads to chase retreating enemies into the fog of war. Leaving choke points open allows flanking units to strike the base directly.
- Preserve squad members: If an infantry squad loses soldiers, pull the surviving member back to the outpost. As long as one soldier survives, the squad regenerates its fallen members over time at zero Etherium cost. Losing an entire squad forces you to spend resources redeploying them.
- Rotate Taggins if needed: If the northern turret takes severe damage from elite units, activate Taggins' shield on the east, finish the remaining eastern pack, and move him north to clear the final wave.
Defeating the last wave completes First Contact, unlocking credits and tech points to spend in the campaign upgrade console.

Free Iron Marines+ Codes
Current active codes and how to redeem them.

Sarah Williams
Sarah specializes in RPG and collection games, explaining team building, character growth, and beginner-friendly ways to avoid expensive early mistakes.
COMMUNITY
Player Comments
131 players commented on this guide.
I wish I had read this before upgrading the wrong thing.
Good guide for Iron Marines+ players. The heroes part was useful.
I tried this today and it worked better than my old setup.
This saved me time in the early game.