
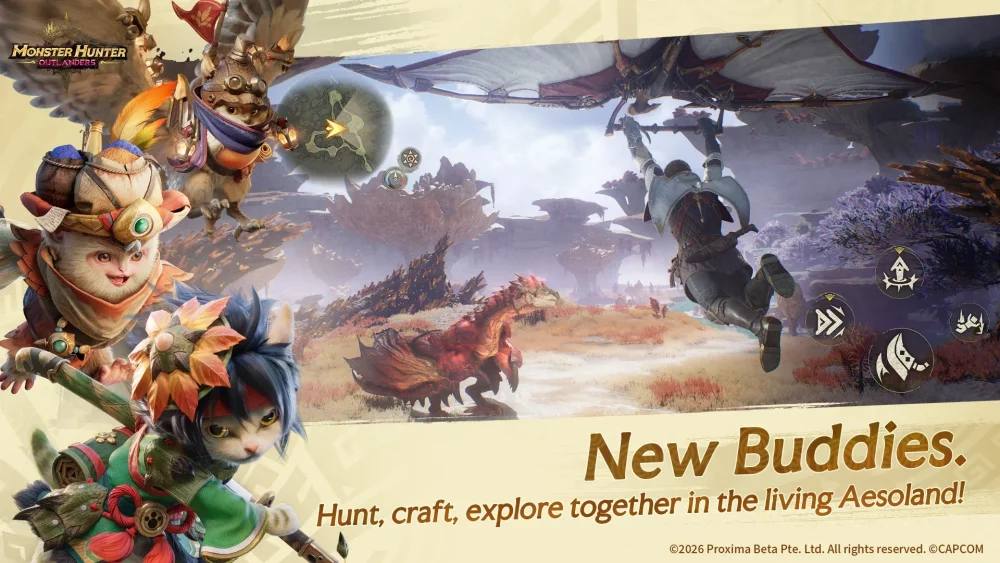
To reach the summit of the Ancestor Tree in Monster Hunter Outlanders, start your climb along the western root formations, rest at flat interior boughs to fully restore your stamina, and use lateral glider drops combined with grapple tethers to bypass impassable canopy overhangs. Reaching the peak takes you to the highest point on the map and completes a rare exploration milestone.
Pre-Ascent Checks
Before beginning your climb at the base of the trunk, address two essential survival conditions:
- Clear Combat Aggro: Ensure no wild monsters or predator packs are targeting you. Being in active combat disables field climbing tools and halts stamina regeneration, causing an immediate fall if you attempt to scale a vertical surface.
- Pack Stamina Items: Stock stamina-restoring rations or consumable mobility aids. Running out of stamina midway up a sheer bark section causes your hunter to drop, resetting your vertical progress.
- Inspect Gear Penalties: Use a loadout that does not impose stamina recovery penalties, ensuring quick bar refills whenever you pause on a rest ledge.
Core Traversal Mechanics
Ascending the trunk requires combining wall climbs, wire tethers, and defensive glides. Stamina drains quickly during unassisted surface climbing, so reserve free clambering for short distances between rest points.
| Traversal Action | Function on Trunk | Climbing Risk |
|---|---|---|
| Grapple Tether | Latches onto vines and bark nodes for an instant vertical lift without standard stamina cost | Missing the target node sends your hunter into a freefall |
| Glider | Crosses gaps between branches and arrests falls | Drifting in high winds can blow you away from the trunk |
| Wall Clamber | Climbs textured bark ridges and moss seams | Rapidly drains stamina if sustained across long vertical faces |
| Bough Resting | Fully restores your stamina bar while standing on flat limbs | Stepping too close to steep branch edges causes sliding falls |
When an obstacle or sheer slope pushes you off the bark, immediately deploy your glider. This converts a vertical drop into a controlled glide, allowing you to turn back toward a lower bough or anchor node rather than falling to the ground.
Step-by-Step Route to the Summit
Follow this sequence from the forest floor to the canopy crown:
- Ascend the Western Roots: Approach the base from the west, where wide root formations create a natural spiral ramp. Walk up these roots to gain elevation without spending climbing stamina.
- Follow Bark Seams: Where the root ramp ends at sheer bark, target vertical bark ridges and moss patches. These textured sections provide the grip needed to clamber upward toward the lower branches.
- Rest at Mid-Canopy Boughs: As the trunk widens into large knots and horizontal limbs, stop completely on each flat surface until your stamina bar is full. Orient your camera inward toward the core trunk axis rather than outward toward foliage dead ends.
- Bypass the Upper Bark Skirts: The upper third of the tree features downward-flaring bark overhangs that cannot be climbed directly. Leap laterally away from the trunk, trigger your glider to float past the lip of the overhang, and immediately fire your grapple tether at the anchor nodes or root loops situated directly above the flare.
- Clear High-Altitude Gusts: Keep glider deployments short in the upper canopy to prevent strong crosswinds from pushing you off-course. Latch onto the upper floral nodes and pull up onto the crown's final branch.
Standing on the highest bough grants an unobstructed view of the surrounding biomes and allows you to launch long-distance glider flights across distant hunting zones.

Free Monster Hunter Outlanders Codes
Current active codes and how to redeem them.

Michael Smith
Michael covers live-service games, events, reward systems, and efficient daily routines, turning frequent updates into clear actions for players.
COMMUNITY
Player Comments
132 players commented on this guide.
Nice guide. I am checking the other Monster Hunter Outlanders articles next.
This saved me time in the early game.
The explanation is clear, especially for beginners.
Can you add more details about strategy in a future update?