
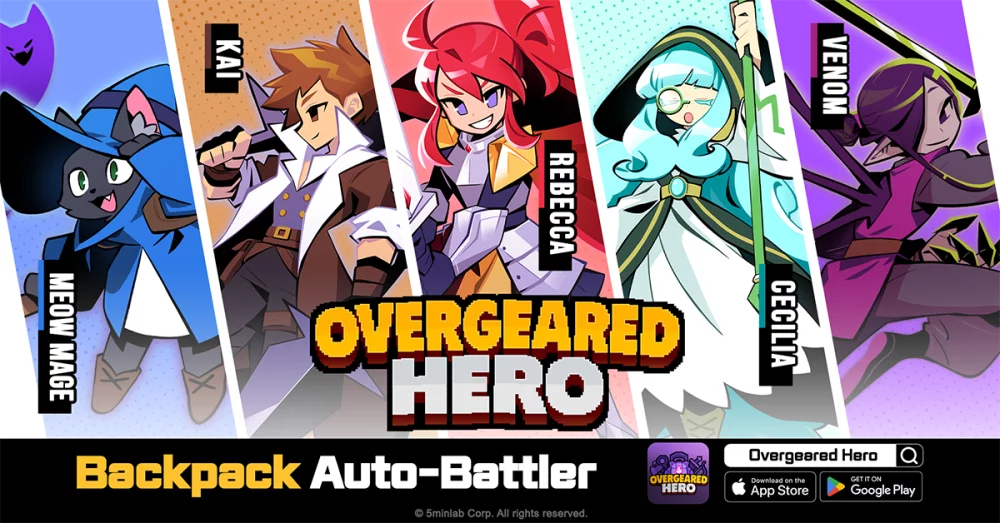
Chapter 42 in Overgeared Hero serves as a significant difficulty spike, testing your ability to manage limited inventory space while facing increasingly dense enemy waves. Because Overgeared Hero is a roguelike auto-battler where your performance is entirely dictated by your backpack arrangement, success requires more than just luck—it demands a systematic approach to item synthesis and spatial efficiency.
To clear Chapter 42, you must shift your mindset from "collecting gear" to "optimizing synergies." This guide breaks down exactly how to manage your grid, prioritize synthesis chains, and survive the intense pressure of this specific chapter.
The Core Mechanic: Synthesis Efficiency
In Overgeared Hero, your backpack grid is your most valuable resource. By Chapter 42, the game no longer allows for "hoarding" low-tier items. If you have two of the same item, merging them into a higher-rarity version is almost always the correct move.
Why Synthesis is Mandatory for Chapter 42:
- Space Economy: Every grid slot occupied by a low-tier item is a slot you cannot use for a high-tier power spike or a utility item.
- Stat Multipliers: Higher-tier gear doesn't just add stats; it often unlocks unique passive effects or increased range that are vital for clearing the wave-density of this chapter.
- Action Economy: High-tier items often process faster or hit multiple targets, which is the only way to keep up with the enemy spawn rate in the later stages of Chapter 42.
Expert Tip: Do not wait for the "perfect" setup to merge. If your board is cluttered, synthesize immediately to create empty tiles. A board with three high-tier items is mathematically superior to a board with six low-tier items because it allows for faster item cycle times and better positioning.
Tactical Board Positioning
In Overgeared Hero, your hero’s effective range and item activation are tied to the physical layout of your backpack. In Chapter 42, where enemies frequently swarm, your layout must prioritize "Center-Out" design.
The Center-Out Strategy
- The Core: Place your highest-damage, multi-hit weapons in the center of the grid. These items benefit from the most frequent "refresh" or "activation" cycles.
- The Buffer Zone: Surround your high-damage core with defensive items or utility gear that provides passive buffs (like shields or attack speed boosts).
- The Resource Bank: Keep your edges reserved for "merge-ready" items. Never place items you intend to use in the center if you are one item away from a synthesis; it will disrupt your board flow during combat.
Handling Increased Enemy Density
Chapter 42 is characterized by "wave pressure." Unlike earlier chapters where you could rely on single-target DPS, Chapter 42 throws swarms at you that will overwhelm your hero if you don't have Area of Effect (AoE) capabilities.
Prioritizing Gear Perks
When selecting items from the shop or drops, look for these specific traits:
- Piercing: Essential for hitting multiple enemies in a single line.
- Chain/Bounce: Allows your damage to clear secondary targets without requiring you to move your hero.
- Cooldown Reduction: If your gear has an active ability, reducing the cooldown is often more valuable than a flat damage increase in this chapter.
If you find yourself being pushed back, sacrifice a secondary damage item to fit in an armor piece. Sustainability is the secret to clearing the final waves of Chapter 42; if you stay alive long enough for your high-tier weapons to cycle through their cooldowns, you will win.
Advanced Resource Management
Currency management is the final hurdle. Many players fail Chapter 42 because they hold onto gold in hopes of a late-game legendary drop. In this stage of the game, spending gold to refresh the shop or buy "missing pieces" for a synthesis chain is a necessary investment.
- The Rule of Three: If you have two items and need one more to synthesize, spend the gold to find that third piece. The power spike from a synthesis is usually worth more than the gold you would save for a future roll.
- Don't Over-Spend on Rerolling: Set a limit. If you spend more than 20% of your current gold on rerolls without finding a synthesis component, stop. You need to save enough to buy the items once they actually appear.
Common Mistakes to Avoid
- The "Hoarding" Trap: Keeping a weak item because it has a "nice" passive bonus. If it isn't synthesized to at least mid-tier, it is likely taking up space that could be used for a higher-output item.
- Static Layouts: Don't be afraid to rearrange your board between waves. If you just synthesized a new weapon, move it to the center immediately.
- Ignoring Defensive Synergy: You cannot clear Chapter 42 with pure glass-cannon builds. If you aren't finding defensive gear, try to synthesize items that provide "Knockback" or "Stun"—these effectively function as defense by preventing the enemy from reaching you.
Summary Checklist for Success
To ensure you aren't leaving power on the table, use this checklist before starting the final waves of Chapter 42:
- Are there any mergeable items currently on my board? (Synthesize them now.)
- Are my highest-damage items in the center? (Shift them if necessary.)
- Do I have at least one piece of AoE gear? (If not, prioritize this in the next shop refresh.)
- Is my board clean? (Ensure no single, non-mergeable items are taking up space.)
By focusing on these tactical adjustments, you will find that Chapter 42 becomes significantly more manageable. Remember that Overgeared Hero is a game of incremental progress; each synthesis is a step toward victory. Keep your board organized, prioritize your merge chains, and maintain your offensive momentum to clear the chapter.
Free Overgeared Hero Codes
Current active codes and how to redeem them.

Michael Smith
Michael covers live-service games, events, reward systems, and efficient daily routines, turning frequent updates into clear actions for players.
COMMUNITY
Player Comments
42 players commented on this guide.
The tips are practical and easy to follow.
I wish I had read this before upgrading the wrong thing.
Nice guide. I am checking the other Overgeared Hero articles next.
The explanation is clear, especially for beginners.