
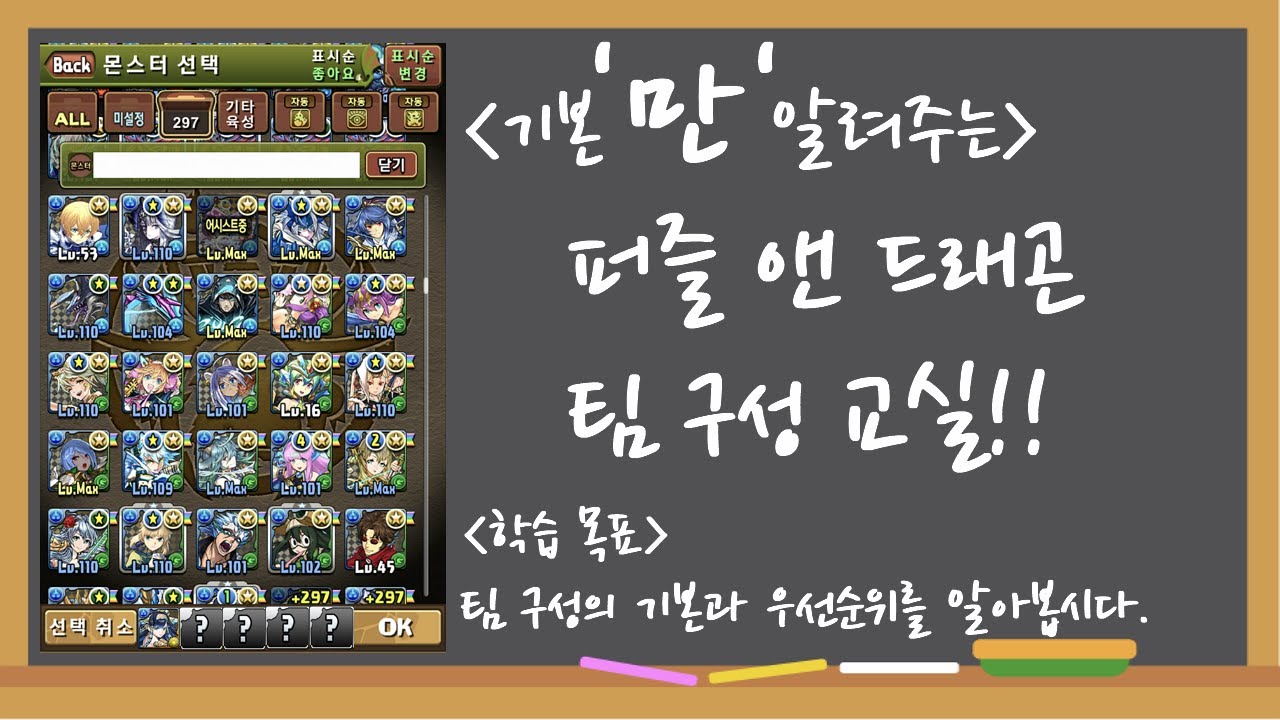
To build an effective team in Puzzle & Dragons, select a complementary leader pairing that meets core survival thresholds, establish a continuous orb generation loop, and assign remaining sub slots to counter dungeon-specific mechanics. Rather than simply using your highest-rarity cards, evaluate your roster based on effective health, board sustainability, and essential utility actives.
Check Multiplier Thresholds and Effective HP
Before investing resources into a team, calculate whether your leader pairing provides enough survivability and raw damage output for modern technical dungeons and descends.
- Calculate Effective HP (eHP): Modern mid- to endgame content requires an eHP multiplier of at least 4.0x per leader, creating a combined 16.0x eHP threshold across dual leaders. Determine eHP by dividing a card's base health multiplier by the incoming damage percentage remaining after its shield triggers ($1 / (1 - \text{shield percentage})$). A leader offering a 75% reduction shield achieves 4.0x eHP even without a flat HP multiplier.
- Prioritize Damage Reduction Shields: Avoid relying solely on flat HP boosts without shields. Teams lacking damage reduction remain completely vulnerable to gravity attacks that deal 100% or more of maximum health. Combining high damage reduction shields with flat health provides the safest buffer against high-damage execute thresholds.
- Target Attack Multipliers: Aim for attack scaling between 24x and 30x or higher per leader. A dual-leader setup should reach roughly 576x to 900x total attack scaling before personal damage awakenings take effect.
Pair Complementary Leader Skills
Running identical dual leaders often creates tactical blind spots. The most consistent team setups pair one leader that provides bonus combos with a partner that triggers fixed true damage follow-up attacks (auto-FUA).
- Auto-FUA Partner: Modern dungeon encounters frequently feature Resolve, allowing enemies to survive lethal damage with 1 HP and immediately trigger a fatal counterattack. A leader skill with built-in fixed damage eliminates the need to reserve heart orbs for a manual column match of the Follow-Up Attack awakening.
- Bonus Combo Partner: Leader skills that add +2 to +4 combos help your team bypass enemy combo-shield barriers. These bonus combos also ensure your subs consistently reach 10 combos to activate 10-Combo (10c) damage awakenings without requiring an unusually large board.
Establish an Active Orb Generation Loop
Multipliers and shields are useless if you cannot activate them every turn. Dedicate two or three sub slots to create a seamless orb-generation engine that guarantees your required colors while cleansing board hazards.
- Monocolor Teams: Run a two- or three-card rotation with short 2-turn or 3-turn active skills. These skills must create your primary attack and recovery orbs on demand, unlock locked orbs, and overwrite negative attack or recovery debuffs.
- Rainbow Teams: Rely on short-cooldown board refresh actives that spawn all five attributes plus heal orbs while clearing locked orbs.
- Avoid Passive Stalling: Never depend on natural board falls or stalling turns to recharge orb-generating actives, as passive turns leave you exposed to enemy hazard generation and attrition damage.
Fill Core Utility Roles
Once your leader pair and orb engine are set, allocate your remaining sub slots and assist equips to handle specific dungeon mechanics that cannot be cleared through standard orb matching.
| Utility Role | Primary Function | Standard Counter Method |
|---|---|---|
| Cleric | Clears Awoken Skill Binds and Unmatchable Orb debuffs | Active skill recovering 5+ turns (or full) of binds and unmatchables |
| Absorption Void | Bypasses enemy damage and attribute absorption barriers | 1- to 2-turn active skill nullifying damage and attribute absorptions |
| Damage Void Pierce | Penetrates damage void shields on high-tier boss encounters | Active skill voiding damage shields or sub cards with 3x3 VDP awakenings |
| Hazard Coverage | Prevents board-disrupting status debuffs from spawning | Assist equips providing 100% resistance to Blind, Poison, Jammer, Tape, and Cloud |
A cleric is mandatory for every serious build. An enemy Awoken Skill Bind removes all defensive awakenings, skill boosts, and stat multipliers, leaving your team defenseless. Furthermore, an unmatchable status targeting your team's primary element or heart orbs will directly prevent your leader's defensive shield from activating.
Budget Skill Boosts for Immediate Transformations
Transforming leaders possess weak stats, minimal defensive scaling, and low multipliers until they transform. Calculate your team's turn-one readiness so your leaders transform immediately upon entering the dungeon.
- Count Passive Skill Boosts: Add up all Skill Boost (SB) and Skill Boost+ awakenings across your six cards, including their equipped assists.
- Incorporate Turn-One Delays: Use sub or assist active skills that delay enemy action timers by 2 to 4 turns, giving your transform skills additional turns to charge safely.
- Incorporate Haste Actives: Slot active skills that hasten team skill cooldowns by 2 or 3 turns to bridge high transform requirements immediately.
- Inspect Floor 1 Spawns: Check the target dungeon before relying on delay actives. If Floor 1 opens with an enemy that uses a status shield, delays will fail. In these dungeons, meet your transform requirement exclusively through passive Skill Boosts and haste actives.
Free Puzzle & Dragons Codes
Current active codes and how to redeem them.

Michael Smith
Michael covers live-service games, events, reward systems, and efficient daily routines, turning frequent updates into clear actions for players.
COMMUNITY
Player Comments
82 players commented on this guide.
This helped me understand strategy much better.
Nice guide. I am checking the other Puzzle & Dragons articles next.
Can you add more details about strategy in a future update?
The tips are practical and easy to follow.