
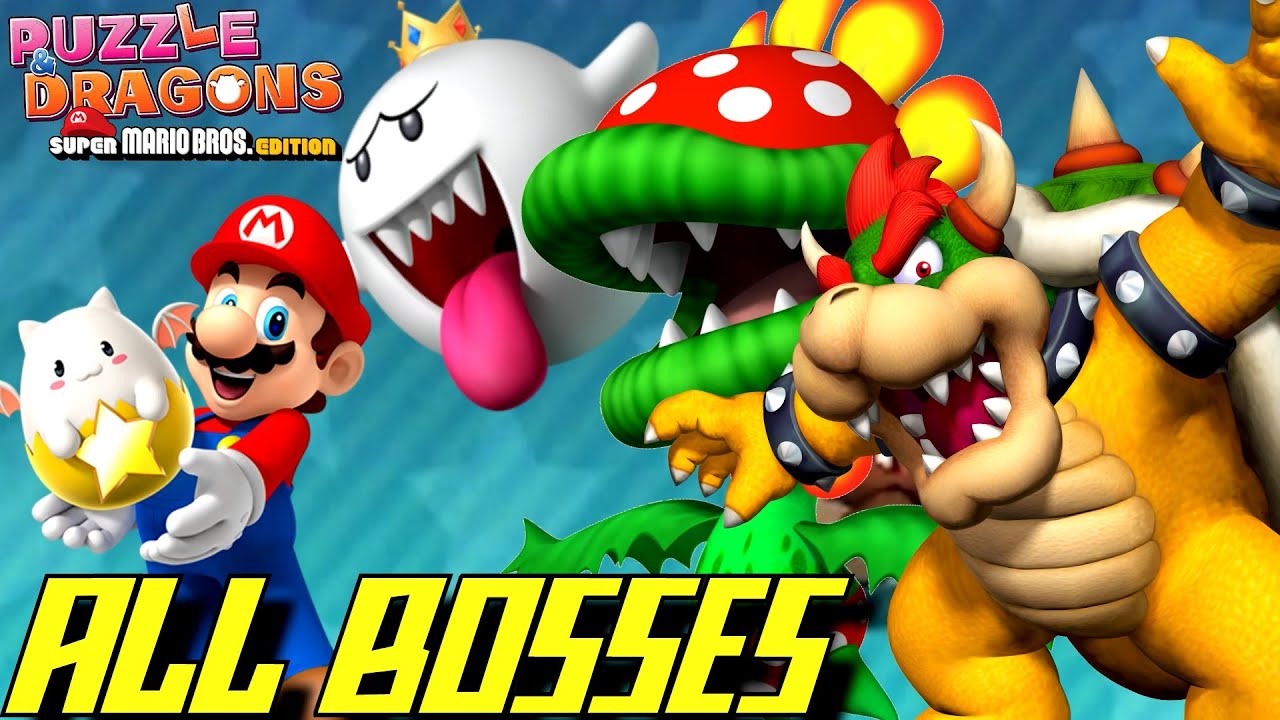
To defeat bosses in Puzzle & Dragons: Super Mario Bros. Edition, manage enemy turn countdowns, field elemental counters against castle rulers, and reserve active burst skills for the final strike. Unlike standard dungeon waves where slow attrition works, fortress bosses like Boom Boom and world rulers like the Koopalings hit with lethal burst damage. Surviving requires matching elemental weaknesses, keeping health capped with Heart orbs before an enemy counter reaches "In 1", and stalling on weak minion waves to charge your team's skills.
Managing Attack Timers and Turn Economy
Boss encounters telegraph their strikes through a visible countdown counter displayed above enemy sprites ("In 1," "In 2," or "In 3"). Because major bosses do not attack every turn, this number determines your turn-by-turn priority:
- When the timer displays "In 2" or "In 3": Do not burn active skills or clear the entire board immediately. Use these turns to clear unneeded off-color orbs, position key colors, and stockpile the element your main attackers require.
- When the timer reaches "In 1": Taking a hit from a castle boss can drain more than half of your team's total HP or cause an immediate defeat. Ensure your team is at full health by clearing three or four Heart orbs alongside your passive matches, or trigger an all-out offensive combo to finish the encounter before the enemy strikes.
Elemental Counter-Teaming for the Koopalings
Matching your Leader Skill and primary ally attributes against a Koopaling's elemental affinity doubles your damage output. The standard elemental triangle dictates the main matchups: Fire deals double damage to Wood, Wood deals double damage to Water, and Water deals double damage to Fire. Light and Dark operate outside this triangle, dealing unmitigated double damage to each other without defensive penalties.
| Encounter | Boss Attribute | Recommended Strategy |
|---|---|---|
| World 1 (Larry Koopa) | Wood | Lead with Fire Mario or high-attack Fire allies to clear his health bar quickly. |
| World 2 (Morton) | Wood / Dark | Field balanced Fire and Light teams to exploit both weaknesses. |
| World 3 (Lemmy) | Water | Use Wood-focused teams to pierce his defenses and clear minion escorts. |
| World 4 (Wendy) | Water / Light | Bring Wood and Dark attackers to prevent drawn-out stall turns. |
| World 5 (Iggy) | Wood | Deploy Fire burst teams to counter his fast attack rotations. |
| World 6 (Roy) | Fire | Use Ice Mario or Penguin Luigi leaders to maximize Water combo multipliers. |
| World 7 (Ludwig) | Dual Elements | Run multi-color combo leaders capable of triggering high board-wide multipliers. |
Avoid relying entirely on a single element unless you run at least one fast orb-converting ally. Pure mono-element teams can stall out if the board starves you of matching orbs during a critical countdown turn.
Mid-Castle Fortress Tactics: Boom Boom and Pom Pom
Mid-world fortress encounters feature Boom Boom and Pom Pom, who attack on short 1-turn or 2-turn intervals rather than the slower cadences of castle rulers. Boom Boom relies on high-velocity spinning physical strikes, while Pom Pom disrupts the board by altering or obscuring orbs. Because consecutive hits deplete Heart orbs quickly, passive stalling inside fortress boss rooms is dangerous.
- Stall before entering: Charge your team's skill gauges on the minion wave directly preceding the fortress boss chamber.
- Buff immediately: Upon entering the boss room, activate attack-buffing skills or defense-reduction abilities on turn one.
- Execute burst chains: Match a 5-combo or 6-combo chain that satisfies your leader's multiplier requirements to defeat the boss before secondary disruption routines begin.
Conquering World 8: Bowser Jr., Bowser, and Dry Bowser
World 8 requires sequential boss execution with strict skill preservation:
- Bowser Jr.: Deals Dark-attribute burst damage under fast turn timers. Use high-recovery Light teams or multi-color combo leaders to deplete his HP without exhausting active skills needed later.
- Bowser: Deals massive physical hits and scrambles the board. Failing to defeat Bowser within his turn countdown results in lethal damage. Hold your main orb-changing abilities until the board contains enough primary colors to execute at least two high-tier leader combos.
- Dry Bowser: Features a dual Fire/Dark affinity backed by heavily fortified defense stats. Chain dual-element orbs to maximize multi-color leader multipliers, and deploy skill delays when the attack timer hits "In 1" to secure a safe damage window.
Pacing Active Skills and Stalling
Activating skills prematurely on early dungeon waves leaves your party without answers during boss encounters. Save active skills for two scenarios: surviving an incoming "In 1" strike when no Heart orbs are available, or delivering a finishing burst to deplete a boss's remaining health.
To enter boss encounters with fully charged gauges, identify safe early minion waves—such as solo Goombas or Koopa Troopas. Stall on these enemies by matching three non-offensive orbs each turn, allowing cooldown meters to recharge while minimizing outgoing damage. Once skills are charged, clear the remaining minions and proceed to the boss chamber.
Free Puzzle & Dragons Codes
Current active codes and how to redeem them.

Sarah Williams
Sarah specializes in RPG and collection games, explaining team building, character growth, and beginner-friendly ways to avoid expensive early mistakes.
COMMUNITY
Player Comments
26 players commented on this guide.
I tried this today and it worked better than my old setup.
Good guide for Puzzle & Dragons players. The strategy part was useful.
Can you add more details about strategy in a future update?
The tips are practical and easy to follow.