
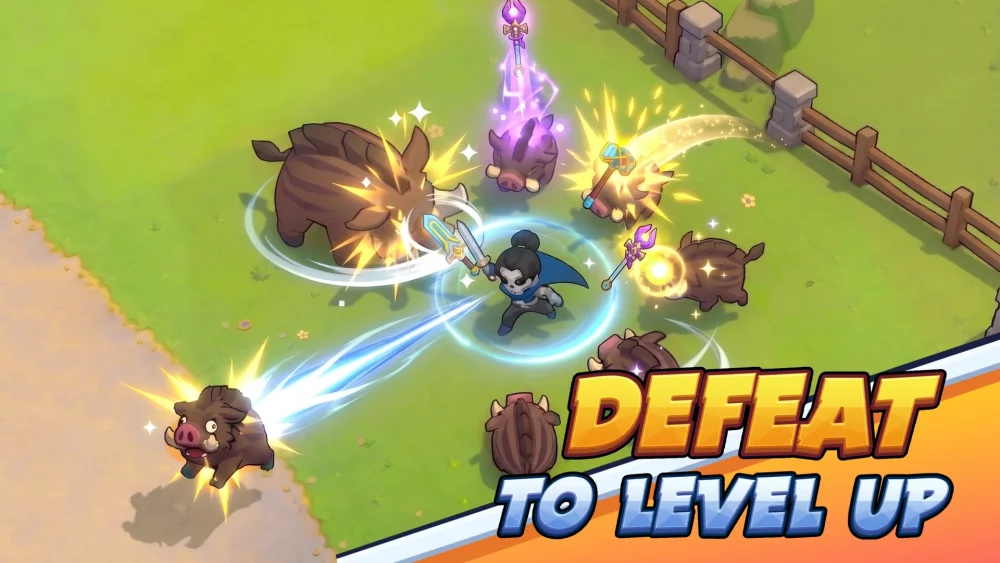
In Skull Hero, the mid-game encounter against the Cleric and Nun represents a significant difficulty spike that tests your ability to manage multiple threats simultaneously. These bosses thrive on synergy; their ability to heal one another and overlap area-of-effect (AOE) attacks can make the fight feel impossible if you approach it with a standard "attack everything" mindset. Success in this encounter is not about raw power, but rather disciplined target prioritization, intelligent positioning, and mastery of the game’s core mechanics.
Understanding the Cleric and Nun Synergy
The primary mechanic that makes the Cleric and Nun fight challenging is their coordinated sustain. The Cleric typically acts as the primary healer, while the Nun provides crowd control and supplementary damage. If you attempt to spread your damage across both, you will inevitably trigger their healing cycles, effectively resetting your progress and wasting your DPS windows.
The Golden Rule: Focus all your damage on one target at a time. The Nun is generally the priority target. Her crowd control abilities can pin you in place, leaving you vulnerable to the Cleric’s holy projectiles. Once the Nun is defeated, the Cleric loses his primary support, turning the remainder of the fight into a significantly easier 1v1 duel.
Mastering Positioning and Crowd Control
Because this fight takes place in a confined arena, positioning is your most important defensive tool. Beginners often make the mistake of backing into corners, which limits your escape routes and makes you a sitting duck for the bosses' AOE spells.
- The Center-Arena Strategy: Always try to reset your position to the center of the screen. This grants you equal distance to dash left or right, allowing you to react to whichever side the bosses initiate their attacks from.
- Reading Telegraphs: Before a boss casts a high-damage spell, they will enter a specific animation or glow with a unique aura. Do not wait for the attack to appear; move the moment you see the wind-up animation.
- Avoiding Traps: Their holy magic often leaves lingering ground effects. Avoid standing in bright circular telegraphs, as these deal damage over time and can quickly drain your health bar if you aren't paying attention.
Tactical Use of Skull Swapping
In Skull Hero, your skull-swap mechanic is not just for changing playstyles—it is your most reliable defensive and offensive resource. You should view your secondary skull as a tactical utility tool.
- Invincibility Frames (I-Frames): The animation for switching skulls grants a momentary window of invincibility. If you find yourself caught in the middle of a projectile flurry with no room to dash, perform a skull swap to "i-frame" through the damage.
- Burst Damage Windows: Save your most aggressive, high-damage skull for the moments immediately after the bosses finish an attack. While they are locked in their post-attack recovery animation, swap to your damage-focused skull and unleash your full combo.
- Status Application: If one of your skulls applies a damage-over-time (DOT) effect, use it to tag both bosses if they happen to overlap. This keeps your damage pressure active even when you are forced to retreat and reposition.
Managing Phase Transitions
As you deplete the health of the first boss, the remaining survivor will often enter a "desperation phase." This is characterized by faster attack speeds and more frequent use of screen-filling spells. Many players lose their runs here by becoming over-confident after the first kill.
- Patience over Greed: When one boss falls, the survivor will often become more aggressive. Resist the urge to rush in for a quick finish. Wait for the boss to finish their new, faster attack patterns before moving in for your own damage output.
- Stamina Management: Never fully exhaust your dash stamina unless you are certain you are finishing the fight. Always keep one dash charge in reserve to escape sudden AOE blasts.
Common Mistakes to Avoid
Avoiding these common pitfalls will drastically increase your win rate:
- Ignoring the Healer: Never ignore the Cleric while focusing on the Nun. If you see the Cleric beginning a casting animation, use a knockback skill or a dash to interrupt him or force him out of position.
- Over-committing to Combos: Skull Hero is a game that rewards hit-and-run tactics. If you commit to a long, stationary animation while both bosses are active, you are almost guaranteed to take damage. Stick to short, effective bursts.
- Neglecting Hero Upgrades: If you find yourself consistently failing this fight despite perfect movement, it may be time to revisit your hero upgrades. Ensure you have invested in health or damage nodes that align with your preferred skull’s damage type.
Final Combat Summary
To conquer the Cleric and Nun, treat the encounter as a dance. By keeping the fight in the center of the room, prioritizing the Nun to break their healing loop, and utilizing your skull-swap i-frames to survive their most dangerous attacks, you will turn a chaotic boss fight into a methodical victory. Remember: the bosses are designed to punish panic. Stay calm, watch for the telegraphs, and strike only when the window is clear.

Free Skull Hero Codes
Current active codes and how to redeem them.

Michael Smith
Michael covers live-service games, events, reward systems, and efficient daily routines, turning frequent updates into clear actions for players.
COMMUNITY
Player Comments
88 players commented on this guide.
This saved me time in the early game.
The explanation is clear, especially for beginners.
I tried this today and it worked better than my old setup.
Good guide for Skull Hero players. The heroes part was useful.