
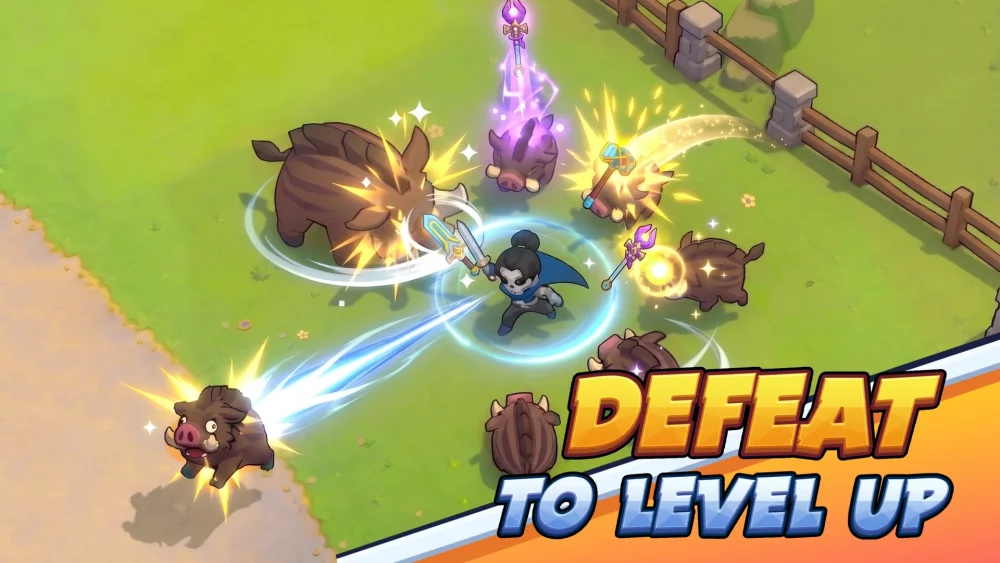
The Frost Dragon is one of the most formidable skill-check bosses in Skull Hero. Unlike earlier encounters that can be brute-forced through raw gear scores, the Frost Dragon demands a disciplined approach to positioning, timing, and environmental awareness. This boss serves as a gatekeeper in the campaign, punishing players who rely on static playstyles. To succeed, you must move from reactive gameplay to a pattern-based strategy, turning the dragon’s aggressive icy onslaught against itself.
Understanding Frost Dragon Telegraphs
The Frost Dragon’s primary threat is its telegraphed icy breath and area-of-effect (AoE) strikes. Before the dragon unleashes its most devastating attacks, it will shift its posture or tilt its head, signaling an incoming wave of frost. Recognizing these cues early is the difference between a clean fight and a quick defeat.
- The Head-Tilt Telegraph: When the dragon pulls its head back or shifts its weight, it is preparing for a cone-based frost breath. Stop your attack rotation immediately and dash to its flank or behind it.
- The Wing-Slam Telegraph: When the dragon raises its wings high, it is preparing for an AoE ground slam. This attack covers a large circular area around the boss. You must move to the edge of the arena to avoid the shockwave.
- Persistent Frost Zones: The dragon litters the arena with hazardous patches that slow your movement. Never stand in these; if you are slowed, you will be unable to dash away from the breath attacks, leading to a "frozen" state that leaves you vulnerable to follow-up damage.
Timing Your Offensive Windows
Success against the Frost Dragon is found in the brief lulls between its high-damage abilities. After the dragon completes a breath sequence or a slam attack, it enters a "recovery animation" where it remains stationary for several seconds. This is your primary window to maximize DPS.
The "Hit and Run" Philosophy:
- Wait for the Attack: Let the dragon commit to its animation.
- Dodge and Reposition: Use your one-finger control to quickly pivot out of the danger zone.
- Burst Window: Once the animation ends and the boss is stationary, trigger your high-damage skills.
- Disengage: Do not get greedy. The moment the dragon moves its head or wings again, stop attacking and prioritize movement.
If you find yourself locked into a long attack animation while the dragon begins to shift, you will inevitably take damage. Prioritize quick, reactive strikes until you have fully memorized the recovery cadence. Once you understand the timing, you can weave in heavier, slower attacks with confidence.
Managing Arena Hazards and Frost Zones
The arena is not just a platform; it is part of the challenge. The Frost Dragon creates persistent frost zones that slow your movement speed. These zones are intentionally placed to disrupt your pathing and funnel you into the path of its attacks.
- Dash Management: Reserve your dash skill specifically for escaping frost zones. If you get caught in a slow field, your dodge capability drops to near zero.
- Clear Pathing: Always try to fight in the "clean" areas of the arena. If the center of the arena becomes too cluttered with frost, kite the dragon toward the outer edges to reset your play space.
- Don't Tank the Slow: There is no benefit to "tanking" through slow effects. Even if your hero has high health, the slow effect drastically increases the likelihood of being hit by the boss's follow-up combo.
Strategic Resource Allocation
Before engaging the Frost Dragon, ensure your hero build is optimized for the nature of this fight. In Skull Hero, boss encounters benefit more from specific utility stats than raw attack power alone.
Essential Build Priorities
- Dash Cooldown Reduction: This is the most important stat for this encounter. A shorter cooldown on your dodge allows for more frequent positioning errors without penalty.
- Movement Speed: Higher base movement speed allows you to walk out of many AoE attacks without needing to spend your dash, keeping it available for emergencies.
- Life-Steal/Regen: Because this fight is an endurance check, passive health regeneration or life-steal on your weapon helps mitigate chip damage taken during the fight.
Gear and Skill Mapping
- Equip Burst Skills: Use your skill slots for high-burst, short-animation abilities. Avoid "channeling" skills that lock you in place for more than two seconds.
- Check Your Weapon Range: If you are using a melee weapon, you must be more precise with your timing. If you find the fight too difficult, consider switching to a ranged weapon for this specific boss to maintain better distance.
Common Mistakes to Avoid
Many players fail the Frost Dragon encounter because they fall into the "panic trap."
- Over-committing: The most common mistake is continuing to attack when the boss has already started its next animation. If you are mid-combo, cancel your intent and move immediately.
- Clustering: Staying in the middle of the arena is a death sentence. The dragon's breath has a wider reach at the edges, but the center is where all AoE effects overlap. Keep to the outer lanes.
- Ignoring the "Panting" Phase: Some players continue to circle the dragon during its recovery window. Stop moving and focus entirely on your offensive rotation during these seconds to ensure you are dealing maximum damage.
Conclusion: Turning the Tide
The Frost Dragon in Skull Hero is a test of patience. By focusing on telegraphs, managing your dash cooldowns, and respecting the boss's recovery windows, you can transform a chaotic encounter into a predictable rhythm. Focus on staying mobile, keeping your pathing clear of frost zones, and only committing to heavy damage when the dragon is stationary. Master these mechanics, and you will move past this boss and continue your progression through the mysterious lands of Skull Hero with ease.

Free Skull Hero Codes
Current active codes and how to redeem them.

Sarah Williams
Sarah specializes in RPG and collection games, explaining team building, character growth, and beginner-friendly ways to avoid expensive early mistakes.
COMMUNITY
Player Comments
32 players commented on this guide.
Nice guide. I am checking the other Skull Hero articles next.
The tips are practical and easy to follow.
This helped me understand heroes much better.
Good guide for Skull Hero players. The heroes part was useful.