
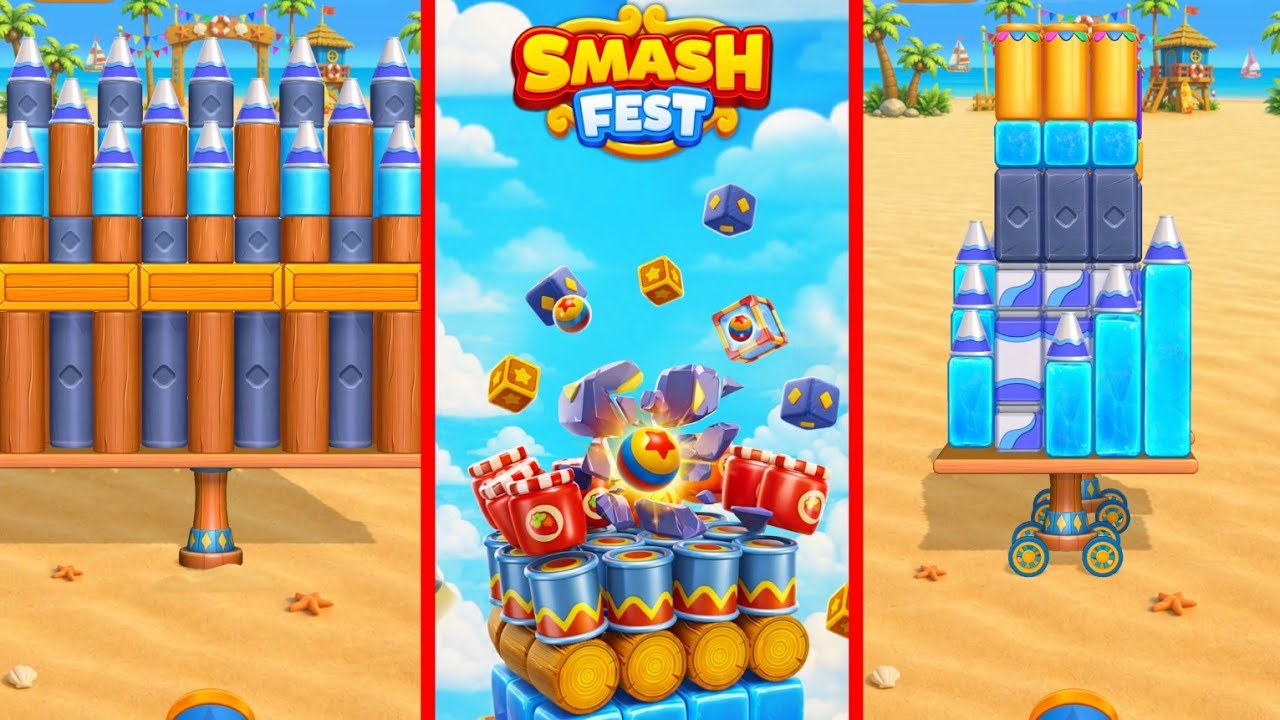
Reaching levels 841–860 in Smash Fest! marks a significant transition in gameplay. At this stage, the arcade-style destruction mechanics evolve from simple target practice into complex structural puzzles. The game shifts from rewarding brute force to demanding calculated precision, where understanding how to dismantle a structure—rather than just hitting it—is the key to clearing the stage.
To succeed in this bracket, players must master the relationship between the cannon’s trajectory, the material properties of the objects, and the physics-based chain reactions that govern the environment.
Identifying Structural Weak Points
In Smash Fest!, the most common mistake players make in the 800s is targeting the exterior surface of a structure. By levels 841–860, developers have introduced reinforced outer layers designed to absorb impact, making them inefficient targets.
Instead, your primary goal is to identify the "keystone" or load-bearing blocks. These are typically located at the base of vertical towers or at the junction points where two major structural components meet.
- The Base-Collapse Method: Most structures in this level range are top-heavy. By targeting the bottom-most center block, you remove the structure's foundation. Gravity will then do the heavy lifting, causing the upper sections to collapse under their own weight.
- The Junction Point: Look for the "shoulder" of a structure—the spot where a horizontal beam meets a vertical support. Striking these points often destabilizes the entire frame, leading to more widespread destruction than a direct hit on a solid block.
Mastering Projectile Trajectory and Physics
The physics engine in Smash Fest! is highly reactive. In higher levels, you aren't just shooting an object; you are managing a kinetic chain reaction.
Adjusting Launch Angles
Direct shots are often deflected by sloped or reinforced materials. To bypass this, utilize high-arc shots. By firing at a steep angle, you allow the projectile to strike the top of a tower, which can force the structure to buckle downward. This is particularly effective for "floating" or suspended obstacles that are anchored by a single, thin support beam.
Leveraging Debris Momentum
Do not underestimate the value of falling debris. In levels 841–860, your projectile is only the first part of the equation. If your first shot clears a central support, the resulting collapse of heavy metal or stone blocks can be used to wipe out secondary, smaller obstacles. Before taking your second shot, observe how the wreckage settles. Often, the debris will create a domino effect that clears a significant portion of the remaining board for free.
Material Priority: Understanding the Resistance
Not all objects in Smash Fest! react to your cannon the same way. Knowing your materials is essential for managing your limited shot count.
| Material Type | Destruction Strategy |
|---|---|
| Wood | Use as a pivot point; highly susceptible to chain reactions and structural shifts. |
| Glass | Brittle and ideal for clearing paths or "shattering" to expose internal components. |
| Metal | Avoid direct impact; prioritize hitting the support holding it up to collapse it indirectly. |
When faced with a mixture of these materials, always prioritize the wood or glass supports holding up the metal components. Attempting to break through a wall of metal is almost always a waste of ammunition.
Optimizing Shot Economy
In levels 841–860, shot economy is the primary challenge. The game provides just enough ammunition to clear the board, provided every shot serves a specific purpose. If you find yourself with only two shots left and half the board remaining, you have likely focused on the surface rather than the structure.
The Shot Efficiency Checklist:
- Survey the Board: Spend your first 5–10 seconds analyzing the center of gravity. Where is the structure most likely to tip?
- Plan the Chain: Can one shot remove a support that causes a cascade into a second cluster?
- The "One-Shot" Rule: Aim to have at least one segment of the board completely destroyed by the resulting physics of your first strike.
- Hold Your Fire: If a structure is already in the process of falling, stop firing. The physics engine will complete the destruction for you. Firing again is a wasted resource.
Troubleshooting Stubborn Clusters
When a specific tower or cluster refuses to fall, you are likely hitting the "stiff" part of the object. Every structure in Smash Fest! is built with intentional weaknesses.
If a tower seems immovable, look for the smallest, most isolated piece near the base. These small blocks are often the "keystones" that lock the larger, heavier pieces in place. Dislodging a tiny block at the bottom will often trigger a larger collapse than a direct, powerful hit to the center of a heavy wall.
Common Mistakes to Avoid
- Targeting the Same Spot Twice: If a shot fails to move a structure, do not repeat it. The game is telling you that the material is too reinforced or the trajectory is incorrect. Adjust your aim by at least 15–20 degrees.
- Ignoring the Background: In some levels, environmental elements (like hanging ropes or secondary platforms) can be interacted with to drop obstacles onto your primary target. Always scan the entire screen, not just the main tower.
- Rushing: Smash Fest! is a game of precision. Taking an extra moment to align your cannon with the structural weak point is almost always faster than restarting a level because you ran out of shots.
By treating each of these twenty levels as a puzzle rather than a shooting gallery, you will find that the difficulty spikes in Smash Fest! are manageable. Focus on the foundation, prioritize the chain reaction, and conserve your shots for the moments where they will have the maximum structural impact. With this approach, you will clear level 860 and move on to the next set of challenges with ease.
Free Smash Fest! Codes
Current active codes and how to redeem them.

Sarah Williams
Sarah specializes in RPG and collection games, explaining team building, character growth, and beginner-friendly ways to avoid expensive early mistakes.
COMMUNITY
Player Comments
95 players commented on this guide.
The tips are practical and easy to follow.
Can you add more details about strategy in a future update?
I wish I had read this before upgrading the wrong thing.
I tried this today and it worked better than my old setup.