
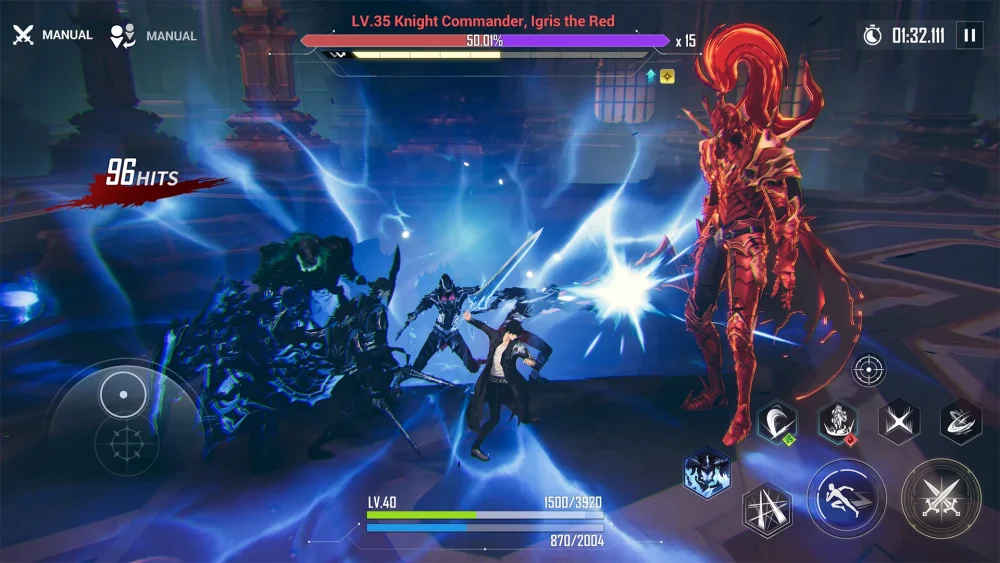
To conquer the most difficult endgame content in Solo Leveling:Arise, such as the Workshop of Brilliant Light or high-level Instance Dungeons, you must move beyond raw power and master elemental synergy. Because Sung Jinwoo can equip two weapons simultaneously, your ability to rotate between their unique skills and stat buffs is the primary determinant of your clear times.
This guide breaks down the most effective weapon combinations for Sung Jinwoo, categorized by elemental advantage. By aligning your loadout with the boss’s weakness, you gain significant damage multipliers that are essential for beating the clock in time-attack challenges.
The Foundation of Combat: Understanding Weapon Synergy
Before diving into specific elements, you must understand how weapon synergy functions in Solo Leveling:Arise. Your weapons do more than just deal damage; they define your skill rotation, your critical hit scaling, and your survivability.
The "Meta" in this game revolves around Buff-Sticking (using a weapon's active skill to apply a buff, then switching) and Break Damage (using specific weapons to deplete the Boss Break Gauge). When selecting a combo, always look for a pair where one weapon provides a utility or damage buff (like the Plum Flower Sword) and the other provides a high-damage finisher or elemental exploit.
Fire Element: Maximizing Burst Potential
Fire-weak enemies generally require a "hit and run" strategy. Since many Fire-vulnerable bosses feature aggressive, high-damage patterns, you need high burst damage to finish them during their vulnerable windows.
- The Combo: Thetis’ Grimoire + Moonshadow
- Why it works: Thetis’ Grimoire is widely considered one of the best utility/damage hybrids in the game. It allows you to freeze enemies, setting them up for a massive follow-up. Pairing this with Moonshadow allows you to capitalize on the freeze by landing high-critical hits while the boss is immobile.
- Strategy: Open with Thetis’ Grimoire to lock the boss down. Use your skill rotations to deplete the Break Gauge, then switch to Moonshadow to leverage its high-speed attacks for massive burst damage before the boss recovers.
Water Element: Sustained Control and DPS
Water-element encounters in Solo Leveling:Arise often involve tanky bosses with large health pools. You cannot rely on a single burst window; you need sustained, reliable pressure.
- The Combo: Plum Flower Sword + Scorpion Scythe
- Why it works: The Plum Flower Sword is the king of crit-rate buffs. By using its "Flower Bloom" skill, you increase your crit rate significantly for a short duration. The Scorpion Scythe serves as your primary damage dealer, benefiting immensely from the critical hit buff provided by the Plum.
- Strategy: Start the fight by using the Plum Flower Sword skill to trigger its critical hit rate buff. Immediately swap to the Scorpion Scythe to unleash your hardest-hitting abilities while the buff is active. This cycle maintains high DPS uptime throughout the entire encounter.
Wind Element: Speed and Mobility
Wind-weak encounters often feature highly mobile bosses that force you to dodge frequently. You need a weapon combo that allows for short, high-impact skill animations that won't leave you locked in place.
- The Combo: Plum Flower Sword + West Wind
- Why it works: This combination is the ultimate "hit-and-run" build. West Wind is a ranged weapon that allows you to deal massive damage from a safe distance, while the Plum Flower Sword remains your primary utility for crit-rate scaling.
- Strategy: Use West Wind to attack from range while the boss performs its long-winded melee attacks. Whenever the boss is stunned or vulnerable, dash in, trigger the Plum Flower Sword buff, and unleash your rotation. This minimizes the time you spend inside the boss’s danger zone.
Light Element: Consistent Pressure and Break
Light-weak enemies are often susceptible to frequent Break states. Your priority here is to deplete the Break Gauge as quickly as possible to prevent the boss from entering its "Enraged" phase.
- The Combo: Thetis’ Grimoire + West Wind
- Why it works: Thetis’ Grimoire provides excellent crowd control, while West Wind offers reliable, high-damage single-target output. When dealing with Light-weak bosses, you want to maintain constant pressure to keep the Break Gauge dropping.
- Strategy: Treat Thetis’ Grimoire as your "setup" tool. When the boss leaves an opening, use the Grimoire to freeze or slow them, then switch to West Wind to land clean, uninterrupted shots at the boss’s weak points.
Dark Element: The Current Meta Ceiling
Dark-element builds are currently the most powerful in the game due to the scaling potential of the top-tier Dark weapons. This is the "God Tier" loadout for clearing the hardest content.
- The Combo: Plum Flower Sword + Moonshadow
- Why it works: The synergy here is unparalleled. Both weapons facilitate high-speed combat and provide massive buffs to critical damage and attack speed. This combo is the gold standard because it performs well regardless of the specific boss, provided they are not resistant to Dark damage.
- Strategy: Maintain your rotation by cycling between the Plum buff and the Moonshadow debuffs. Moonshadow can apply a significant debuff to the enemy, making them take more damage, which stacks multiplicatively with the Plum critical hit buff.
Crucial Considerations: When to Pivot
While the combos above are mathematically superior for their respective elements, you must adapt to your account's specific situation:
- Weapon Advancement (Stars): A 5-star "neutral" weapon will almost always outperform a 0-star "elemental weakness" weapon. If your elemental gear is low-level, stick to your highest-advancement weapons until you can pull duplicates.
- Defensive Utility: If you are consistently failing because you are dying, sacrifice one damage-dealing weapon for a defensive option, such as a shield-granting weapon or one that provides lifesteal. A dead player deals zero DPS.
- Artifact Synergy: Your weapons do not exist in a vacuum. Ensure your artifacts (specifically the Jewelry and Armor sets) are buffing the attack type of your primary weapons (e.g., using "Expert" sets for crit-heavy combos).
Common Mistakes to Avoid
- Ignoring the Break Gauge: Many players focus only on damage numbers. If a boss has a Break Gauge, you are effectively doing half damage. Prioritize "Break" weapons until the gauge is shattered.
- Poor Rotation Timing: Do not dump all your skills at once. Use your utility weapon to buff, then your high-damage weapon to execute. If you use your damage weapon first, you lose the benefit of the buffs.
- Over-Investing in Too Many Weapons: Focus on maxing out one or two core weapons before spreading your resources thin. A fully maxed-out Plum Flower Sword is more valuable than five level-60 weapons of varying elements.
By mastering these combinations and timing your rotations to maximize elemental and critical buffs, you will see a massive increase in your clear efficiency. Focus on gathering resources to advance these specific weapons, and you will find even the most daunting bosses in the Workshop of Brilliant Light becoming manageable.

Free Solo Leveling:Arise Codes
Current active codes and how to redeem them.

Michael Smith
Michael covers live-service games, events, reward systems, and efficient daily routines, turning frequent updates into clear actions for players.
COMMUNITY
Player Comments
147 players commented on this guide.
Nice guide. I am checking the other Solo Leveling:Arise articles next.
Can you add more details about strategy in a future update?
Good guide for Solo Leveling:Arise players. The strategy part was useful.
I wish I had read this before upgrading the wrong thing.