
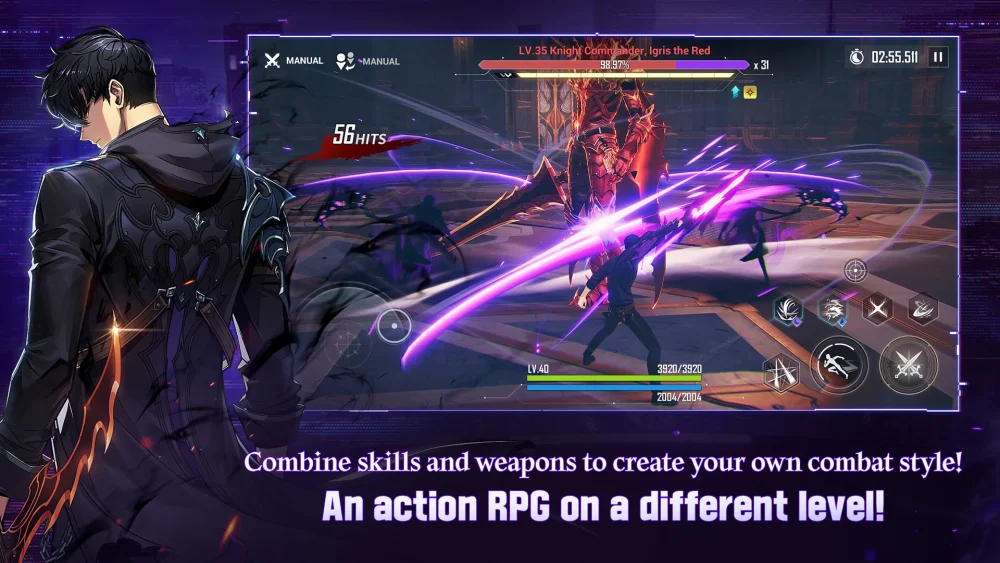
The Kargalgan (Tusk) encounter in Solo Leveling:Arise represents a significant skill check for players. Unlike aggressive melee bosses that rely on brute force, Kargalgan is a high-damage caster who punishes impatient players and those who lack spatial awareness. To emerge victorious, you must transition from a reactive playstyle to one that dictates the flow of combat through calculated aggression and defensive discipline.
Understanding the Kargalgan Encounter Mechanics
Kargalgan is a ranged boss who utilizes a variety of area-of-effect (AoE) spells and lingering magical hazards. His primary goal is to force you into a corner or catch you in a "crowd control" loop.
- Telegraphed Attacks: Every major spell Kargalgan casts is preceded by a distinct visual wind-up. Watch his staff and the ground beneath your feet. Red indicators are your primary cue to move.
- Persistent Hazards: Some of his spells create zones that deal damage over time. Do not stand in these; if you are standing in a hazard, you are effectively reducing your own DPS window because you are forced to move away from the boss.
- The Teleport/Reposition Mechanic: Kargalgan will frequently blink away when you get close. Anticipate this movement by saving your dash or a mobility skill to close the gap immediately once he reappears.
Mastering Extreme Evasion and I-Frame Timing
In Solo Leveling:Arise, the "Extreme Evasion" mechanic is the most powerful tool in Sung Jinwoo’s kit. Triggering this at the exact moment an attack lands grants you a brief window of invincibility (I-frames) and slows down time, which is essential for maximizing damage against Kargalgan.
The Art of the Perfect Dash
Instead of panic-dashing away from his projectiles, move toward or side-to-side with them just as they are about to connect. This triggers the Extreme Evasion, granting you a "Shadow Step" or counter-attack opportunity.
Pro Tip: If you find yourself constantly running out of stamina, you are likely dashing too early. Wait for the final frame of the telegraph animation. This discipline ensures you always have one dash reserve left to escape his follow-up combos if your timing is slightly off.
Optimizing Skill Rotations and Cooldown Management
Because Kargalgan is highly mobile and often shielded, your skill rotations must be precise. Don't waste your high-cooldown skills while he is in his "blink" animation or during his immunity phases.
- Wait for the Opening: Let Kargalgan finish his spell sequence. Once he enters his recovery animation (where he is stationary and vulnerable), unload your highest-damage skills immediately.
- Prioritize Cooldown Reduction (CDR): If you are struggling to keep your skills up, check your artifacts. Prioritizing CDR on your gear allows you to cycle through your ultimate and specialized skills faster, which is often the difference between a successful clear and a timeout.
- Manage Weapon Skills: Use your wind-up heavy weapons during his long-cast spells. If you know he is about to cast a multi-hit wave, trigger your weapon skill just before the damage hits to benefit from damage reduction or hyper-armor.
Strategic Positioning: The "Sweet Spot"
Many players struggle with Kargalgan because they stand too far back, allowing the boss to pelt them with projectiles. The key is to stay at "mid-range."
- Stay Close, But Not Too Close: Maintaining a distance of about 3-5 meters from Kargalgan keeps you out of his close-range knockback spells while ensuring you can react to his mid-range projectiles.
- The Edge-Lure Strategy: If the center of the arena becomes flooded with magical hazards, kite Kargalgan toward the edge of the map. This forces him to move, and it gives you a clean, hazard-free area to fight in for the next 10-15 seconds.
- Avoid Cornering Yourself: Never let Kargalgan force you against the arena walls. Once your back is to the wall, you lose the ability to dodge effectively, which is exactly where he wants you.
Recommended Loadouts and Gear Focus
To consistently clear this encounter, your build should emphasize mobility and burst damage over sustained physical tankiness.
- Artifacts: Look for sets that provide increased damage against bosses or bonuses to critical hit rate. Since you are looking for short windows to attack, "Burst" damage is significantly more valuable than "Damage Over Time" effects here.
- Weapons: Equip weapons that offer dash-attack buffs or high-impact skills that can break his guard. If you have weapons with wind-element properties, prioritize those, as they are often highly effective against High Orc types.
- Hunters: If the encounter allows for support hunters, bring someone who can provide a shield or a stun. A well-timed stun from a support hunter can interrupt Kargalgan’s most devastating spell channels, giving you a free window to unleash your entire rotation.
Common Mistakes to Avoid
- Greeding for Damage: The most common cause of failure is trying to squeeze in one more basic attack after he starts his next animation. If you see him beginning a new cast, cancel your combo and move.
- Ignoring the Break Gauge: If Kargalgan has a yellow "Break" bar, prioritize your Break-specialized skills. Breaking him stops his spellcasting entirely and leaves him dazed, which is your best opportunity to deal massive damage.
- Poor Stamina Management: Do not waste your dashes to move across the arena. Use your character's movement speed to reposition normally, and save your dash specifically for dodging his spells.
Final Verdict: Why Strategy Beats Stats
While having high-level gear helps, this encounter is fundamentally a test of rhythm. Kargalgan is designed to teach you the importance of Solo Leveling:Arise’s combat mechanics: the interplay between Extreme Evasion, cooldown management, and map positioning. By slowing down your inputs, waiting for the correct telegraphs, and capitalizing on his recovery windows, you can overcome even the most difficult versions of this fight regardless of your current combat power. Focus on your movement, watch his animation frames, and the victory will be yours.

Free Solo Leveling:Arise Codes
Current active codes and how to redeem them.

Michael Smith
Michael covers live-service games, events, reward systems, and efficient daily routines, turning frequent updates into clear actions for players.
COMMUNITY
Player Comments
154 players commented on this guide.
This guide answered the exact question I had.
Good guide for Solo Leveling:Arise players. The strategy part was useful.
I wish I had read this before upgrading the wrong thing.
The explanation is clear, especially for beginners.