
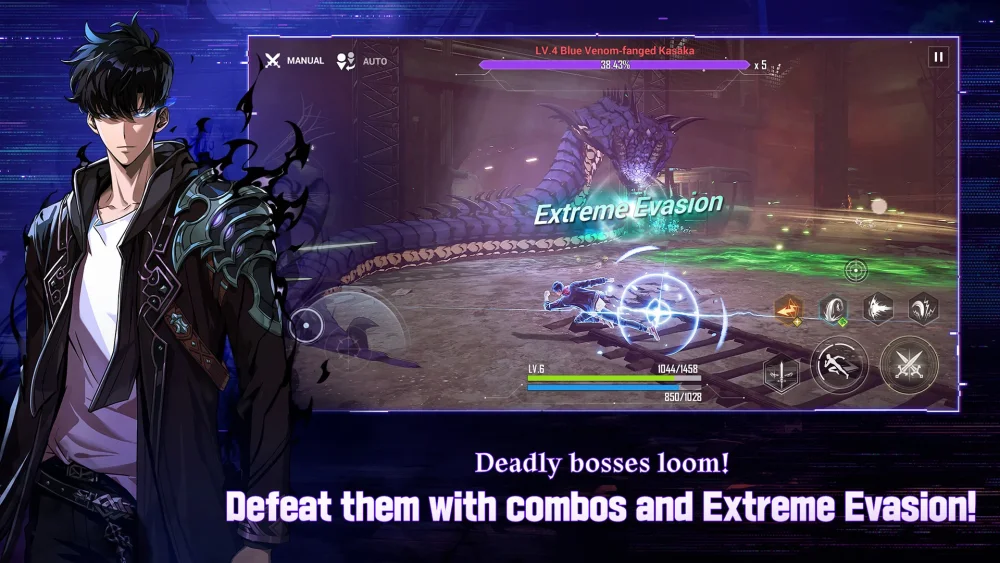
To dominate the high-stakes battlefields of Solo Leveling:Arise, mechanical precision is just as important as your Hunter’s gear score. Transitioning from touch controls to a dedicated controller setup unlocks a new level of fluidity, allowing for more consistent "Extreme Evasion" windows and smoother skill rotations. Whether you are tackling the Workshop of Brilliant Light or grinding through daily story missions, your controller settings act as the bridge between your tactical decisions and the screen.
This guide provides an authoritative look at calibrating your hardware to ensure your inputs are as sharp as Sung Jinwoo’s blades.
The Case for Controller Play in Solo Leveling:Arise
While Solo Leveling:Arise is optimized for mobile touchscreens, the intensity of its action-RPG combat—which relies heavily on frame-perfect dodges and rapid-fire skill chaining—often benefits from the tactile feedback of a controller. Using a gamepad allows you to keep your thumbs on the movement and camera sticks while triggering abilities, preventing the "finger-stretching" fatigue associated with mobile play. By mastering controller inputs, you gain a tangible advantage in reaction time, making it easier to navigate telegraphs from bosses like Igris or the Ant King.
Calibrating Sensitivity for Fluid Camera Control
A sluggish camera is the fastest way to lose track of an enemy during a boss encounter. In Solo Leveling:Arise, your camera sensitivity dictates how quickly you can re-orient yourself after a dodge or a dash.
- The Increment Method: Start by increasing your horizontal and vertical sensitivity sliders by 5% increments. Test these in the training room. If you feel like your camera is "skipping" or overshooting when you try to lock onto an enemy, dial it back by 2%.
- The Tracking Test: Engage in a combat encounter where the enemy is highly mobile. Your goal is to keep the enemy centered in your field of view without having to make constant, large adjustments. If you find yourself consistently lagging behind the enemy’s movement, your vertical sensitivity is likely too low.
- Consistency is Key: Once you find a comfortable setting, stick with it. Muscle memory is the primary factor in high-level play; frequent adjustments will hinder your ability to predict camera behavior during high-pressure raids.
Optimizing Button Mapping for Skill Rotations
The default layout in Solo Leveling:Arise is designed for accessibility, but as you progress into endgame content, you need to prioritize speed. Your goal is to map high-impact, short-cooldown abilities to buttons that allow you to keep your thumb on the movement stick.
- Prioritize Mobility: Ensure your dodge button is mapped to a shoulder bumper (L1/R1 or LB/RB). This allows you to trigger an "Extreme Evasion" while simultaneously moving your character out of the area of effect, an essential skill for surviving boss mechanics.
- The Rotation Layout: Place your most frequently used skills on the face buttons that you can reach without moving your thumb from the right stick. If your controller supports back paddles, map your Ultimate ability or your "Support Hunter" tag-in to these, keeping your primary attack inputs unobstructed.
- Strategic Stance: Avoid "claw gripping" by offloading movement-dependent actions to triggers. If your controller software allows for remapping, ensure that "Basic Attack" and "Skill 1" are easily reachable in a rapid-fire sequence.
Managing Dead Zones and Eliminating Input Lag
Input lag in Solo Leveling:Arise feels like a "floaty" or unresponsive character. This is often caused by improperly configured dead zones—the area around the center of the analog stick that the game ignores.
- Reducing Dead Zones: Lower your dead zone threshold until you notice "stick drift" (the camera or character moving on their own). Once you reach this point, bump it back up by one or two notches. This provides the most responsive movement possible while maintaining stability.
- Wired vs. Wireless: If you are playing on a PC or console-linked device, use a wired connection. Bluetooth interference can introduce micro-stuttering that is imperceptible in menus but deadly during a timed boss encounter.
- Vibration Settings: While haptic feedback adds immersion, it can be a distraction when you need to focus on visual cues for Perfect Dodges. Try disabling vibration to sharpen your focus on the game’s visual indicators—the subtle glow or sound effect that signals a perfect evasion window.
Visual Feedback and UI Synergy
Transitioning to a controller changes how you process the UI. Without the direct interaction of touch, you must rely on the game’s visual indicators for cooldowns and gauge management.
- UI Scaling: If your controller’s interface feels like it’s obstructing your view, adjust the UI scale in the settings menu. A slightly smaller UI increases your Field of View (FOV), allowing you to see boss telegraphs from the edges of the screen more easily.
- Cooldown Awareness: Because you are not looking at your finger-taps, train your eyes to scan the bottom-right corner of the screen where your skill icons reside. Using a controller frees up your peripheral vision, allowing you to focus on the boss's movement rather than your own button presses.
Overcoming Menu Navigation Challenges
One of the few drawbacks of using a controller in Solo Leveling:Arise is navigating the complex menus of the inventory, artifact management, and hunter growth screens.
- Master the Shortcuts: Familiarize yourself with the on-screen prompts at the bottom of the menu windows. Using the "Quick Menu" and "Shortcut" buttons (usually mapped to the Select/View or Options/Menu buttons) will significantly speed up your inventory management and gear swapping.
- The Hybrid Approach: Don't be afraid to use the touch screen for inventory management if your device allows it. Use the controller exclusively for combat and the screen for deep-menu sorting. This hybrid workflow is the most efficient way to maintain high gear-optimization speeds between battles.
Summary Checklist for Competitive Play
To ensure you are ready for the hardest content in Solo Leveling:Arise, review these final points:
- Sensitivity: Is it high enough to turn 180 degrees instantly, but low enough to maintain precision?
- Dead Zones: Have you minimized them to the point just before stick drift occurs?
- Dodge Mapping: Is your evasion input on a trigger or bumper for immediate access?
- Haptics: Have you disabled vibration to improve your concentration on visual cues?
By treating your controller configuration as a critical part of your overall Solo Leveling:Arise build, you ensure that no boss encounter is lost due to mechanical limitations. Consistent practice with these optimized settings will turn your controller into an extension of your character, granting you the mechanical freedom to climb the leaderboards and conquer the most challenging raids.

Free Solo Leveling:Arise Codes
Current active codes and how to redeem them.

James Brown
James focuses on Android gaming on PC, emulator setup, controls, performance tuning, and practical troubleshooting for longer play sessions.
COMMUNITY
Player Comments
75 players commented on this guide.
Good guide for Solo Leveling:Arise players. The strategy part was useful.
This saved me time in the early game.
I wish I had read this before upgrading the wrong thing.
The explanation is clear, especially for beginners.