
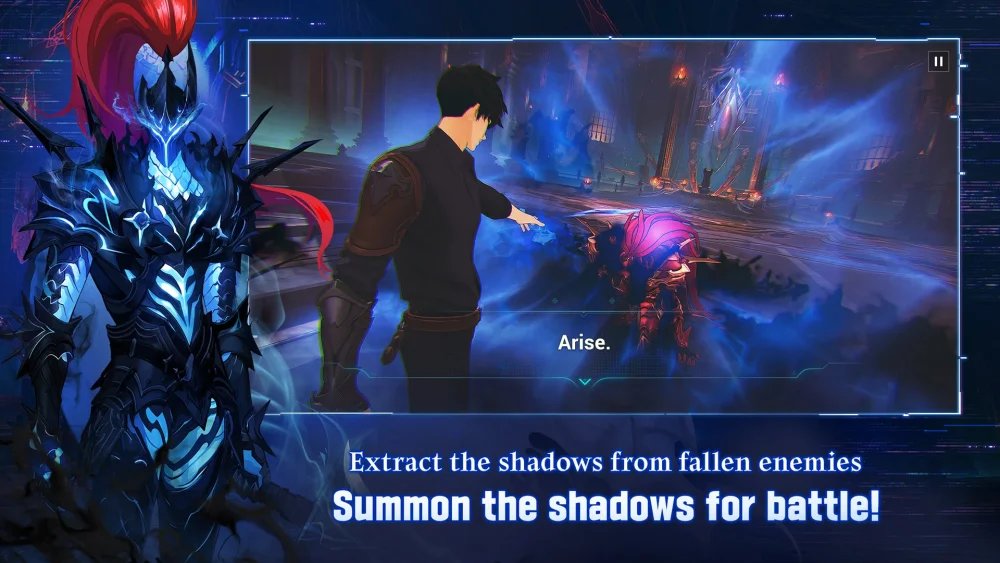
The System Architect encounter in Solo Leveling:Arise serves as a defining skill check that shifts the gameplay from aggressive DPS output to tactical, narrative-driven combat. Unlike standard boss encounters where you can rely on raw stats, this battle forces you to respect the Architect’s reality-warping mechanics and internal cooldown locks. To defeat him, you must prioritize positioning during his field-wide attacks and master the rhythm of his "System Lockdown" phases to ensure your survival through the final narrative sequence.
Understanding the Architect’s Combat Phase Shifts
The System Architect operates on a unique logic system where his attacks are tethered to the narrative progression of the fight. Rather than rushing in with a blind skill rotation, you must observe the subtle visual cues that precede his reality-distorting abilities. Because these attacks often cover massive portions of the arena, traditional dodging is insufficient if you are caught out of position.
When the Architect initiates a casting animation, stop attacking immediately. The damage from his "System Override" skills is catastrophic, capable of depleting your health bar in two hits if you are locked in an animation. Instead, use these telegraph windows to reposition to the periphery of the arena. Wait for the visual clutter—the "glitch" effects—to dissipate before closing the distance. By staying mobile, you preserve your health pool for the later, more chaotic stages of the fight.
Navigating the "System Lockdown" Mechanic
The most challenging aspect of this encounter is the "System Lockdown," a debuff that restricts your ability to use specific skills. This mechanic is designed to punish players who spam buttons without observing the boss's cadence. If you attempt to force your rotation during a lockdown, you will trigger a penalty that leaves you vulnerable for several seconds.
To thrive here, follow these tactical rules:
- Observe the Rhythm: The Architect’s strikes mirror the system's internal processing speed; watch for the predictable cadence of his movements.
- Build via Dodging: When skills are locked, focus exclusively on triggering Perfect Dodges. This builds your Ultimate Gauge safely while the boss is active.
- Minimize Animation Commitments: Even when skills are available, use short-animation strikes. Long-channel abilities are high-risk during the lockdown phase.
- Leverage Slow-Motion: Use the slow-motion effect provided by a Perfect Dodge to chip away at his HP without risking a full-blown counter-attack.
Optimizing Ultimate Usage for Phase Transitions
The Architect encounter features distinct "Phase Transitions" where the boss becomes invulnerable while reconfiguring the arena. Many players waste their Ultimate abilities by firing them just as the boss enters this state, resulting in zero damage and a wasted damage window.
The Strategy for Burst Windows:
- Conserve Resources: As the boss begins his transition animation, stop all skill usage.
- Identify the Opening: Wait for the specific moment the boss stands stationary after his reconfiguration. This is his most vulnerable state.
- Unleash the Full Combo: Once the boss is "reloaded," execute your full skill rotation followed immediately by your Ultimate. By aligning your burst damage with these post-transition windows, you maximize the impact of your gear and ensure you have the necessary DPS to clear the phase before the next lockdown.
Defensive Strategies for High-Tier Encounters
Surviving the System Architect often requires a fundamental shift in your build philosophy. While pure attack builds are popular in Solo Leveling:Arise, the frequency of the Architect’s attacks makes this "glass cannon" approach a liability. You must account for "System Feedback" damage—passive damage that occurs when you successfully parry or engage his complex maneuvers.
If you are consistently failing, assess your artifact set. Consider these adjustments:
- Prioritize Damage Reduction: Swapping one or two offensive artifacts for pieces that increase damage reduction or HP recovery can prevent a single mistake from becoming a wipe.
- The Marathon Mindset: This fight is a battle of attrition. If you can survive the first three minutes by prioritizing defense, you will eventually find the opening to land the finishing blow.
- Stat Trade-offs: Sacrificing 10% of your total attack power for increased survivability is a sound investment. A dead hunter deals zero damage, and the Architect’s HP pool is designed to be depleted over a longer, sustained engagement rather than a short burst.
Common Mistakes to Avoid
Players frequently struggle with this encounter because they treat it like a standard dungeon boss. Avoid these common pitfalls to improve your clear time:
- Over-Greeding: Attempting to squeeze in one extra basic attack during an Architect telegraph is the #1 cause of failure. Always prioritize movement.
- Ignoring UI Cues: The System Architect provides distinct UI indicators when he is about to lock your skills. If your skill icons grey out, immediately transition to a defensive posture.
- Panic Dodging: Don't burn your dodge charges unnecessarily. Save them for the high-damage reality-warping attacks that are otherwise impossible to avoid.
By mastering these mechanics, you align your gameplay with the intended design of the encounter. Focus on the rhythm of the fight, respect the skill lockdowns, and ensure your build supports a longer engagement. As you progress, the Architect’s patterns will become second nature, allowing you to navigate his system-override attacks with the precision of a true shadow monarch.

Free Solo Leveling:Arise Codes
Current active codes and how to redeem them.

Emily Johnson
Emily writes practical mobile strategy guides with a focus on resource planning, base progression, and the early decisions that shape a long-term account.
COMMUNITY
Player Comments
142 players commented on this guide.
The explanation is clear, especially for beginners.
I wish I had read this before upgrading the wrong thing.
This guide answered the exact question I had.
Good guide for Solo Leveling:Arise players. The strategy part was useful.