
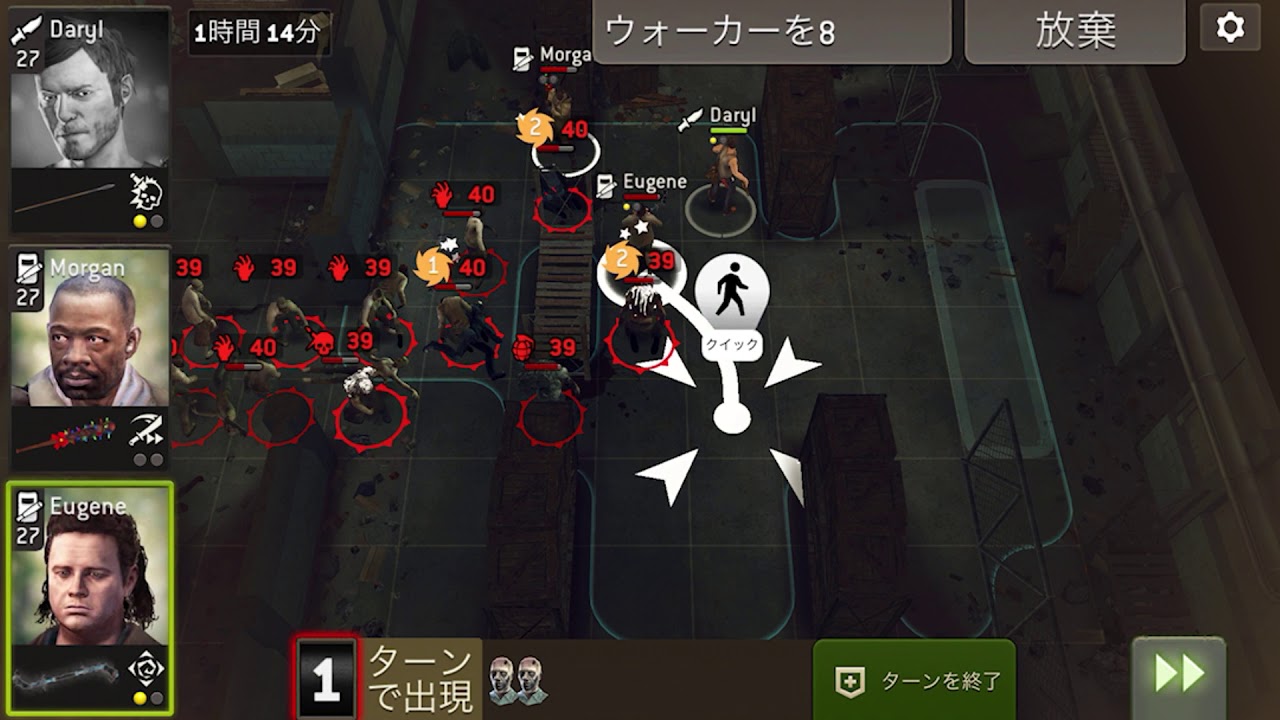
To beat +13 Guild War outposts in The Walking Dead No Man's Land, eliminate opposing human survivors on turn one before anchoring your squad at a narrow choke point. High-tier +13 outposts offer the maximum star yield for your guild, but they combine maximum defensive scaling with high walker density and tight quarters. Securing a clean clear requires strict target prioritization, disciplined Action Point (AP) rationing, and careful movement around enemy sightlines.
Opening Turn Sequence: Neutralize Human Defenders First
Enemy survivors present an immediate threat because their ranged attacks bypass normal walker delays and deal heavy, armor-piercing damage. Walkers act as obstacles designed to pin your team while defensive snipers and assault units pick you off. Never spend opening turn AP attacking walkers if an enemy survivor can shoot your team on the following phase.
Follow this sequence during the first two combat rounds:
- Check defender threat zones: Before moving any survivor, inspect the red danger cones marking enemy Hunter and Shooter attack ranges.
- Burst down the primary damage dealer: Use a Hunter or high-damage Shooter to eliminate the most dangerous opposing ranged survivor on turn one from outside overlapping fire zones.
- Disable secondary defenders: If a second human survivor cannot be finished off immediately, apply a stun, root, or charge attack to block their reaction turn.
- Shift focus to walker bottlenecks: Once enemy survivors are neutralized, direct your remaining action points toward holding choke points and managing incoming walker swarms.
Holding Choke Points Against High-Density Swarms
Dense map layouts, such as railcars and narrow corridors, prevent swarms from surrounding your squad if you control the bottleneck. Allowing walkers into open space lets multiple enemies strike a single survivor, triggering overwhelming combo damage. Holding a single-tile bottleneck restricts contact to one or two walkers per turn.
Select survivor classes and traits suited for holding tight spaces:
| Class | Role in +13 Choke Points | Recommended Weapon Trait | Key Limitation |
|---|---|---|---|
| Hunter | Picks off human defenders and distant high-threat targets | High Powered or Swift | Vulnerable if flanked; single-target attacks only |
| Shooter | Clears grouped walkers stacked in straight corridors | Extended Mag or Lethal | Low physical defense; suffers accuracy penalties in melee |
| Warrior | Anchors bottlenecks and applies multi-target stuns | Wide Arc or Tactician | Must stand adjacent to dangerous walker clusters |
| Bruiser | Absorbs front hits and locks down dangerous single targets | Concussion or Defensive | Slow movement; low burst damage against human survivors |
Place your Warrior or Bruiser directly at the mouth of the bottleneck. Keep Shooters and Hunters one step behind your melee anchor. This positioning forces walkers into straight files, enabling cleave attacks and multi-target ranged burst without exposing fragile survivors to melee hits.
Action Point Economy and Overwatch Management
Preserving half of a survivor's AP bar triggers defensive Overwatch, causing that survivor to automatically fire on approaching walkers during the enemy phase. Expending full AP bars on sprinting or basic attacks leaves your squad defenseless during the enemy turn. Move only within half-range intervals whenever advancing into unmapped terrain or holding corridors.
When approaching defensive survivor lines, do not step directly into active enemy Overwatch zones. Use corners to break line of sight, or step a durable melee survivor into the edge of the firing cone to absorb or trigger the reaction shot safely. Once the enemy's defensive reaction is spent, bring your primary ranged attacker forward to finish the target.
Mistakes to Avoid in +13 Outposts
- Diverting AP for loot: Never spend movement or attacks opening secondary crates. Crates offer negligible rewards compared to the guild points gained from securing a full-star outpost clear.
- Overusing loud weapons early: Firing unsilenced ranged weapons drives up the threat meter, accelerating reinforcement spawns. If your squad pushes too deep before clearing the initial room, rear spawns can block your entry bottleneck and trap your team.
- Advancing before the room is clear: Hold your ground at the initial choke point until both the defender squad and the initial horde are fully neutralized.

Free The Walking Dead No Man's Land Codes
Current active codes and how to redeem them.

James Brown
James focuses on Android gaming on PC, emulator setup, controls, performance tuning, and practical troubleshooting for longer play sessions.
COMMUNITY
Player Comments
156 players commented on this guide.
Good guide for The Walking Dead No Man's Land players. The strategy part was useful.
This guide answered the exact question I had.
I wish I had read this before upgrading the wrong thing.
This saved me time in the early game.