
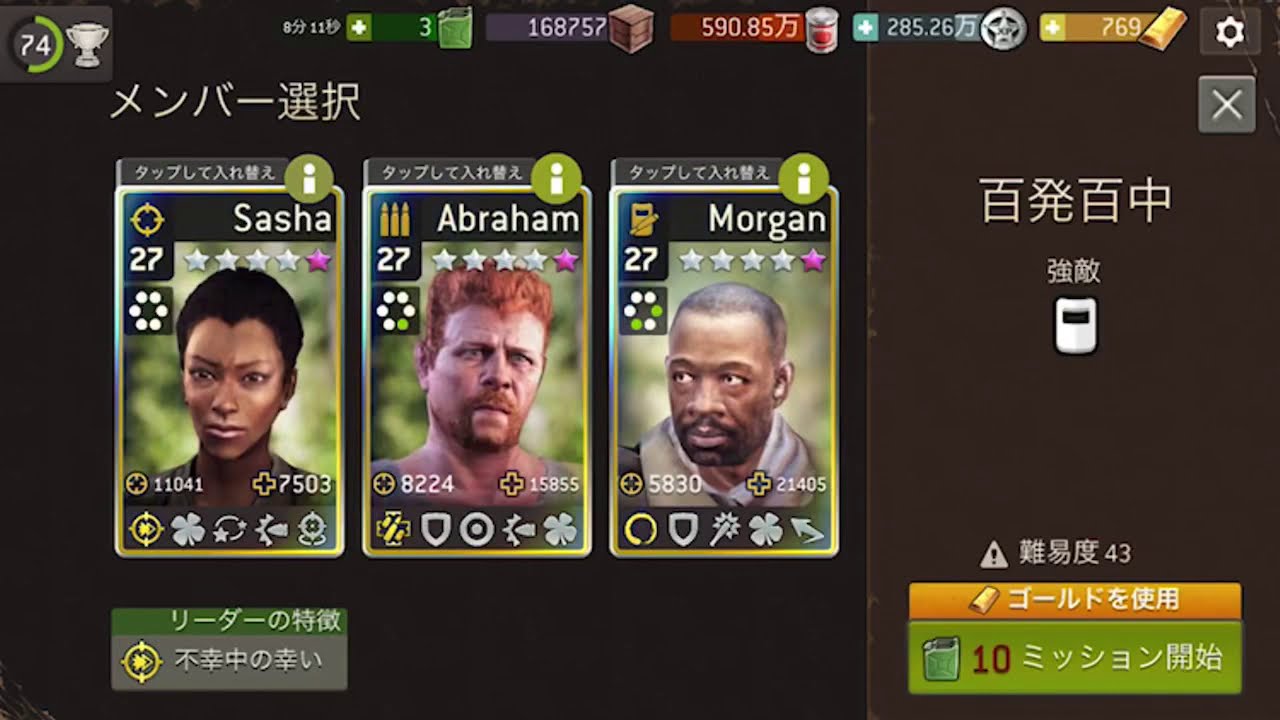
To clear the Bullseye challenge at Difficulty 43 in The Walking Dead No Man's Land, establish a defensive choke point near your spawn zone, preserve action points for ranged overwatch, and delay crate retrieval until the initial walker wave is neutralized. Difficulty 43 walkers hit hard enough to incapacitate survivors in one or two blows, making ranged crowd control and strict noise restraint mandatory before moving toward extraction.
Recommended Squad Composition
A successful run requires high single-target burst damage paired with wide-area suppression to stop enemies outside melee distance.
- Primary Hunter (Sniper Rifle): Targets high-threat enemies from long range. Equip rifles with high critical chance, Lethal, or Piercing traits to eliminate Armored Walkers and Bloaters before they reach the frontline.
- Support Shooter (Assault Rifle or SMG): Manages walker packs using wide firing cones. Shooters stagger or interrupt advancing groups and thin out standard walker clusters.
- Tactical Scout or Warrior: Collects objective crates and plugs defensive gaps. A Scout with Threat Reduction and stealth can retrieve crates without alerting distant packs, while a Warrior with high Dodge and Retaliation can handle unexpected flanking walkers.
Target Prioritization and Threat Management
Every unsuppressed shot advances the mission threat meter, accelerating reinforcement waves from perimeter spawn points and manholes. Eliminate enemies based on their specific modifiers and approach speed:
- Bloated Walkers: Prioritize these at maximum range using a Hunter or Shooter. Their death explosion deals heavy area-of-effect damage, which destroys adjacent walkers if detonated early, but devastates your squad if triggered nearby.
- Armored Walkers: Body armor deflects normal torso damage. Use Hunters to land precision critical hits or armor-piercing shots before these targets close the distance.
- Fast Runners and Normal Walkers: Pick these off or pin them down early so their high movement range cannot trap survivors in melee combat.
Choke Point and Overwatch Positioning
The Bullseye map features narrow corridors, alleyways, and barricades. Do not advance into open areas; force walkers into these single-file corridors to maximize ranged efficiency.
Conserve at least one action point on each survivor at the end of every turn to trigger Overwatch:
- Rear Overwatch Line: Place the Hunter in the back with a clear, straight line of sight down the main corridor. Set their overwatch cone on the primary approach lane.
- Corner Anchor: Position the Shooter just behind the corner of the choke point. This catches any surviving walkers as they round the bend and allows wide-cone fire across the cluster.
- Corner Safety: Never end a survivor's turn directly adjacent to an unrevealed corner or doorway, which leaves them vulnerable to point-blank strikes during the enemy turn.
Step-by-Step Crate Retrieval Route
Do not rush objective crates during the opening turns. Moving out too early triggers converging walker patrols before your squad can secure a firing line.
- Initial Clear (Turns 1–3): Remain near the starting area. Clear the nearest stationary walkers and establish overwatch coverage down the main approach lanes.
- Scout Breakout (Turns 4–7): Once the starting wave is eliminated, send the Scout or designated mobile survivor along the flank to open supply crates. Keep the Hunter and Shooter anchored at the primary choke point to absorb new spawns.
- Extraction Collapse (Final Turns): After collecting the target crates, begin a staggered retreat toward the exit gate. Maintain rearguard overwatch to hold back trailing walkers while the point survivor enters the extraction tile.
Tactical Decisions and Recovery
Surviving Difficulty 43 requires knowing when to abandon secondary objectives to prevent a squad wipe.
| Tactical Decision | Primary Risk | Recommended Execution |
|---|---|---|
| Early Crate Rushing | Isolates a survivor and triggers simultaneous flank spawns. | Wait until the opening wave is dead; send only high-mobility units. |
| Loud Weapon Firing | Advances the threat meter and accelerates spawn timers. | Rely on single-target precision; reserve loud sprays for dense emergency clusters. |
| Greed for Full Loot | Wipes the squad during late-stage reinforcement surges. | Head to extraction immediately if threat timers trigger heavy spawns near the exit. |
If a walker grapples a survivor, do not panic-fire unsuppressed weapons with the rest of your squad, which escalates the threat bar further. Free the survivor using an interrupt ability, a stun, or an adjacent melee push, then pull the team back behind your overwatch line.

Free The Walking Dead No Man's Land Codes
Current active codes and how to redeem them.

Emily Johnson
Emily writes practical mobile strategy guides with a focus on resource planning, base progression, and the early decisions that shape a long-term account.
COMMUNITY
Player Comments
84 players commented on this guide.
This saved me time in the early game.
This helped me understand strategy much better.
This guide answered the exact question I had.
The tips are practical and easy to follow.