
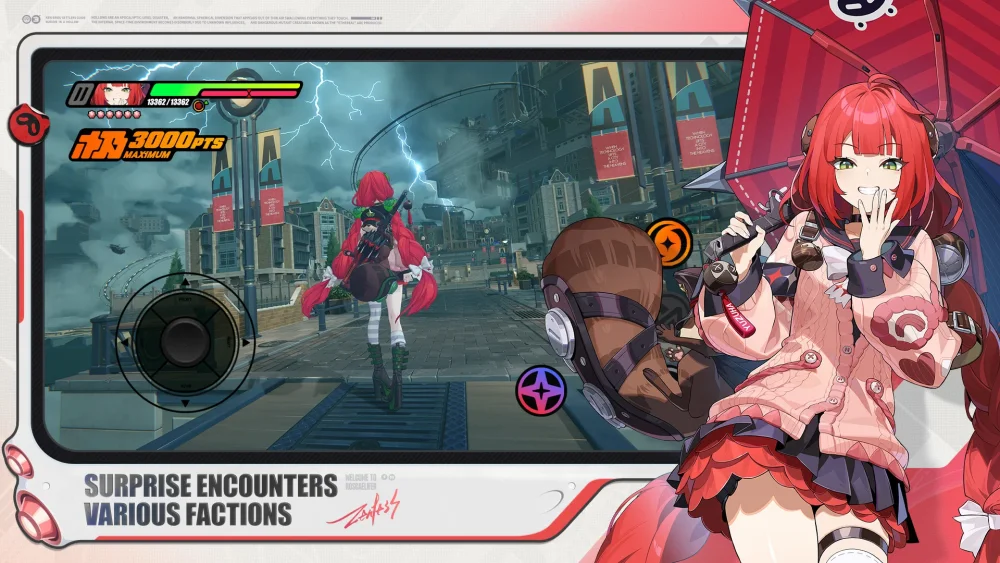
Navigating the "A Long Goodbye" chapter in Zenless Zone Zero represents a significant turning point in your progression through New Eridu. As the narrative stakes rise, the game introduces more complex environmental puzzles and combat encounters that demand both technical precision and strategic planning. This guide provides the authoritative breakdown of how to handle the chapter’s specific mechanics, manage its pacing, and optimize your team for the challenges ahead.
Understanding the Chapter’s Mechanical Shift
"A Long Goodbye" is not merely a narrative milestone; it is a mechanical transition point. Unlike the earlier, more linear segments of the game, this chapter emphasizes the "Hollow" exploration mechanics that Zenless Zone Zero uses to gate progress.
Players will encounter more intricate board-navigation puzzles. The core logic here revolves around resource management—specifically your "Observation Data" and health integrity within the grid. Before diving into the deep story segments, ensure your Bangboo is optimized for traversal if the stage allows, as certain environmental hazards can drain your team’s health before you even trigger a combat sequence. Always prioritize clearing side-path tiles to maximize your loot and potential buff pickups, which are essential for the chapter's more difficult boss encounters.
Mastering Environmental Puzzles
Progression in "A Long Goodbye" is frequently gated by environmental terminals and switch puzzles. These are designed to test your spatial awareness.
- Scan for Terminals: Before committing to a path, look for interactive nodes. If a door is locked, the terminal is rarely more than three tiles away.
- The "Backtracking" Trap: Avoid moving forward if you haven’t fully explored the peripheral grid nodes. The game often places critical upgrade materials or environmental "keys" in corners that seem like dead ends.
- Visual Language: Pay close attention to color-coded conduits. If you see a blue light leading away from a mechanism, follow that line; it will invariably lead to the corresponding button or lever required to open the progression path.
Strategic Pacing: Balancing Narrative and Combat
The story density in this chapter can be overwhelming, but it serves a tactical purpose. Zenless Zone Zero uses dialogue-heavy sequences to provide vital intel on enemy weaknesses and the environmental hazards you are about to face.
Treat these narrative lulls as your "pre-flight check." While characters are speaking, use the pause menu to review the enemy roster for the upcoming room. If the dialogue mentions "Corrupted Constructs" or "Ether-infused anomalies," adjust your team composition to emphasize the necessary elemental counters (like Electric or Ether damage) before the cutscene ends. Skipping these segments can lead to "blind-loading" into a combat encounter with a sub-optimal team, which is the most common cause of failure in this chapter.
Combat Preparation: Timing and Telegraphs
Combat in the later stages of "A Long Goodbye" moves away from simple "button mashing" and requires a focus on the "Perfect Dodge" and "Chain Attack" mechanics.
Essential Combat Tactics:
- Identify the "Tell": Every major antagonist in this chapter has a specific, wind-up animation before their heavy attacks. Watch for a brief "glint" or a specific color shift in the enemy's aura—this is your signal to initiate a Perfect Dodge.
- Chain Attack Optimization: Do not trigger Chain Attacks as soon as they are available. If you have multiple enemies on screen, wait for the strongest enemy to be staggered, then initiate your Chain Attack to maximize damage output on the priority target.
- Synergy Checks: Ensure your team composition covers at least two different damage types. The enemies in this chapter are designed to punish mono-elemental teams that lack crowd control or defensive utility.
Managing Dangerous Siege and Duo-Team Strategies
As you approach the latter half of the chapter, you will encounter "Dangerous Siege" scenarios. These are high-intensity combat gauntlets. When managing a duo-team or a constrained roster, your strategy must pivot to "Hit and Run."
- Prioritize Survival: If your team is struggling with sustain, focus on rotating between your agents to reset their skill cooldowns.
- Retreat Mechanics: In the Labyrinth, remember that you can often retreat from a sub-optimal combat position to interact with a recovery tile. Never force a fight if your team’s health is below 40%, as the "A Long Goodbye" combat encounters are tuned for high burst damage.
- The Bagel Project Tactics: Utilize the "Bagel" search patterns (moving in concentric circles around the center of the grid) to ensure you have explored every available resource node before the final engagement. This ensures you enter the final boss fight with maximum energy and support buffs.
Avoiding Common Progression Mistakes
Many players find themselves stuck in "A Long Goodbye" because they treat it as an extension of the tutorial. Avoid these common pitfalls:
- Ignoring Elemental Resonance: Do not force-run your favorite character if they do not align with the enemy’s elemental weakness. Zenless Zone Zero rewards adaptability.
- Over-committing to Attacks: The enemies in this chapter are fast. If you commit to a full attack combo, you will be unable to dodge a counter-attack. Learn to "stutter-step" your attacks to keep your character mobile.
- Neglecting Equipment: If you feel like you are doing "chipping" damage, your gear (W-Engines and Drive Discs) is likely under-leveled for the chapter’s difficulty scaling. Take a break from the story to farm materials if you hit a wall.
Conclusion: Mastering the Flow of New Eridu
"A Long Goodbye" is a test of your growth as a Zenless Zone Zero player. By balancing the narrative exploration with methodical combat preparation, you turn a potentially frustrating story arc into a rewarding experience. Remember: the game provides the tools you need—whether it is an environmental hint in a cutscene or a well-placed recovery tile in the Labyrinth. Stay observant, prioritize your defensive maneuvers, and adapt your team to the specific threats of each mission. With these strategies, you will successfully navigate the complexities of this chapter and emerge ready for the endgame challenges that lie beyond.

Free Zenless Zone Zero Codes
Current active codes and how to redeem them.

Sarah Williams
Sarah specializes in RPG and collection games, explaining team building, character growth, and beginner-friendly ways to avoid expensive early mistakes.
COMMUNITY
Player Comments
134 players commented on this guide.
Can you add more details about strategy in a future update?
The explanation is clear, especially for beginners.
I wish I had read this before upgrading the wrong thing.
This saved me time in the early game.