
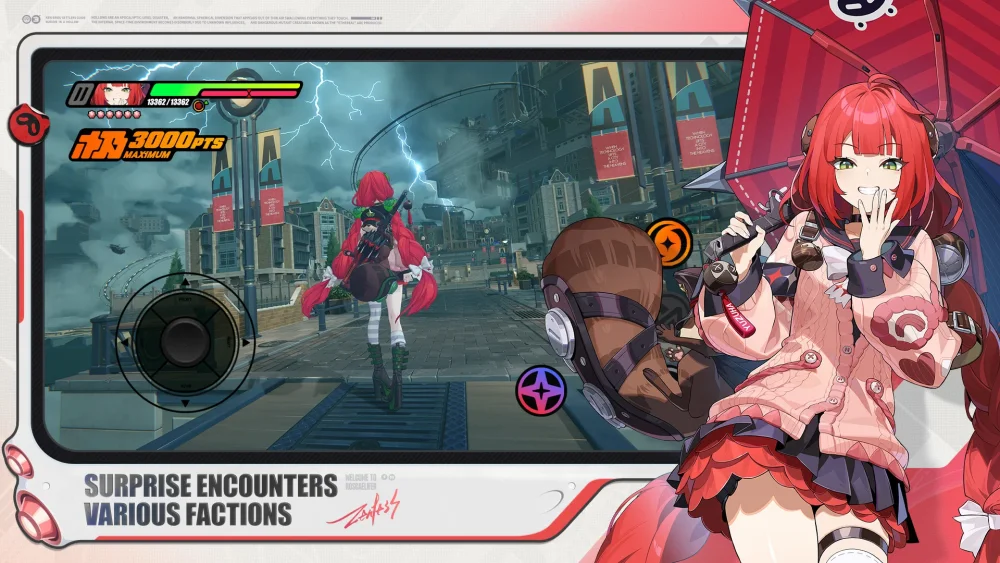
In Zenless Zone Zero, Norma stands out as a high-utility Agent whose performance is defined by rhythmic precision and disciplined resource management. Unlike agents who rely on raw power, Norma rewards players who treat combat as a structured sequence of inputs. To master her, you must move beyond simple button mashing and focus on the synergy between her attack strings, energy reserves, and support deployment windows. This guide breaks down the professional-grade strategies required to make Norma a cornerstone of your Version 3.0 squad.
The Core Mechanic: Mastering Norma’s Attack Rhythm
Norma’s utility is tied to her basic attack chain. Because her damage modifiers and utility triggers are baked into specific animation frames, interrupting your own sequence—or being interrupted by an enemy—is a significant loss of potential output.
Understanding the Sequence
- The Anchor Hits: Norma’s most potent utility buffs trigger at the end of her standard attack string. Players often fail by swapping out too early. You must commit to the full sequence to ensure the "buff phase" activates.
- Visual Cues: Watch the weapon-specific glow during her attacks. When the glow peaks, the utility effect is active. This is your cue to switch to your primary DPS unit to ensure they inherit the stat buffs.
- Input Discipline: Train yourself to execute the full combo without panic-dodging unless absolutely necessary. In Zenless Zone Zero, the game rewards those who learn the "tempo" of an agent's weapon. If you are struggling, practice her full chain in the VR training room until the timing becomes muscle memory.
Energy Management: The Engine of Support
Energy is the most precious resource in Norma's kit. A common mistake is burning her Special Ability the moment it lights up. This often results in a "dead zone" where you have no utility to provide during the critical Stun window.
When to Hold and When to Spend
- The Stun Gauge Priority: Always save your high-cost abilities for when the enemy’s Stun Gauge is nearing its breaking point. Norma’s role is to amplify the damage your DPS does after the break, not to contribute to the break itself.
- Passive Regeneration: Learn to incorporate her basic attack strings during periods of low intensity to recover energy naturally. If you are constantly spamming special skills, you will never have the reserves needed for the high-multiplier windows.
- The "Buffer" Strategy: Keep at least 25-30% of your energy gauge as a safety net. This allows you to perform an emergency EX Special or a quick-swap defensive move if a boss suddenly targets Norma with an unblockable attack.
Tactical Support Deployment: The "Snapshot" Technique
Norma excels in a "brief-but-impactful" support role. Her goal is to enter the field, deploy her utility, and vanish before the enemy can punish her. This is known as "snapshotting," where you apply buffs that persist even after she leaves the field.
- The Rotation Flow: Deploy Norma immediately before your primary DPS. The ideal sequence is: Apply Debuff/Buff -> Quick Swap to DPS -> Execute high-damage rotation.
- Avoid Overstaying: A major mistake is keeping Norma on the field for too long after her buffs are applied. Once her utility window is active, every second she remains active is a second your main DPS is losing potential damage.
- Synergy Check: Norma performs best when paired with agents who have long, high-damage windows. If your team lacks stun-application, prioritize using Norma to fill the "gap" between your stunner’s rotation and your DPS’s burst phase.
Managing Combat Limitations and Risk
Norma is not a tank; she is a high-utility operator. Her susceptibility to interruption is her primary weakness. You must balance the need for her full attack chains against the aggressive mechanics of high-level bosses.
Survival Tactics
- Animation Canceling: If a boss signals a heavy strike, prioritize the dodge. While it is frustrating to break your attack chain, a dead agent provides zero utility. Learn to identify the "point of no return" in her attack animations where you can safely dodge without losing the buff.
- Positioning: Norma’s weapons have a specific "sweet spot" range. If you are too close, you risk getting caught in the boss’s AoE (Area of Effect) attacks; if you are too far, you miss the hits required to build energy. Stay at mid-range, circling the boss to keep them in your visual frame while remaining outside their primary melee reach.
- The Retreat Decision: If your health is low, do not attempt to finish a full attack string to gain energy. It is better to retreat, swap to a more durable agent, and wait for a safe window to re-enter.
Comparison: Norma vs. Other Support Agents
When building your team for high-difficulty Zenless Zone Zero content, understanding where Norma fits is vital. Unlike support agents who focus on healing or raw shielding, Norma is a force multiplier.
| Feature | Norma | Standard Support |
|---|---|---|
| Primary Focus | Buff/Debuff uptime | Direct healing/Shielding |
| Rotation Speed | Fast/Rhythmic | Variable |
| Difficulty | High (Requires timing) | Low (Passive/Active) |
| Team Synergy | Best with Burst DPS | Best with Sustain teams |
Final Expert Insights for Version 3.0
As you navigate the challenges of Version 3.0, remember that Zenless Zone Zero is a game of flow. Norma is designed to be the "metronome" of your team. If you find your damage output stalling, it is rarely a lack of gear—it is usually a lack of synchronization in your rotation.
- Monitor the Buff Icons: Keep an eye on the status bar above your health. If you aren't seeing Norma’s buff icons active during your DPS's main attack, you are rotating too slowly.
- Practice the "Switch-in": Ensure your team order places your stunner and Norma before your DPS. This creates a natural flow that minimizes the time spent navigating menus or choosing agents.
- Continuous Improvement: Use the challenge missions to refine your timing. If you can maintain Norma’s buffs for 80% of your total combat time, you will find even the most difficult boss encounters becoming significantly more manageable.
By focusing on these mechanical nuances, you shift from playing Norma as a character to playing her as a precise tactical instrument, maximizing both her potential and your team's overall success in Zenless Zone Zero.

Free Zenless Zone Zero Codes
Current active codes and how to redeem them.

Emily Johnson
Emily writes practical mobile strategy guides with a focus on resource planning, base progression, and the early decisions that shape a long-term account.
COMMUNITY
Player Comments
129 players commented on this guide.
Good guide for Zenless Zone Zero players. The strategy part was useful.
This saved me time in the early game.
This guide answered the exact question I had.
The tips are practical and easy to follow.