
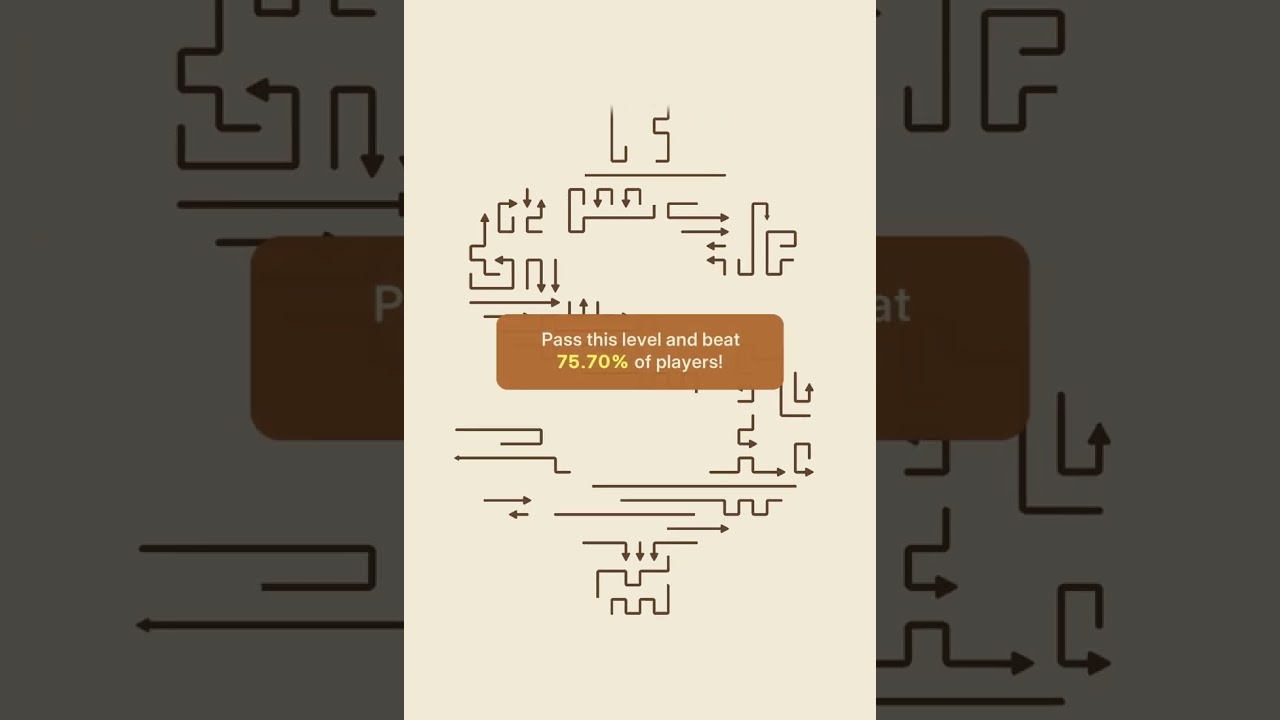
To clear levels 81 through 90 in Amaze GO!, tap the outward-pointing perimeter arrows with direct, unobstructed paths off the board before touching the interior. Puzzles in this tier feature inward-facing guards, mirrored clusters, and interlocking loops. Because an arrow requires a completely clear line of flight to exit without causing an invalid move, you must peel outer boundaries layer by layer to open runways for the trapped core pieces.
Clearing Strategy for Levels 81 Through 84
These stages introduce perimeter traps that block interior columns and diamond layouts.
- Level 81: Identify the four exposed corner arrows pointing directly off the grid and tap them first. Removing the corners clears the upper and lower horizontal rows. Eject those horizontal pieces next to unlock the vertical columns trapped down the center spine.
- Level 82: The midline contains paired arrows pointing directly toward each other. Leave the center alone and clear the flanking side columns running parallel to the board edges. Once the flanks are gone, tap the outward-facing arrows along the top and bottom borders to open runways for the opposing midline pairs.
- Level 83: Continue the alternating column method from Level 82. Strip the external columns that possess clear border exits, then work inward toward the central vertical dividers.
- Level 84: This stage forms a staggered diamond where outer tips shield inner rings. Clear the board in four steps:
- Tap the four protruding tip arrows pointing outward at the north, south, east, and west points.
- Follow the outer rim clockwise, tapping every arrow facing away from the center.
- Clear the intermediate inner ring once the exterior slots are vacant.
- Tap the four central core arrows, which now have open exit trajectories.
Solving Pinwheels and Bands in Levels 85 Through 87
Levels 85 through 87 rely on interlocking formations where each piece shields the tail of another.
Level 85: Pinwheel Rotation
Level 85 arranges tiles in a pinwheel where outward-facing arms block inward-facing roots. Tap the exterior tips in a strict counter-clockwise sequence. Each exiting tip exposes the path for the next arm's root, initiating a chain reaction that clears the structure without collisions.
Level 86: Flank Escapes
Level 86 packs arrows into dense horizontal rows with narrow gaps on the left and right edges.
- Locate the two lone arrows pointing directly into the left and right exit gaps.
- Eject those two flank pieces first.
- Tap the newly unblocked vertical columns.
- Clear the remaining horizontal rows once vertical interference is gone.
Level 87: Box Enclosure
Level 87 buries its core arrows inside a solid rectangular frame. Remove the layers in three phases:
| Phase | Target Arrows | Tactical Objective |
|---|---|---|
| 1. Exterior | Top and bottom outward-facing arrows | Open vertical clearance lanes |
| 2. Lateral | Left and right perimeter side arrows | Clear horizontal exit corridors |
| 3. Core | Interior cross-pointing arrows | Discharge central tiles through vacant lanes |
Navigating Bottlenecks in Levels 88 Through 90
The final three stages of this bracket test tight clearance tolerances and mirrored formations.
- Level 88: This dense layout appears completely blocked at first glance. Inspect the four corners to find two opposing corner arrows that sit with half-tile offsets. Tap these two offset pieces to break the lock, then peel the remaining concentric rings inward toward the middle.
- Level 89: The board splits into twin mirrored clusters that share central airspace. Clearing one full side first causes collisions along the midline. Alternate your inputs: clear the far-left wing, clear the far-right wing, remove the exposed top and bottom border pieces, and finish by untangling the shared center seam.
- Level 90: The final stage combines perimeter guards with a closed-loop central ring. Solve it in three disciplined waves:
- Eject the four cardinal perimeter arrows pointing directly off the edges.
- Clear the intermediate framing ring, targeting arrows with fully opened trajectories.
- Tap the central loop arrows in clockwise order, letting each cleared tile provide an exit path for the next.

Free Amaze GO! Codes
Current active codes and how to redeem them.

Sarah Williams
Sarah specializes in RPG and collection games, explaining team building, character growth, and beginner-friendly ways to avoid expensive early mistakes.
COMMUNITY
Player Comments
94 players commented on this guide.
I tried this today and it worked better than my old setup.
Can you add more details about strategy in a future update?
The explanation is clear, especially for beginners.
Good guide for Amaze GO! players. The strategy part was useful.