
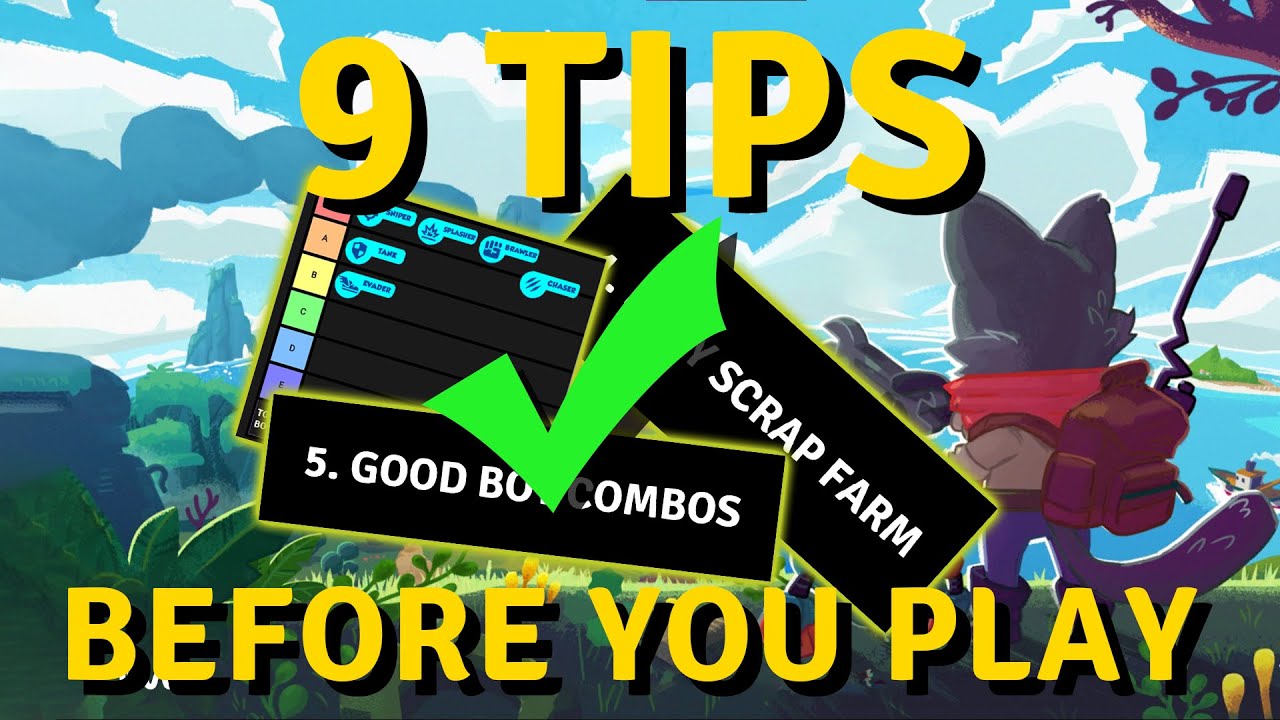
To progress efficiently in Botworld Adventure, prioritize upgrading your Boat above all else, keep recruits running passive tasks continuously, and invest your scrap exclusively into a core trio of combat bots. Spreading materials across a wide roster slows account progression, while poor initial unit placement wastes exploration canisters on avoidable wipes.
Upgrade the Boat First to Expand Recruit Missions
Your Boat serves as your home base and the primary throttle on your account's progression. Leveling the Boat's central console raises the level ceiling for your bot roster, expands storage limits, and unlocks higher-tier world zones beyond Scrapless Island.
Most importantly, Boat upgrades unlock additional recruit mission slots. Recruits provide a consistent, passive supply of gold, scrap, and bot tokens while you explore or stay offline.
- Keep recruit slots active at all times: Dispatch recruits on timed assignments immediately upon completion. Passive yields dramatically cut down the need to manually grind wild bot battles for upgrade scrap.
- Prioritize Boat milestones over benched bots: If you must choose between funding the next Boat tier and upgrading an unassigned reserve unit, always spend the scrap on the Boat.
Concentrate Resources on a Core Three-Bot Squad
Bot upgrades become steeply expensive at higher tiers, demanding substantial gold reserves and targeted bot frames. Investing scrap and boosters across a wide roster leaves your combat team underleveled for newly unlocked territories.
Build and maintain a primary team of three distinct roles, leveling them to the maximum cap allowed by your current Boat tier before spending materials on reserve units:
- Frontline Tank or Bruiser (e.g., Chomp, Thump): Soaks initial enemy burst damage, holds frontline aggro, and establishes physical space on the board.
- Ranged Backline DPS (e.g., Longshot): Sits behind the frontline to deliver sustained single-target damage, picking off dangerous enemy units from safety.
- Disruptor or Chaser: Moves quickly across the board to flank squishy enemy snipers, interrupt charge abilities, and break up hostile formations.
Master Drop Zone Placement and Battlefield Aggro
Combat in Botworld Adventure runs on automated AI protocols once the match begins. Because bots immediately target the nearest enemy within their detection radius, your initial placement inside the deployment circle determines how aggro develops.
| Role | Deployment Ring Position | Primary Combat Objective | Threat to Avoid |
|---|---|---|---|
| Tank / Bruiser | Front and center, closest to enemies | Draw opening attacks and anchor enemy melee units | Placing too far back, exposing fragile units to aggro |
| Ranged DPS | Rear or side perimeter behind the tank | Deliver continuous damage from maximum distance | Leaping melee bots or enemy chasers landing nearby |
| Chaser / Flanker | Outer edge angled toward backliners | Bypass enemy frontlines to isolate ranged threats | Getting intercepted early by opposing brawlers |
Dropping units in a tight clump exposes your team to area-of-effect abilities and leaping brawlers. Give your ranged bots maximum buffer distance from melee wild bots, and place fast flankers at angles that drive them straight into opposing snipers.
Conserve Exploration Canisters and Time Boat Abilities
Exploration canisters deplete as you travel through wild zones. Running out of canisters or wiping in combat cuts your run short, risking the loss of unbanked scrap collected in the field.
Path Around Non-Essential Patrols
Wild bots patrol on predictable loops or guard fixed locations. You do not need to engage every enemy on the map:
- Watch the detection markers above wild bots to identify their field of view.
- Move around patrols while their backs are turned to loot scrap nodes and chests safely.
- If you accidentally trigger a dangerous high-level encounter, sprint toward the zone boundary or break the leash tether to disengage rather than taking a wipe.
Hold Boat Abilities for Key Interrupts
Your Boat abilities—including missile strikes, defensive barriers, and freeze projectiles—charge over time using ability energy. Firing them the instant they become available wastes their tactical value.
Save freeze or stun attacks to interrupt heavy enemy windup animations and ultimate telegraphs before they strike your tank. Similarly, hold defensive barriers in reserve to shield a backline attacker the moment an enemy assassin breaks through your frontline.
Free Botworld Adventure Codes
Current active codes and how to redeem them.

James Brown
James focuses on Android gaming on PC, emulator setup, controls, performance tuning, and practical troubleshooting for longer play sessions.
COMMUNITY
Player Comments
80 players commented on this guide.
I tried this today and it worked better than my old setup.
This guide answered the exact question I had.
Good guide for Botworld Adventure players. The early game part was useful.
The tips are practical and easy to follow.