
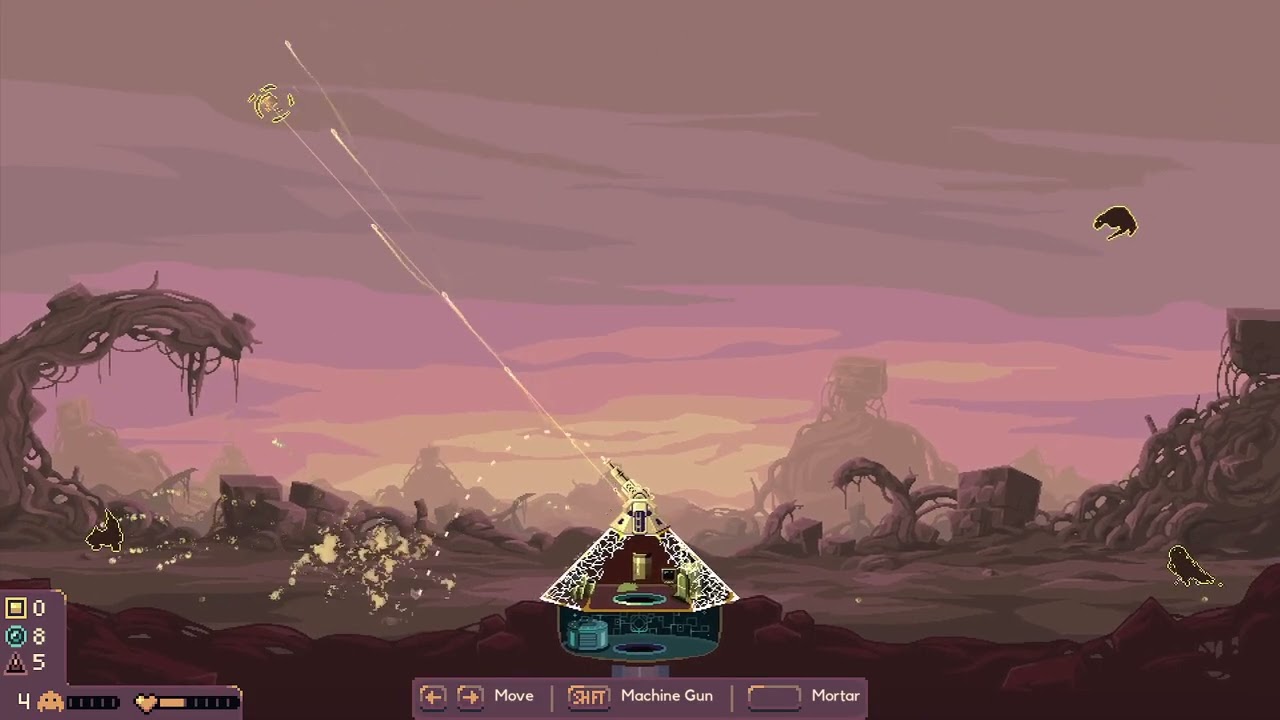
To survive the Monster Masses challenge in Dome Keeper, you must counter dense enemy waves by investing early in area-of-effect weaponry, upgrading weapon rotation speed, and keeping subterranean mining runs brief. Standard single-target defenses fail quickly against the increased volume of flying swarms and ground attackers.
Essential Loadouts and Combat Priorities
The Monster Masses modifier floods the screen with minor flyers and mixed ground attackers from the earliest waves. Precision, single-target setups struggle under target saturation, letting durable melee units reach your dome while you are distracted by minor creeps.
Weapon Systems for Swarm Control
| Weapon System | Swarm Viability | Primary Upgrade Path |
|---|---|---|
| Tesla Dome | High | Chain lightning targets and shockwave bursts |
| Laser Dome | Moderate to High | Dual shot, tracking speed, and heavy blast |
| Artillery Dome | High | Cluster shells and expanded blast radius |
| Sword Dome | Situational | Slash recharge speed and deflection arc |
Weapons featuring chain hits, wide blasts, or multi-projectile coverage allow you to thin incoming swarms before they overwhelm your shield.
Target Triage
When defensive alarms sound, clear hostiles in a strict order:
- Ranged Aerial Attackers: Eliminate projectile-spitting flyers first to stop incoming ranged damage from melting your shield.
- Clustered Ground Creeps: Sweep across weak ground swarms using wide blast or chain attacks.
- Heavy Melee Units: Focus high-damage strikes or cooldown abilities on armored burrowers and charging walkers once their screening fodder is dead.
Early-Game Mining and Resource Management
Defending against dense waves leaves narrower windows for subterranean exploration. Lingering too deep or hauling oversized loads will leave your console unattended when swarms hit.
- Excavate a central shaft: Dig straight down from the dome hatch, branching outward horizontally every two blocks to reveal mineral veins efficiently.
- Upgrade mobility first: Spend your initial Iron on Keeper Speed and Drill Strength Level 1 to shorten hauling times.
- Haul in small batches: Carry 4 to 6 Iron chunks per trip rather than stockpiling large quantities. Smaller hauls guarantee you return to the dome well before attackers arrive.
Defensive Upgrades and Turret Handling
Surviving prolonged waves requires maintaining continuous weapon contact across the entire dome radius while absorbing stray hits.
- Weapon Tracking Speed: Prioritize turret rotation upgrades over pure damage boosts early on. If your weapon cannot sweep across the dome ceiling in time, split formations of flyers will bypass your fire.
- Base Shield Buffer: Increase base shield capacity and recharge rate to absorb chip damage from stray flyers before it penetrates the hull.
- Cobalt Allocation: If you uncover Cobalt in deeper layers, keep at least half of your supply in reserve for structural hull repairs. Spend the remainder on shield overcharge, triggering the ability just as dense flyer volleys arrive.
Utility Gadget Priorities
When discovering underground chambers, prioritize logistics gadgets that automate ore transport or horizontal digging:
- Lift Systems: Transporting ore automatically lets you spend your full mining window clearing blocks and gathering minerals.
- Automated Defenses: Secondary gadgets like Stun Lasers or Defense Drones distract stray flyers, letting you focus manual fire on concentrated clusters.
- Automated Miners: Tools like Drillbert clear horizontal tunnels independently, ensuring resource flow even when defensive battles drag on.

Free Dome Keeper Codes
Current active codes and how to redeem them.

Sarah Williams
Sarah specializes in RPG and collection games, explaining team building, character growth, and beginner-friendly ways to avoid expensive early mistakes.
COMMUNITY
Player Comments
44 players commented on this guide.
This helped me understand strategy much better.
The explanation is clear, especially for beginners.
I wish I had read this before upgrading the wrong thing.
Nice guide. I am checking the other Dome Keeper articles next.