
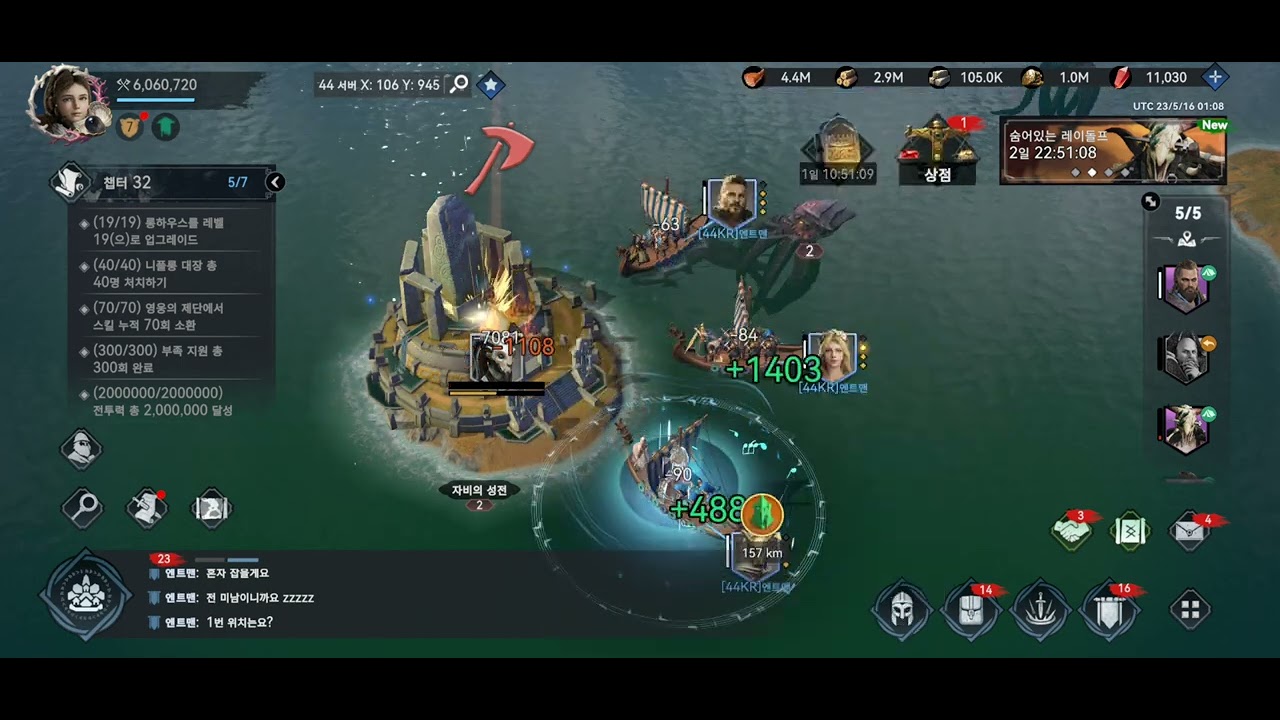
To clear Temple of Mercy 2 in Viking Rise, your three-player team must assign dedicated combat roles, face the boss away from the party to protect fragile damage dealers, and immediately dodge red area-of-effect (AoE) indicators while clearing summoned adds.
Team Composition and March Roles
Entering the encounter with three pure damage squads usually leads to wipes from cleave attacks and burst damage. Divide your trio into three distinct roles before starting:
| Squad Role | Recommended Setup | Encounter Priority |
|---|---|---|
| Frontline Tank | High Defense / Infantry (e.g., Thorstein pairings) | Pull first, hold aggro, and face the boss away from teammates |
| Main DPS | Ranged / High Skill Burst (e.g., Archer pairings) | Burn the boss from the flank or rear at maximum range |
| Hybrid Support | Sustain / Control / Debuffs | Clear add waves, apply crowd control, and sustain squad health |
The frontline tank absorbs direct strikes and stabilizes threat. The primary damage dealer focuses entirely on boss burn without pulling early threat. The hybrid support player maintains team survival and handles secondary threats.
Navigating Corridor Waves
Do not rush through the corridors leading to the boss chamber. Pulling multiple elite packs at once can deplete your squads before the encounter begins:
- Let the tank initiate: The frontline tank must pull every corridor pack first to establish aggro before damage dealers unleash offensive skills.
- Focus down ranged casters: Trash packs contain ranged and support enemies that cast ground hazards and debuffs. All three players should burst down these targets while the tank holds the melee bruisers.
- Conserve cooldowns near the end: When a corridor pack drops below 25% health, save long-cooldown active skills. Enter the boss arena with topped-off health and ready skill bars.
Boss Positioning and Mechanics
Disciplined positioning dictates the pace of the boss fight. Once inside the arena, execute these steps:
- Turn the boss immediately: The tank charges first, hits the boss to secure primary threat, and rotates the boss 180 degrees so its back faces the arena center. This directs all frontal cleaves toward the outer wall.
- Form a wedge: The DPS and hybrid squads must position behind or beside the boss at maximum range. Never stand directly behind the tank or cluster all three squads together.
- Handle telegraphed attacks: React immediately to visual ground markers during the fight:
| Boss Mechanic | Visual Warning | Required Player Action |
|---|---|---|
| Frontal Cleave | Red directional cone | Tank holds facing away; other players stay clear of the boss's front |
| Radial Ground Slam | Expanding circle around boss | DPS squads immediately step back outside the red border |
| Add Portals | Perimeter spawn portals | Hybrid squad disengages from boss to burn down adds immediately |
If a burst of damage pulls boss aggro onto a DPS squad, that player should kite in a wide circle without running through teammates, allowing the tank to taunt and reclaim threat.
Common Wipe Triggers to Avoid
- Early DPS strikes: Attacking before the tank secures threat turns the boss toward squishy units and causes instant cleave wipes.
- Stacking squads: Overlapping friendly units causes targeted AoE skills to deal multiple hits across the team.
- Ignoring summoned minions: Leaving portal adds alive overwhelms the frontline and rapidly drains squad health.
- Dodging through the boss: Moving forward through the boss model places squishy squads directly into frontal cleave zones. Always step backward or laterally into open space.

Free Viking Rise Codes
Current active codes and how to redeem them.

Sarah Williams
Sarah specializes in RPG and collection games, explaining team building, character growth, and beginner-friendly ways to avoid expensive early mistakes.
COMMUNITY
Player Comments
54 players commented on this guide.
Good guide for Viking Rise players. The strategy part was useful.
This saved me time in the early game.
I wish I had read this before upgrading the wrong thing.
Can you add more details about strategy in a future update?